

Emizentech Databricks connector for Creatio
Overview
Product overview
Emizentech Databricks connector for Creatio links your Creatio CRM directly to a Databricks workspace, so your customer data lands in Databricks without building or maintaining a custom integration.
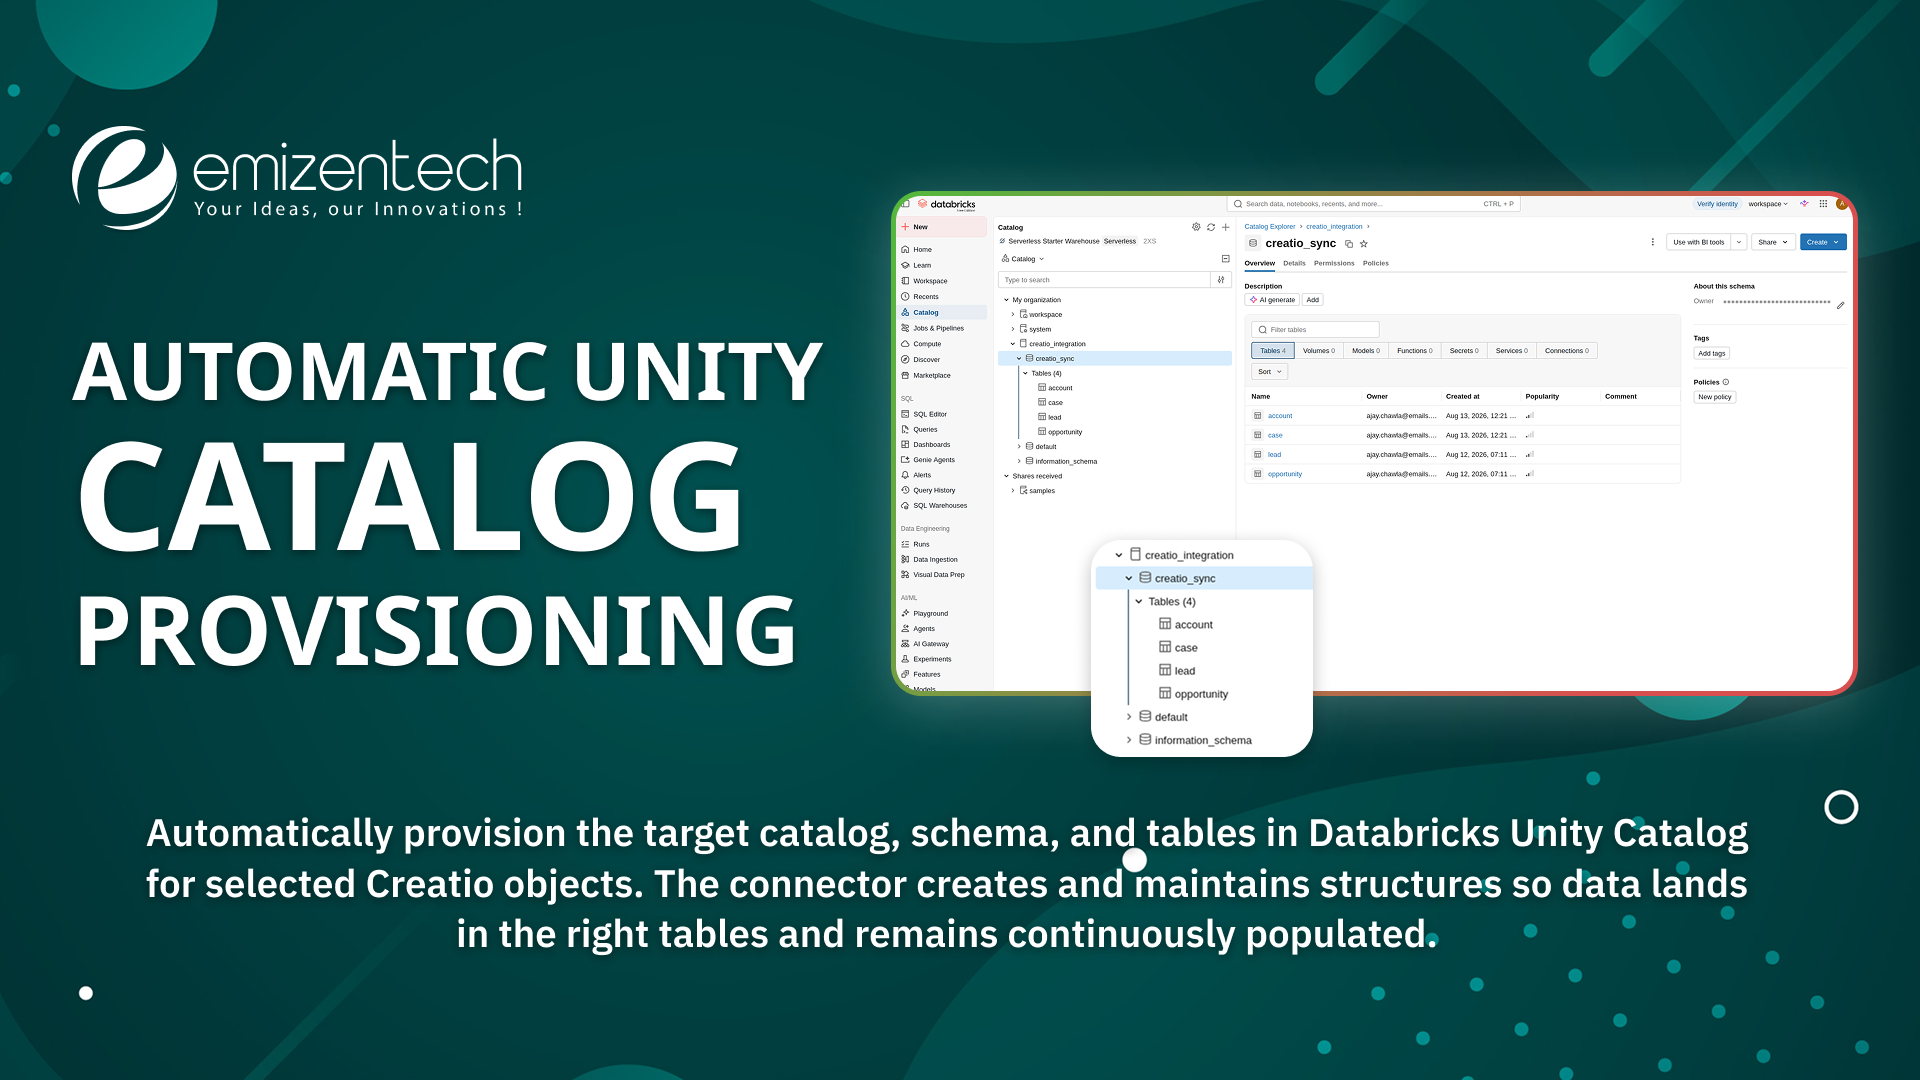
Teams that run analytics, reporting, or machine learning on Databricks usually face a gap: getting CRM data out of Creatio and into Databricks means writing and maintaining ETL code. This connector removes that work. An administrator connects a Databricks workspace from inside Creatio, selects which objects to sync, and the connector automatically provisions the target catalog, schema, and tables in Databricks and keeps them populated.
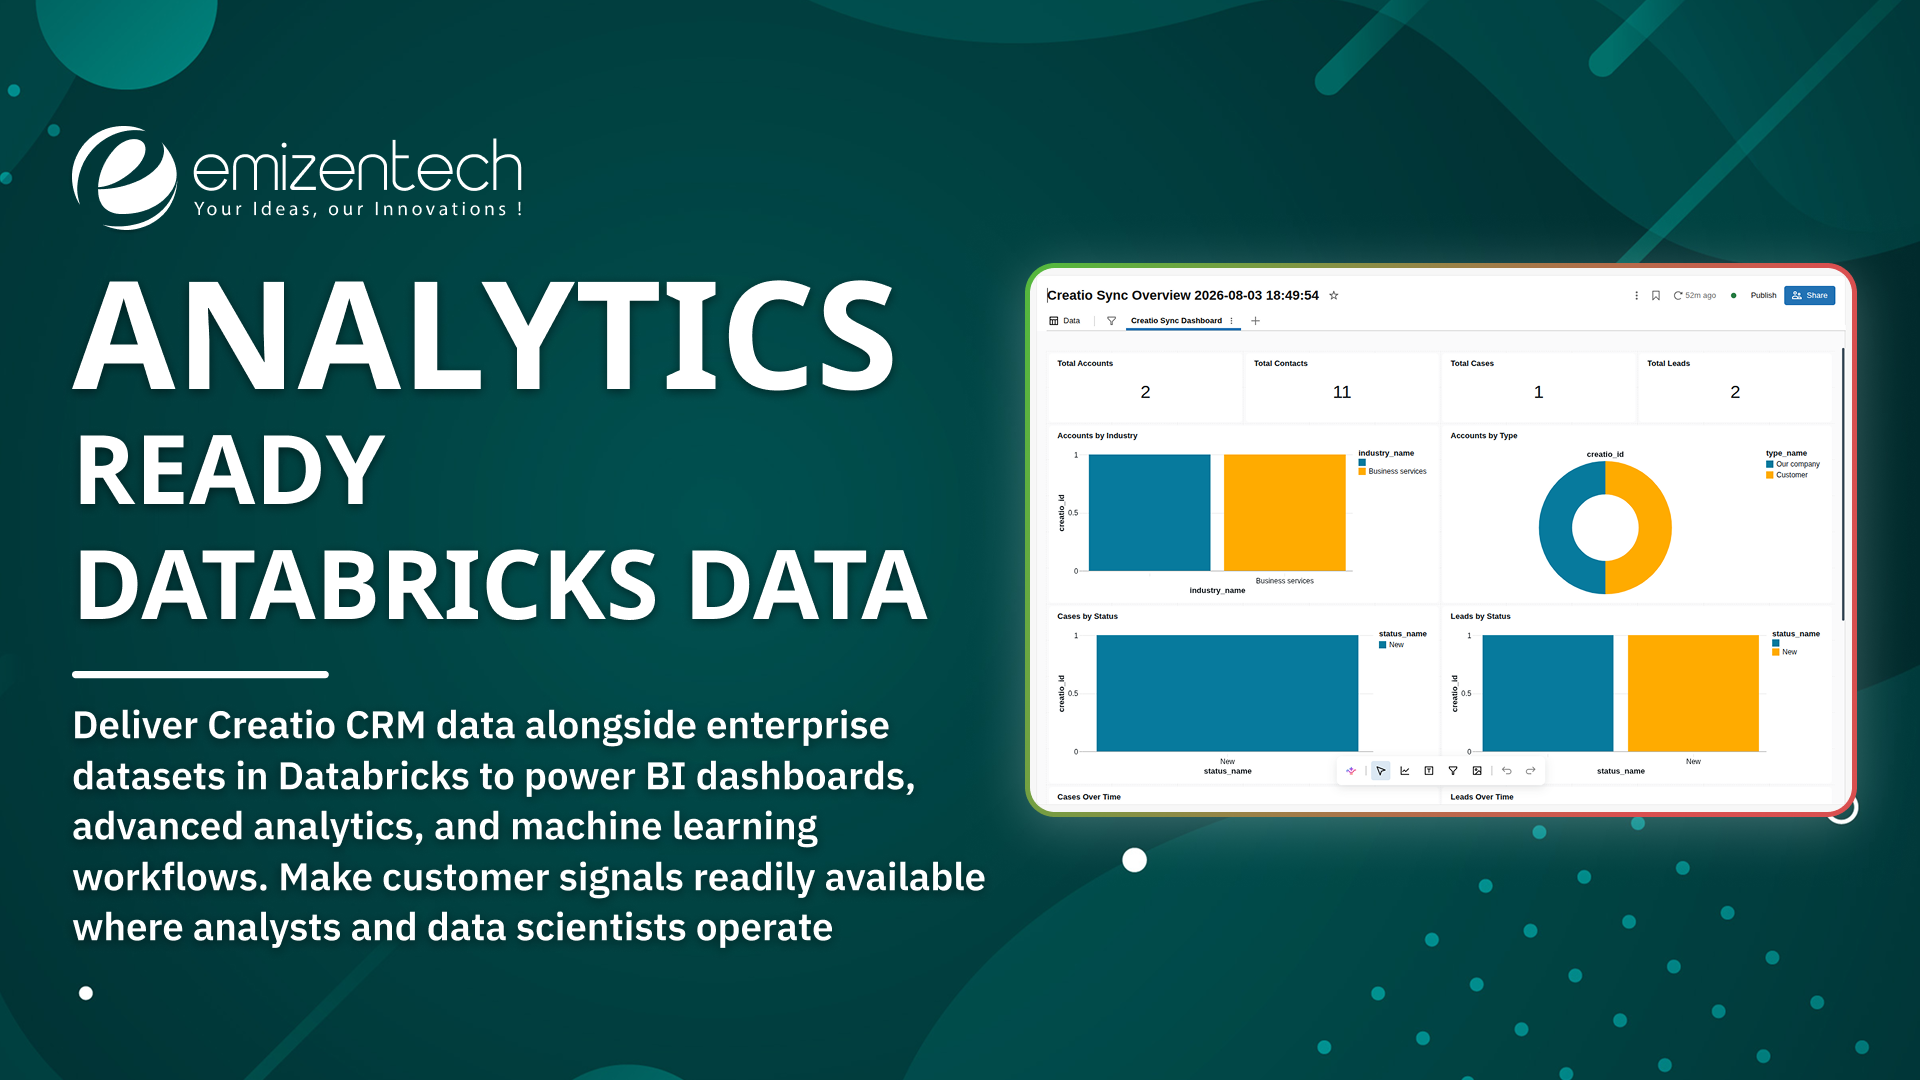
It's designed for organizations that want their Creatio data available alongside the rest of their enterprise data in Databricks for BI dashboards, advanced analytics, and machine learning workflows.
Who it's for: Creatio customers using Databricks (or planning to) who need CRM data in Databricks for analytics, reporting, or data science — without dedicating engineering time to a bespoke pipeline.
Key Features
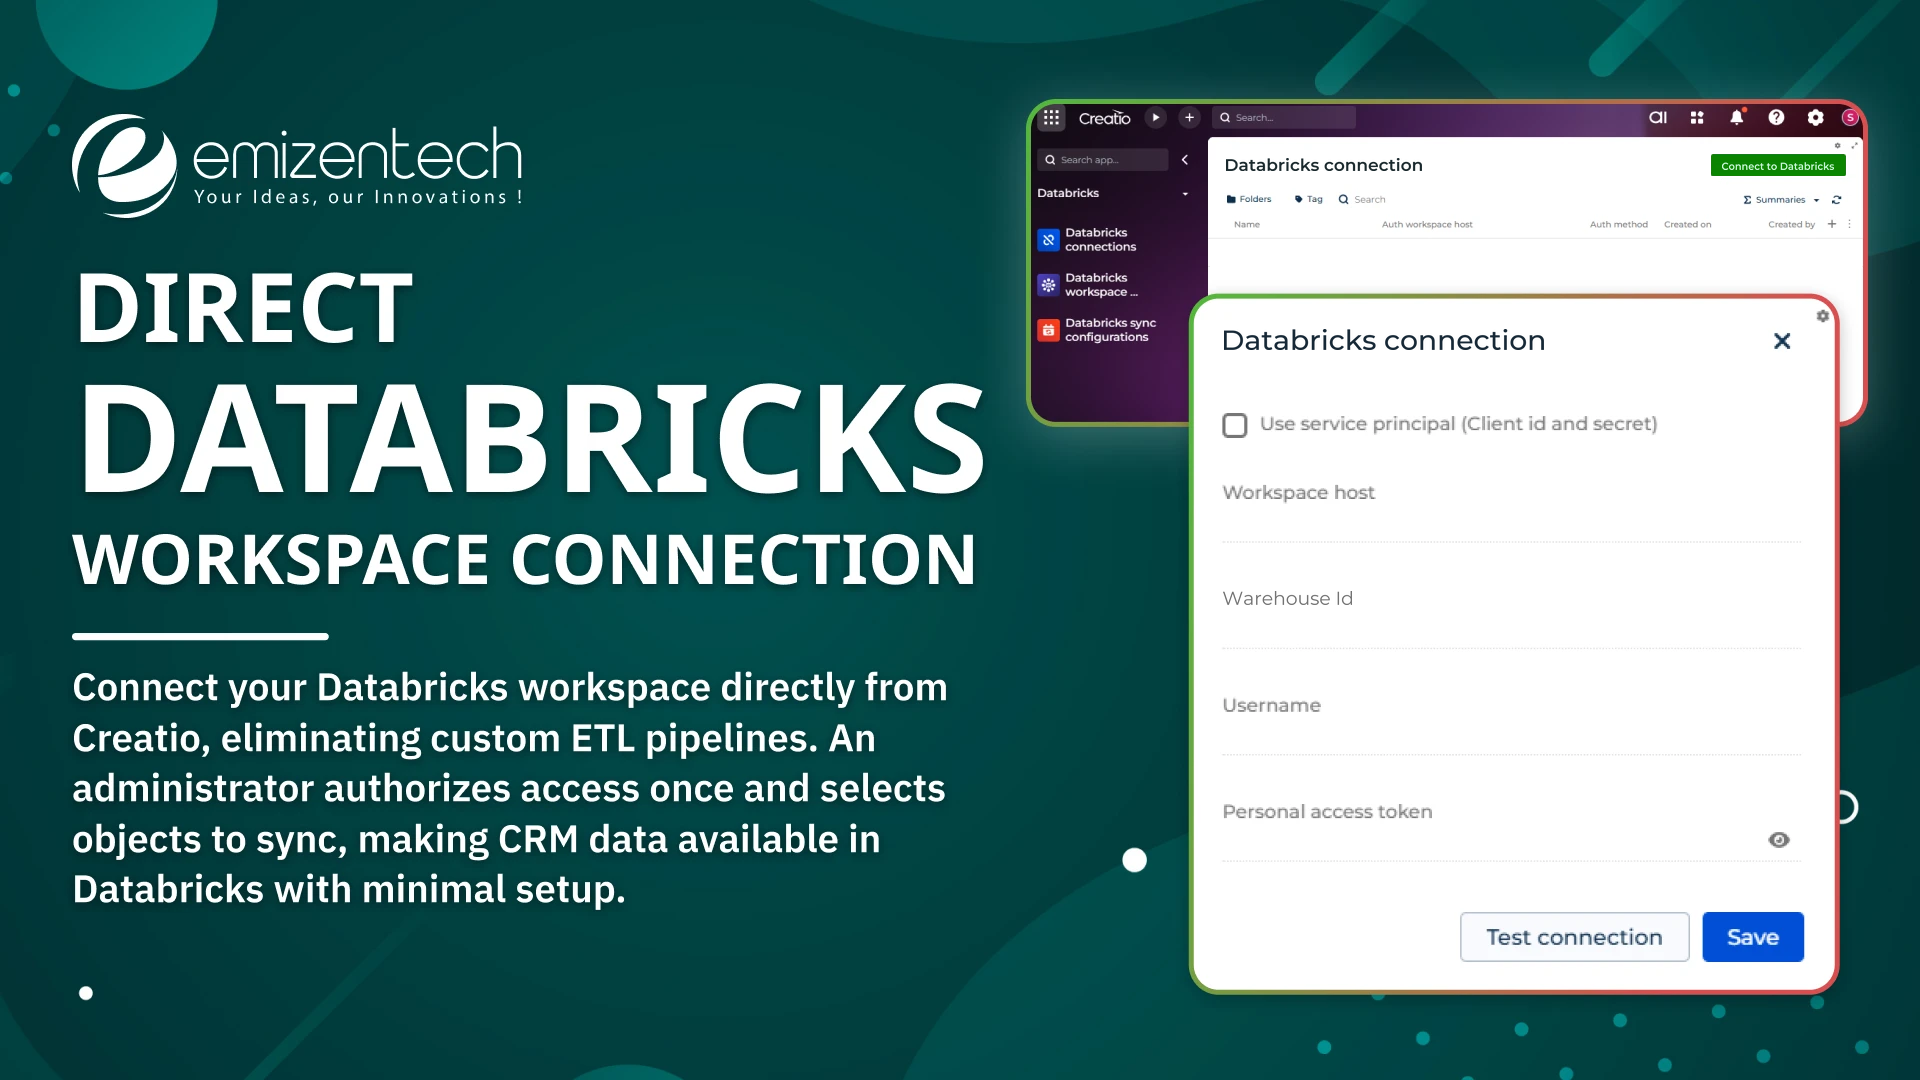
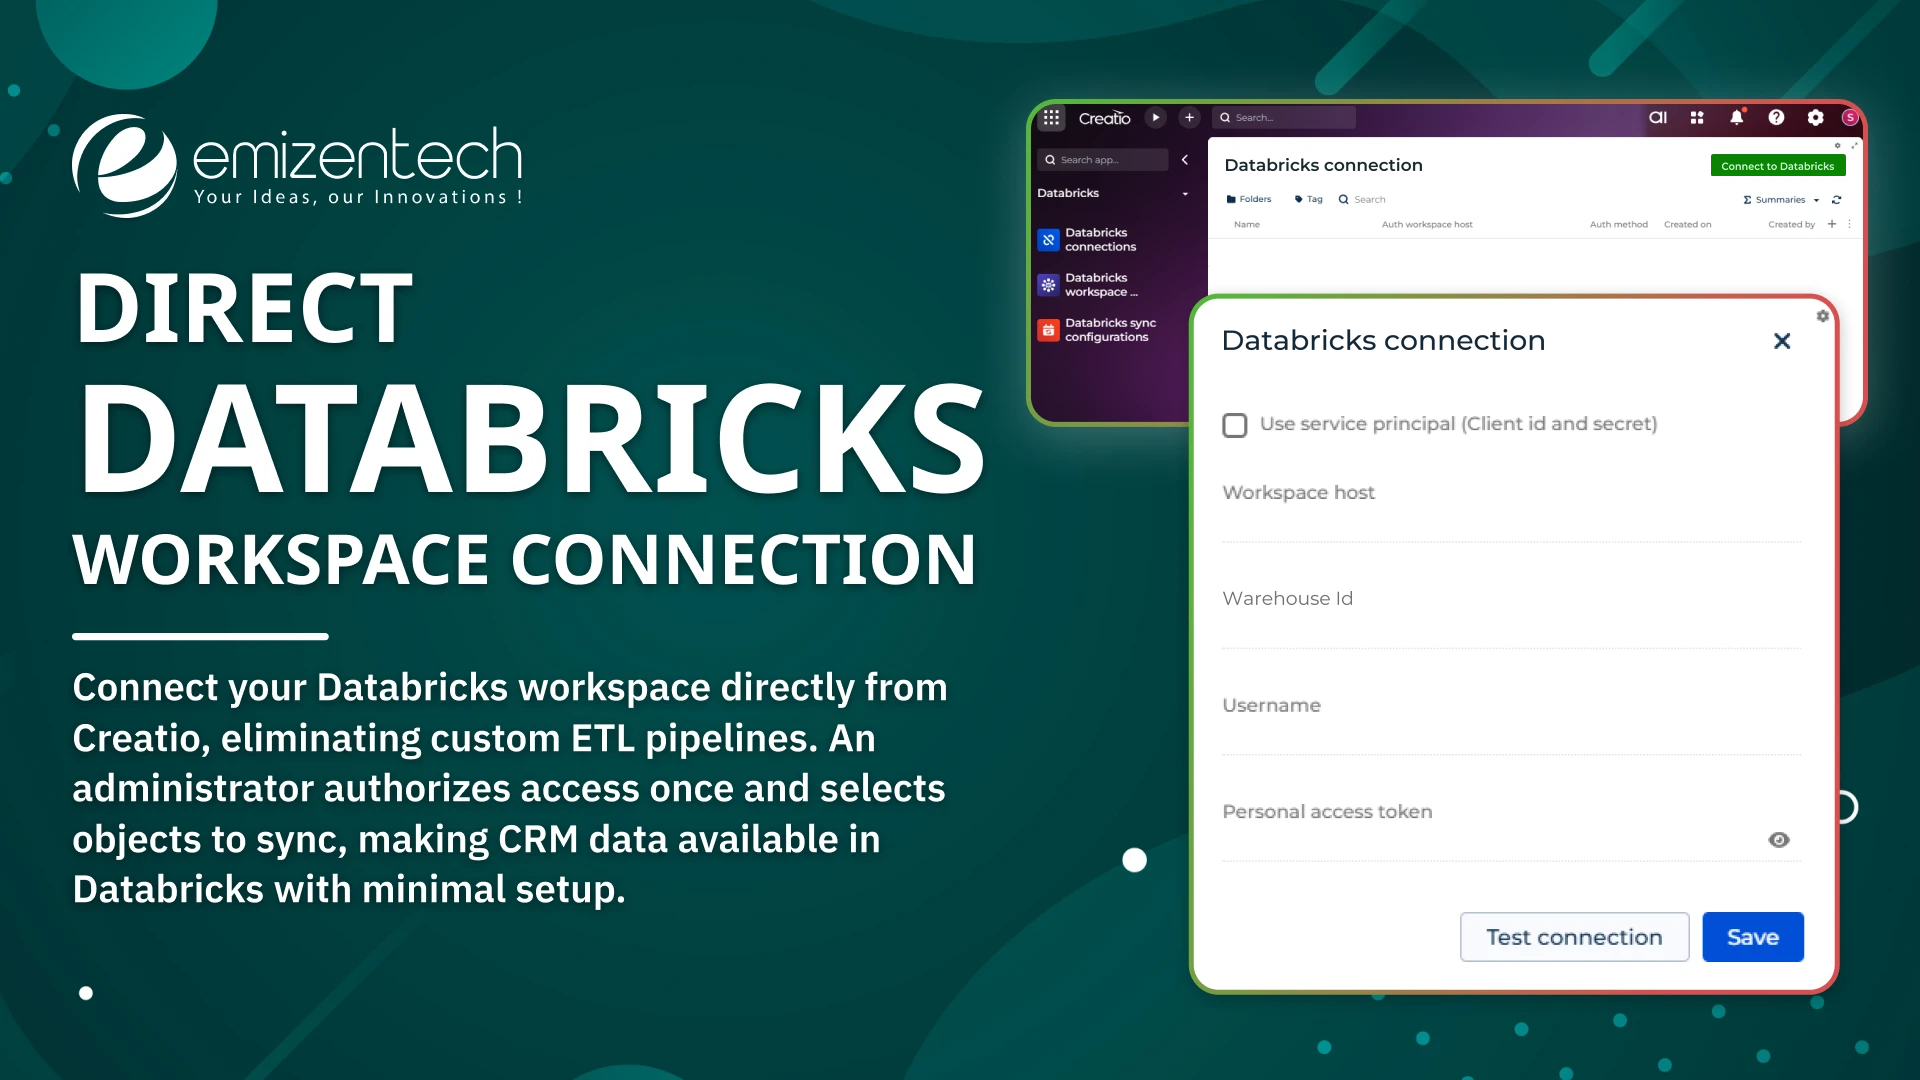
Direct Databricks Workspace Connection
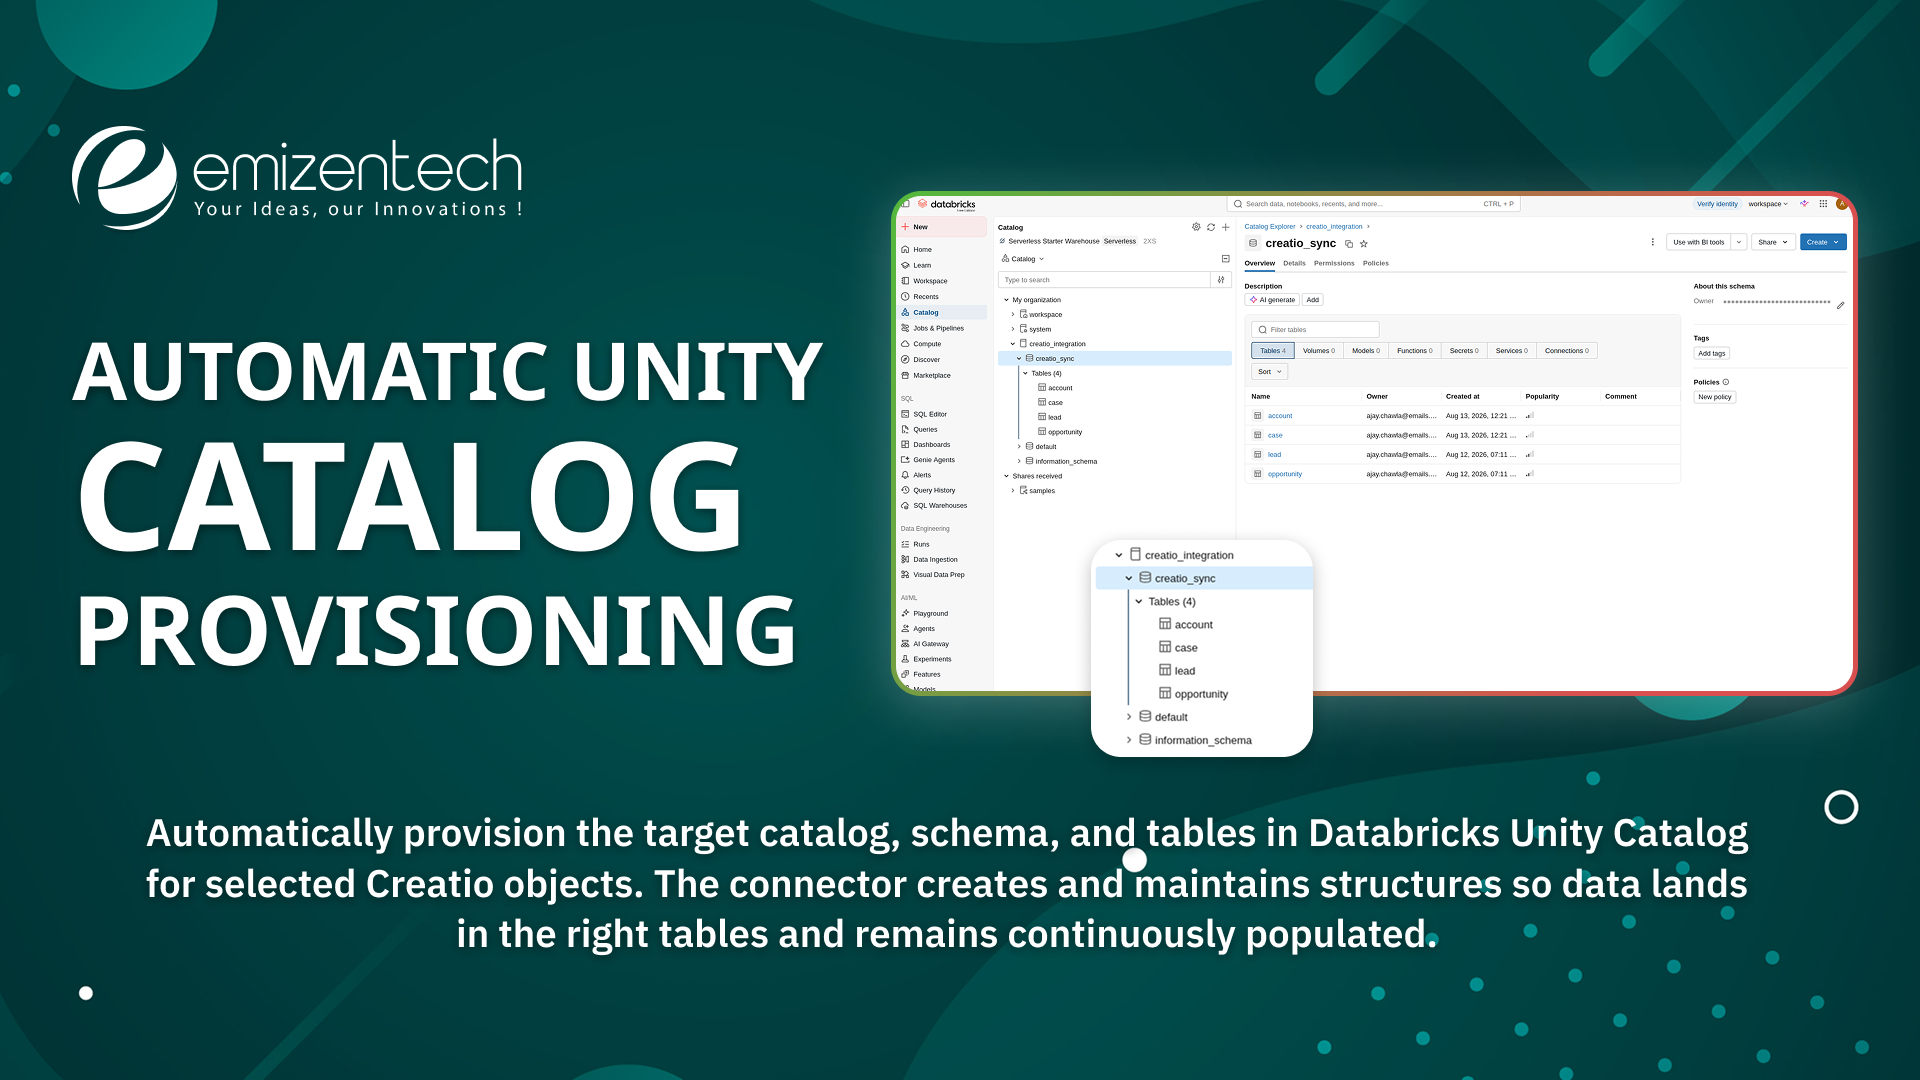
Automatic Unity Catalog Provisioning
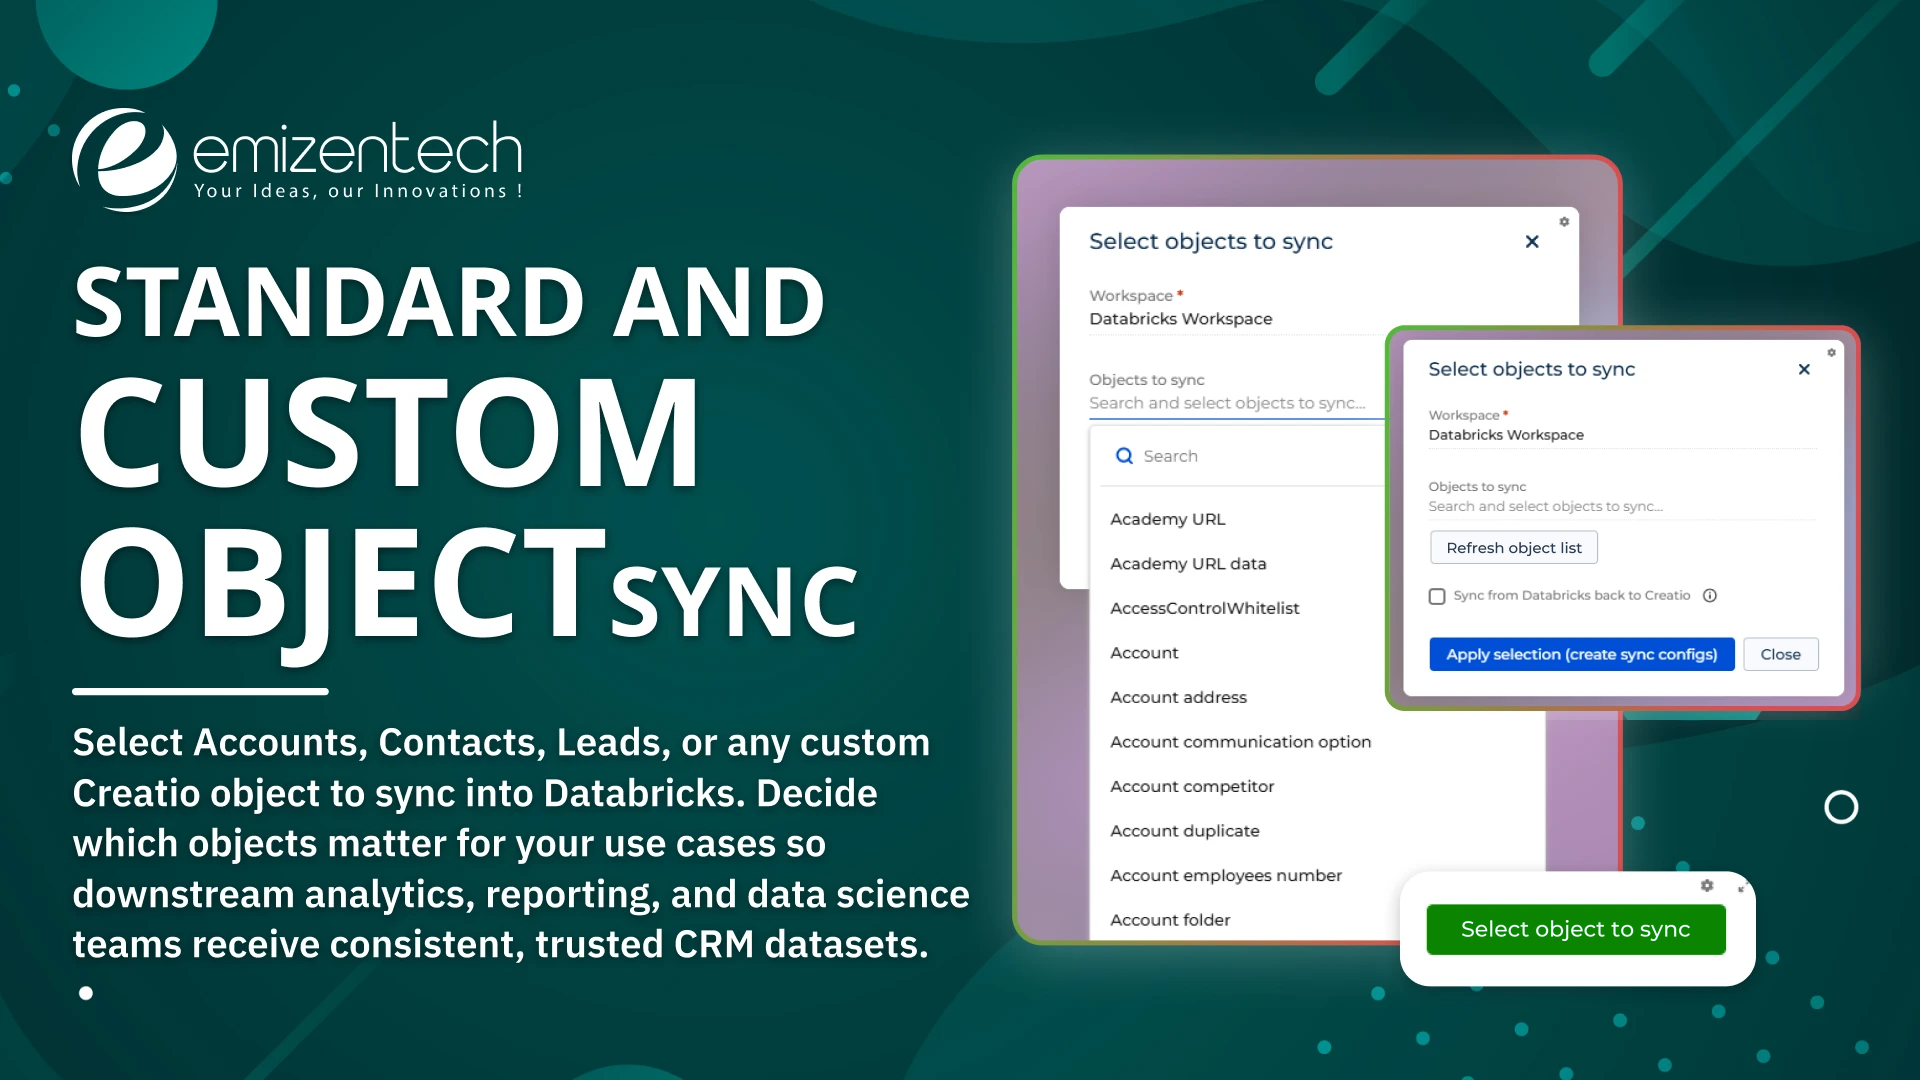
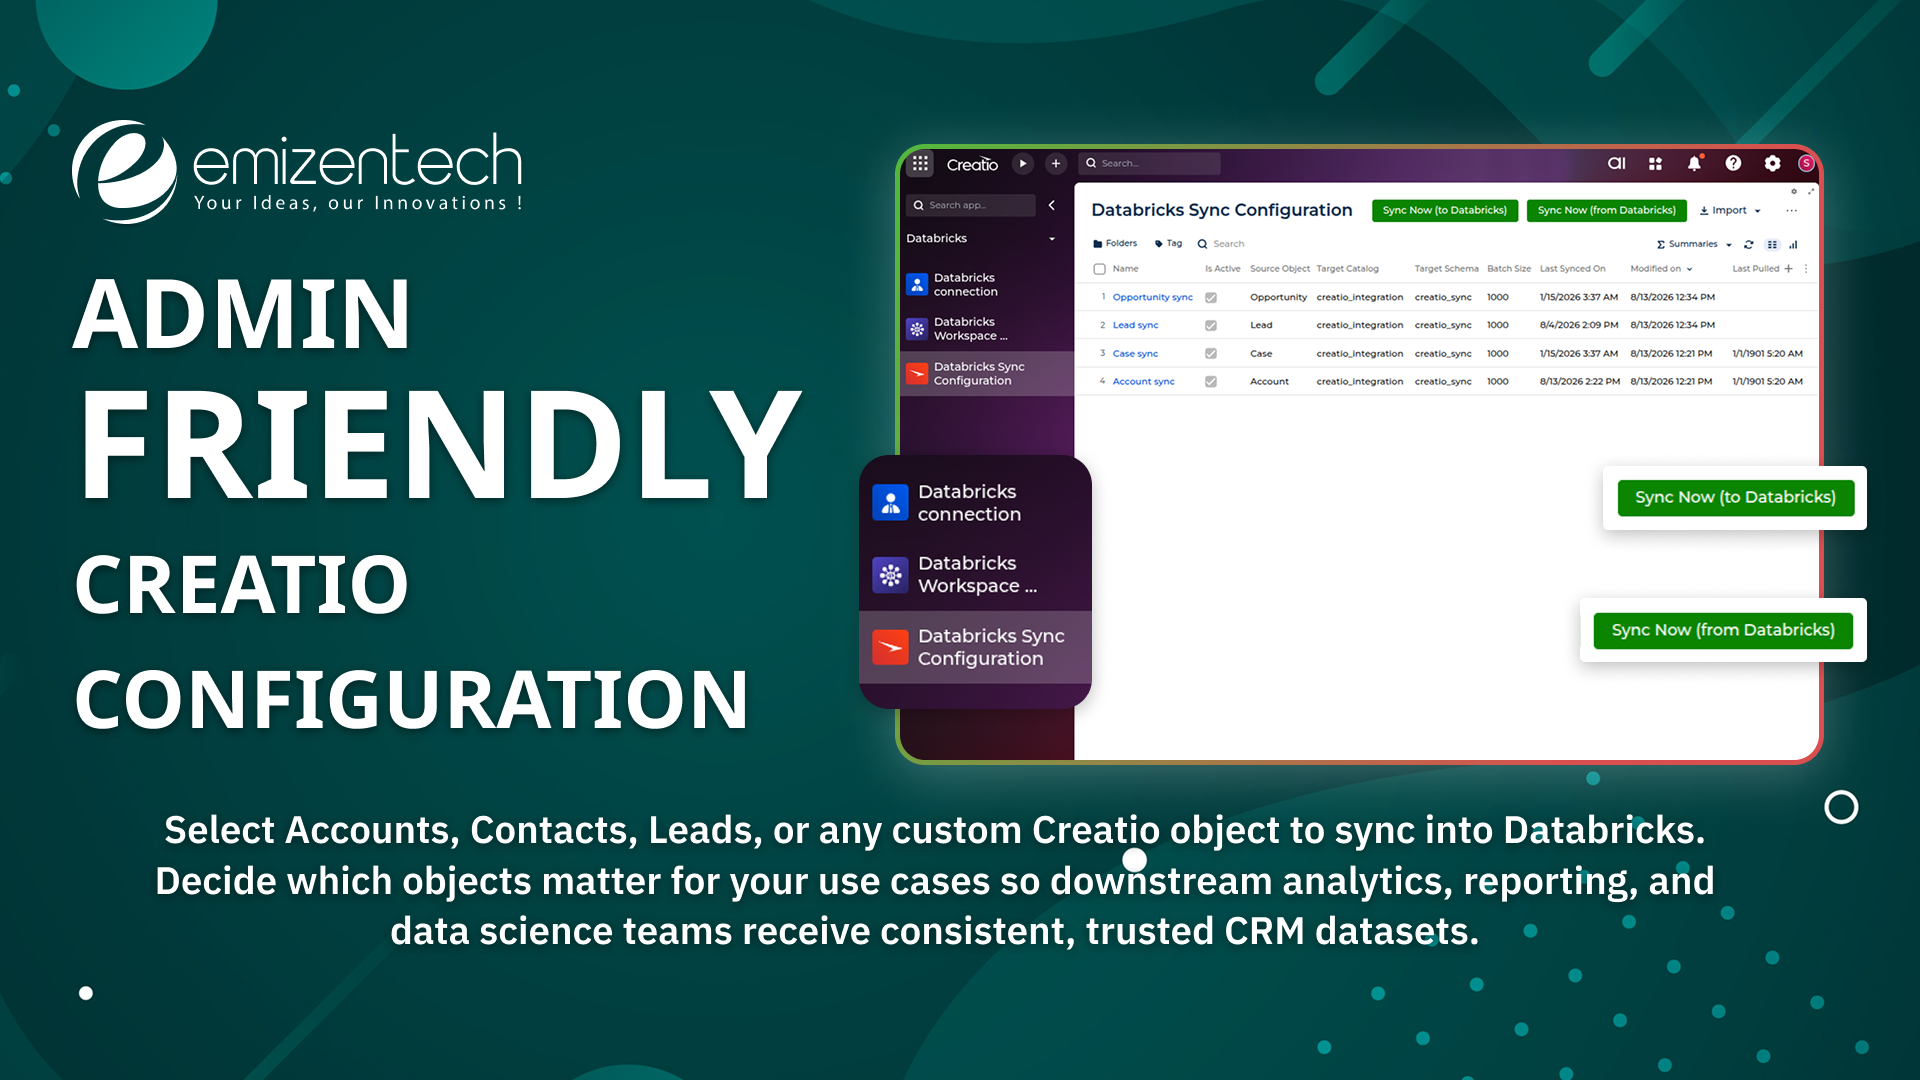
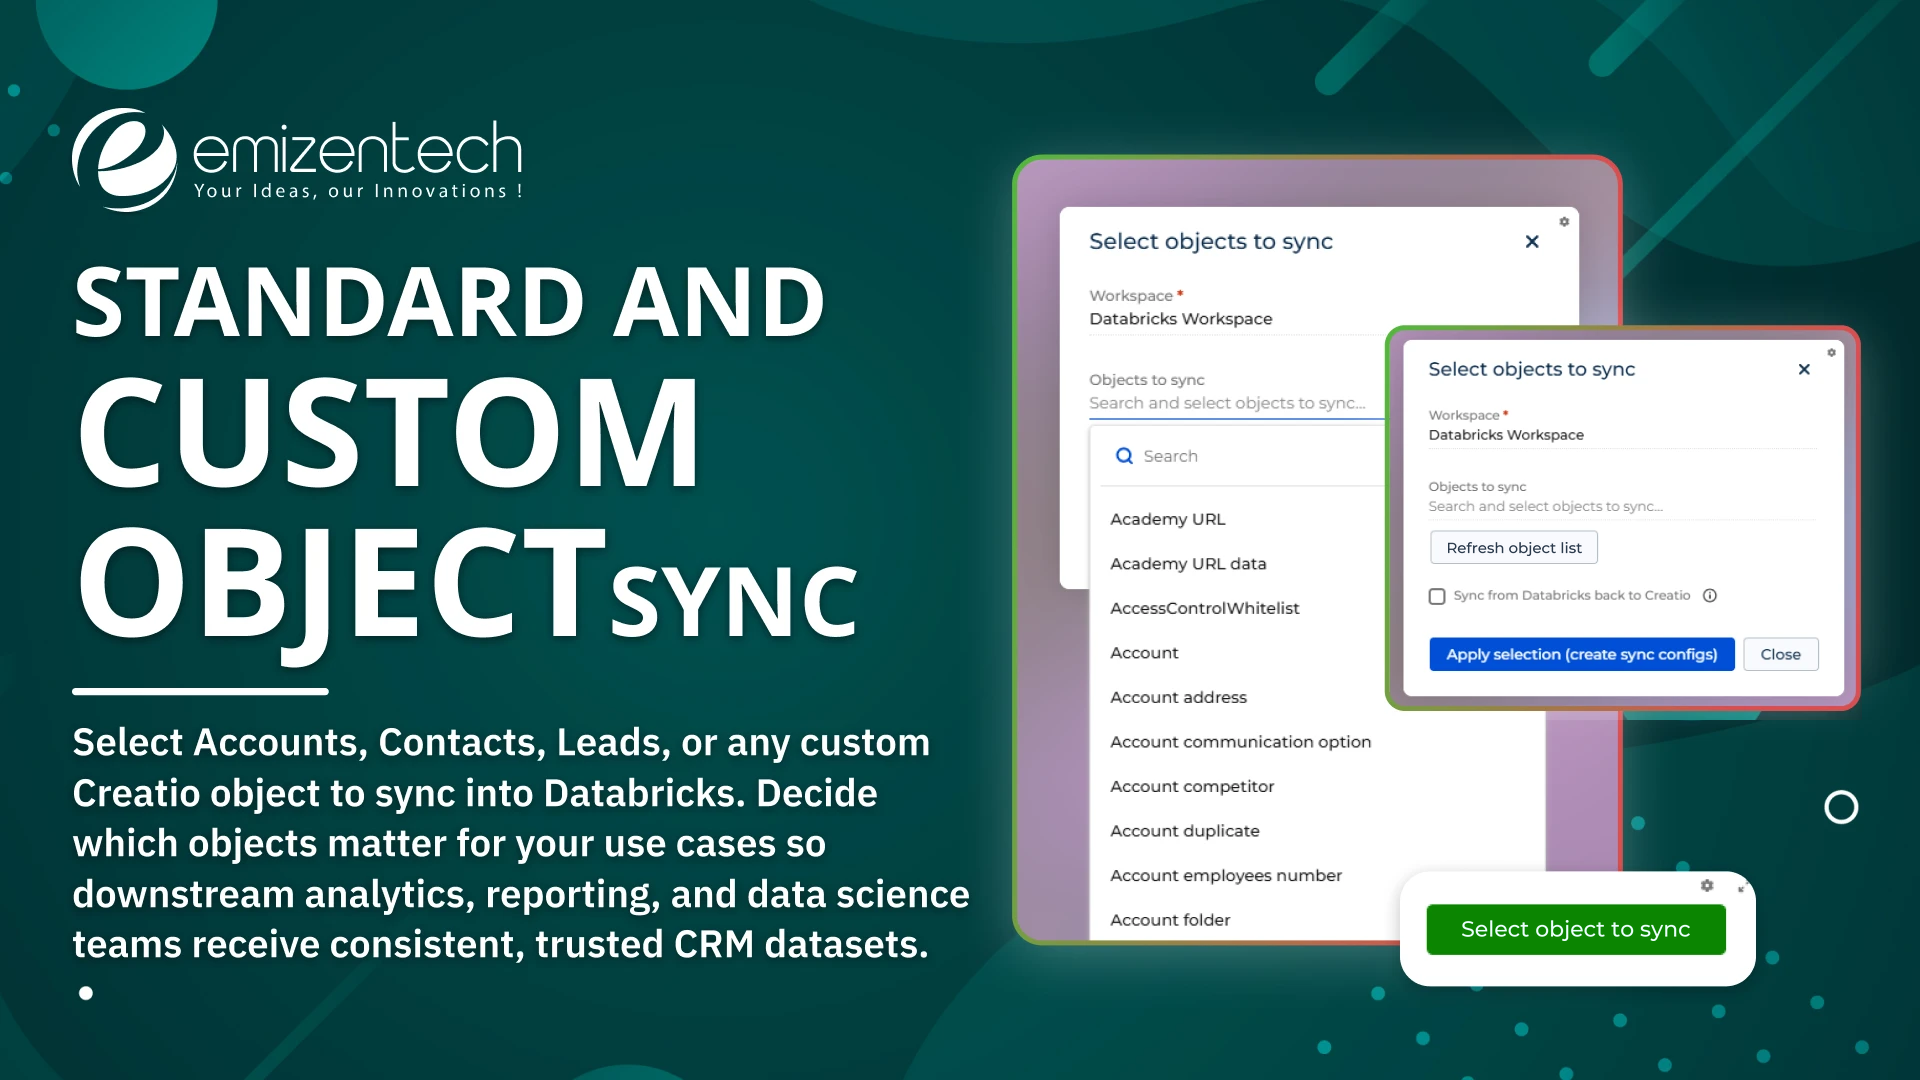
Standard and Custom Object Sync
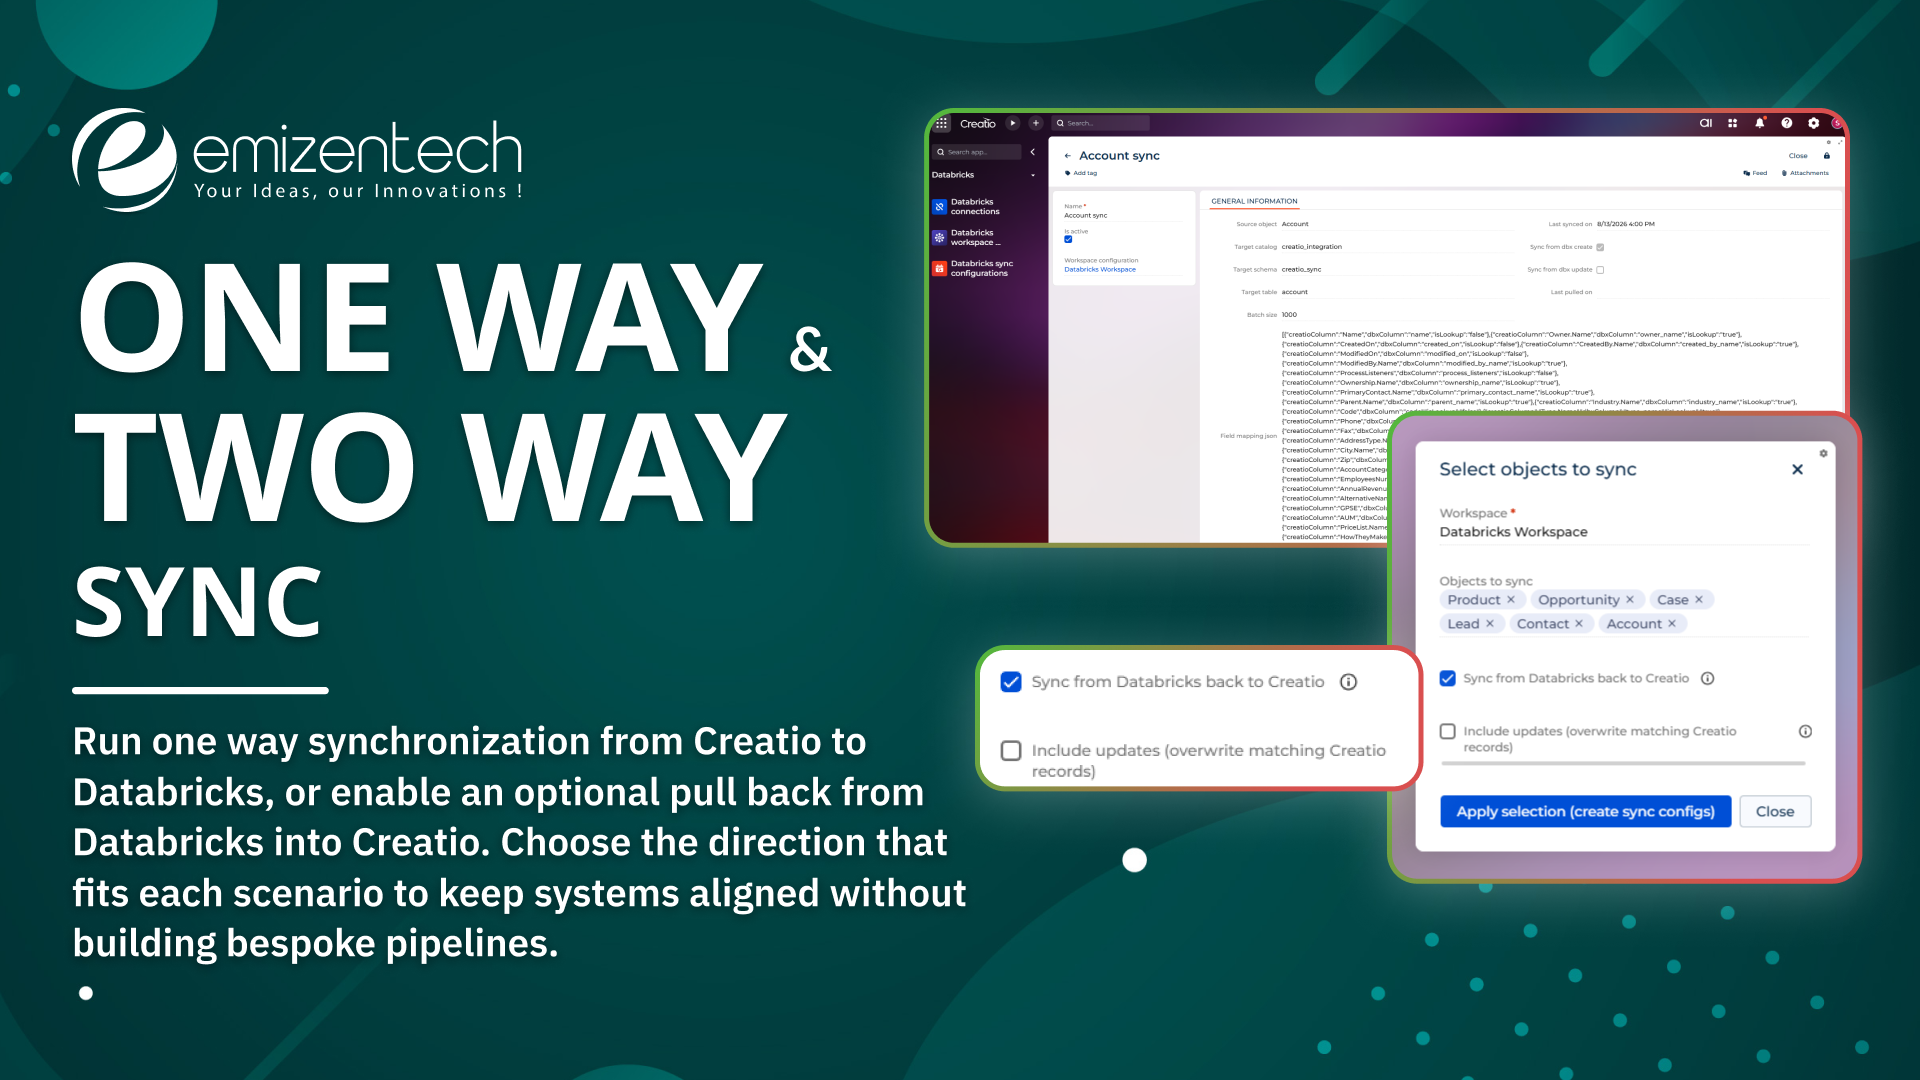
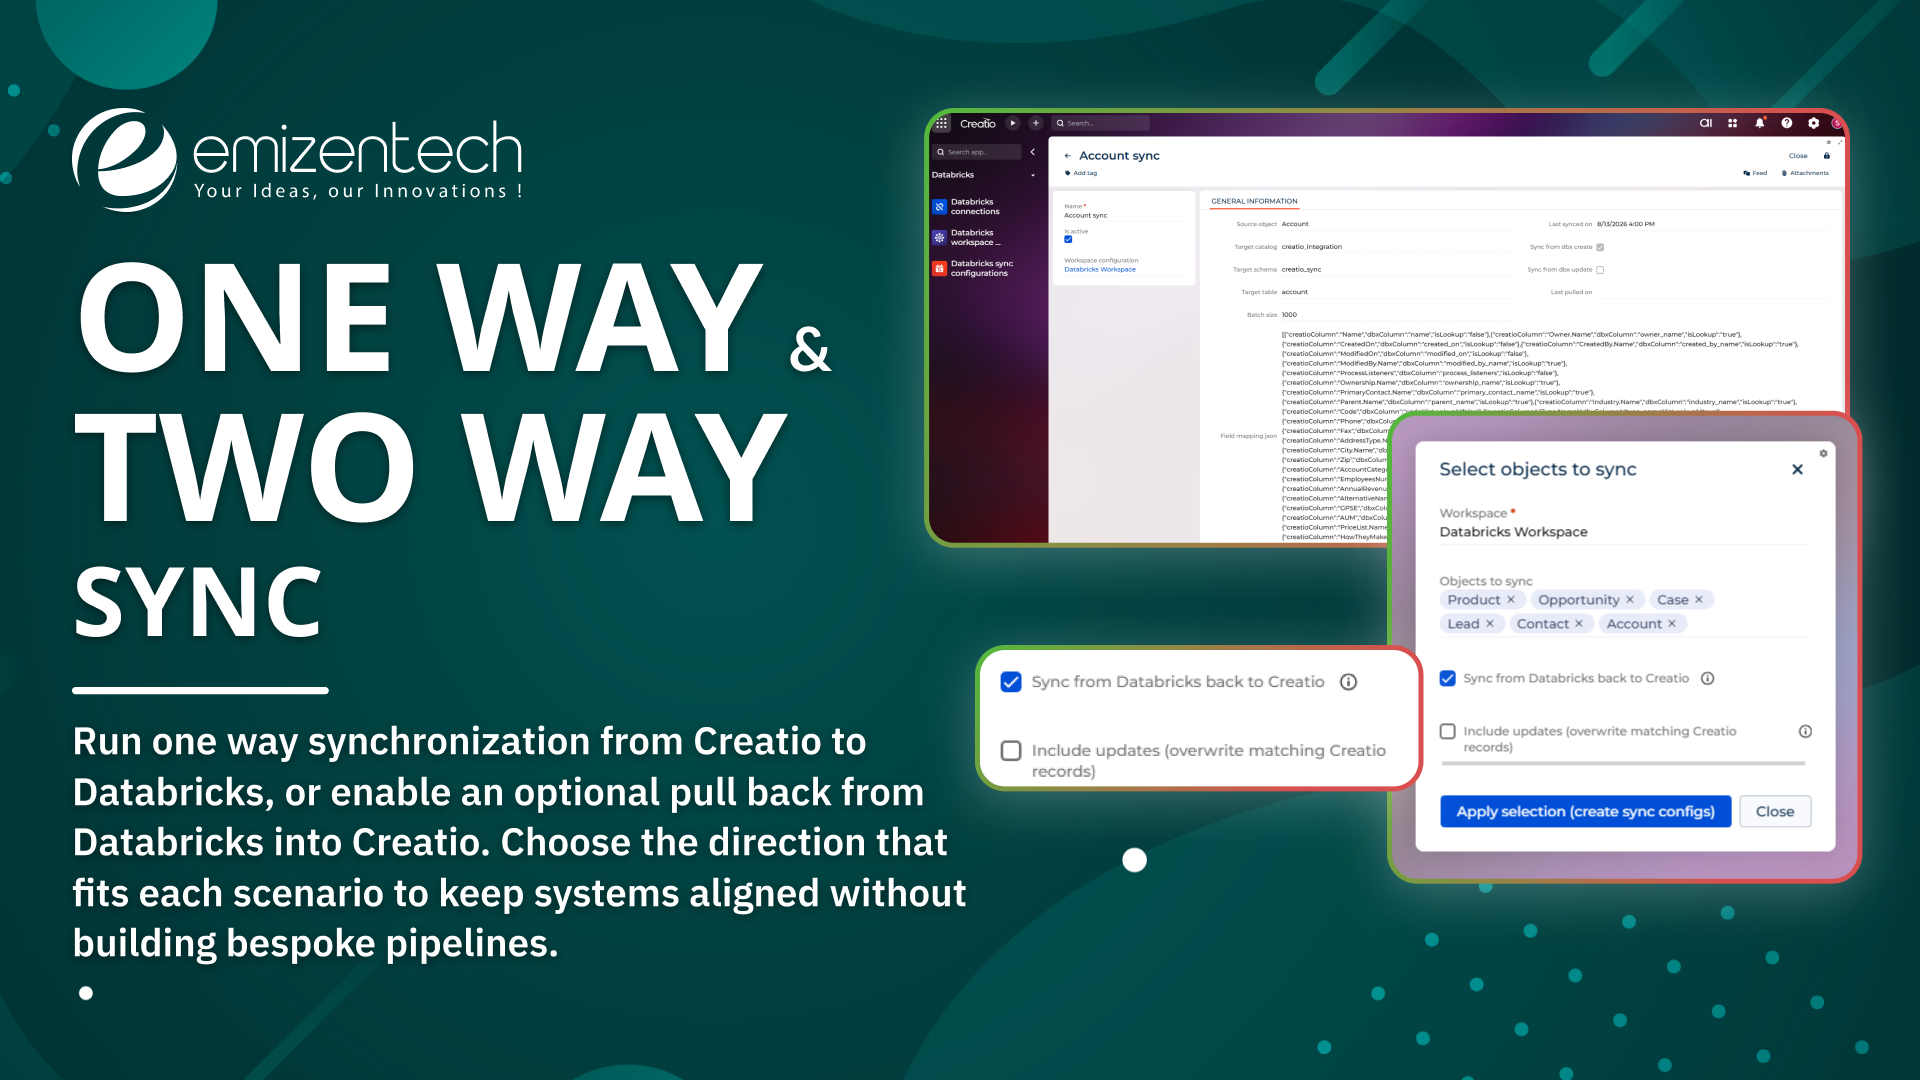
One Way and Two Way Sync
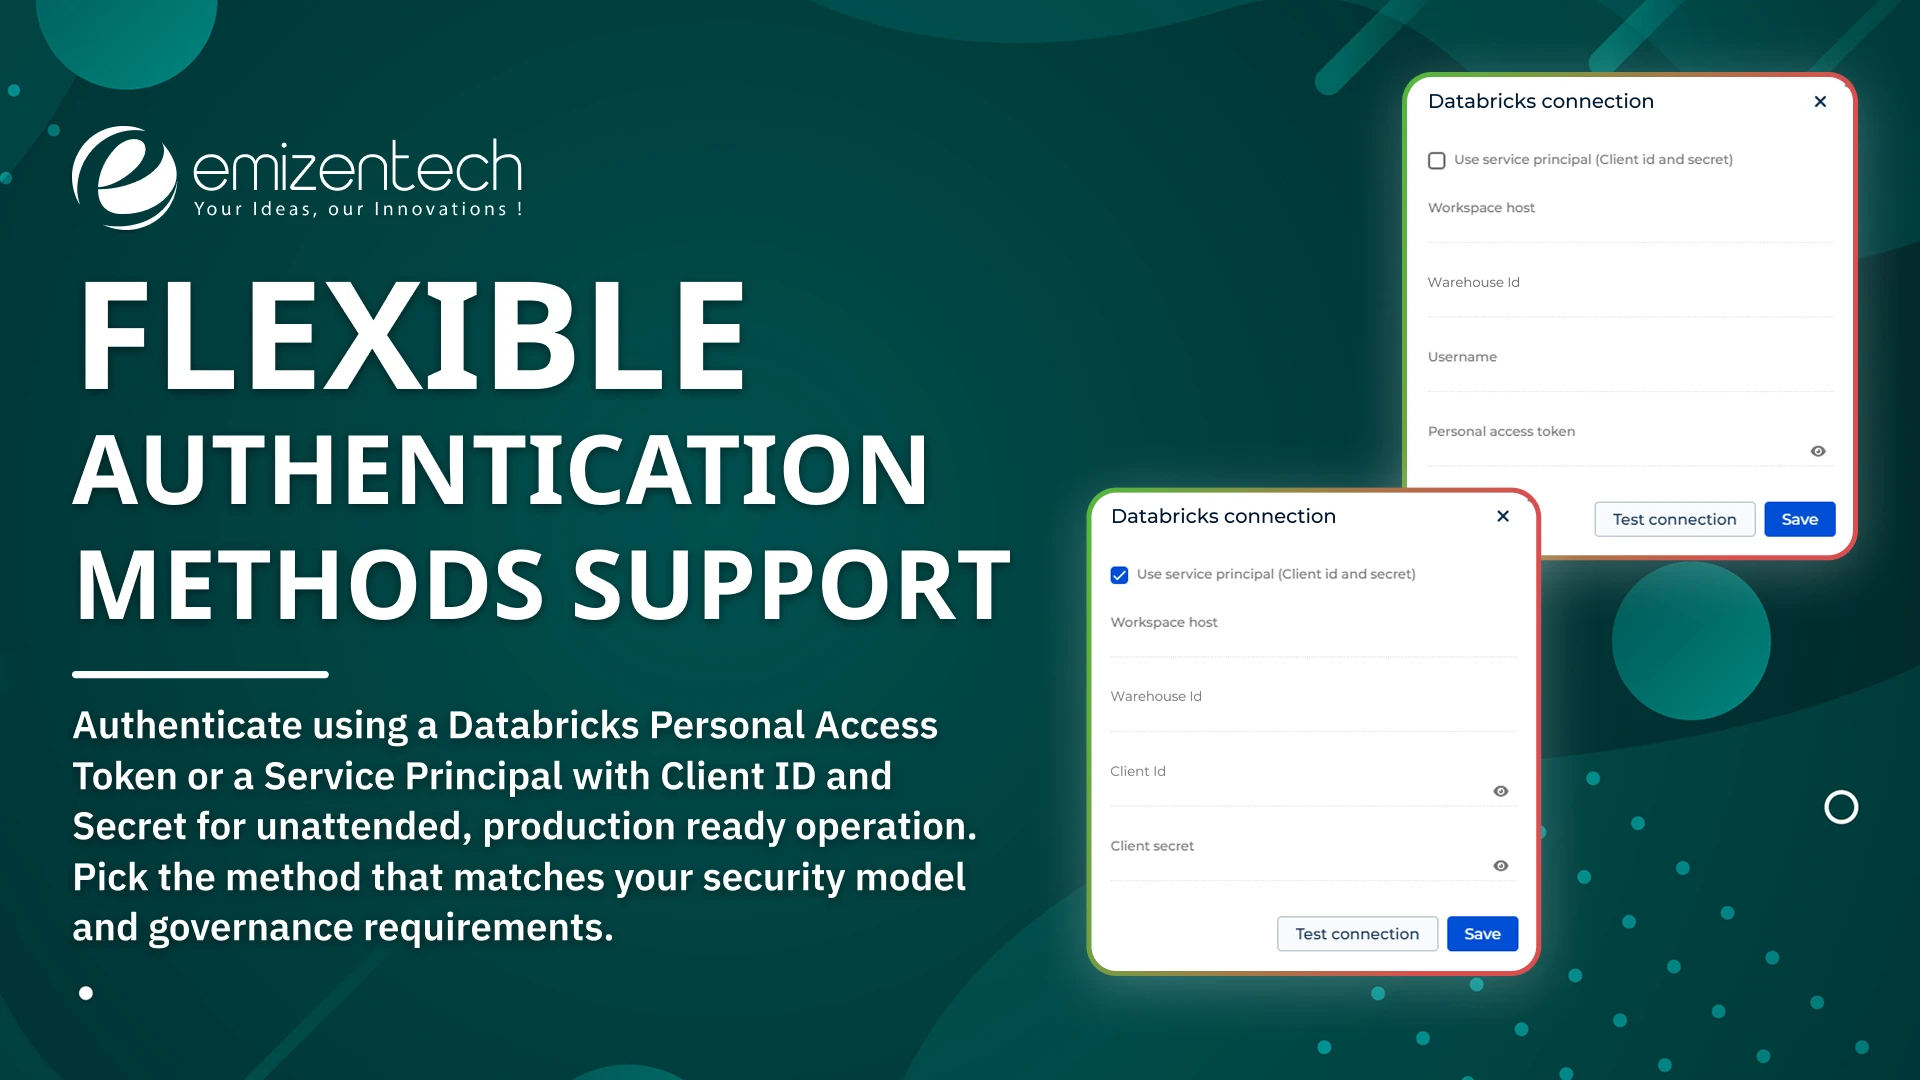
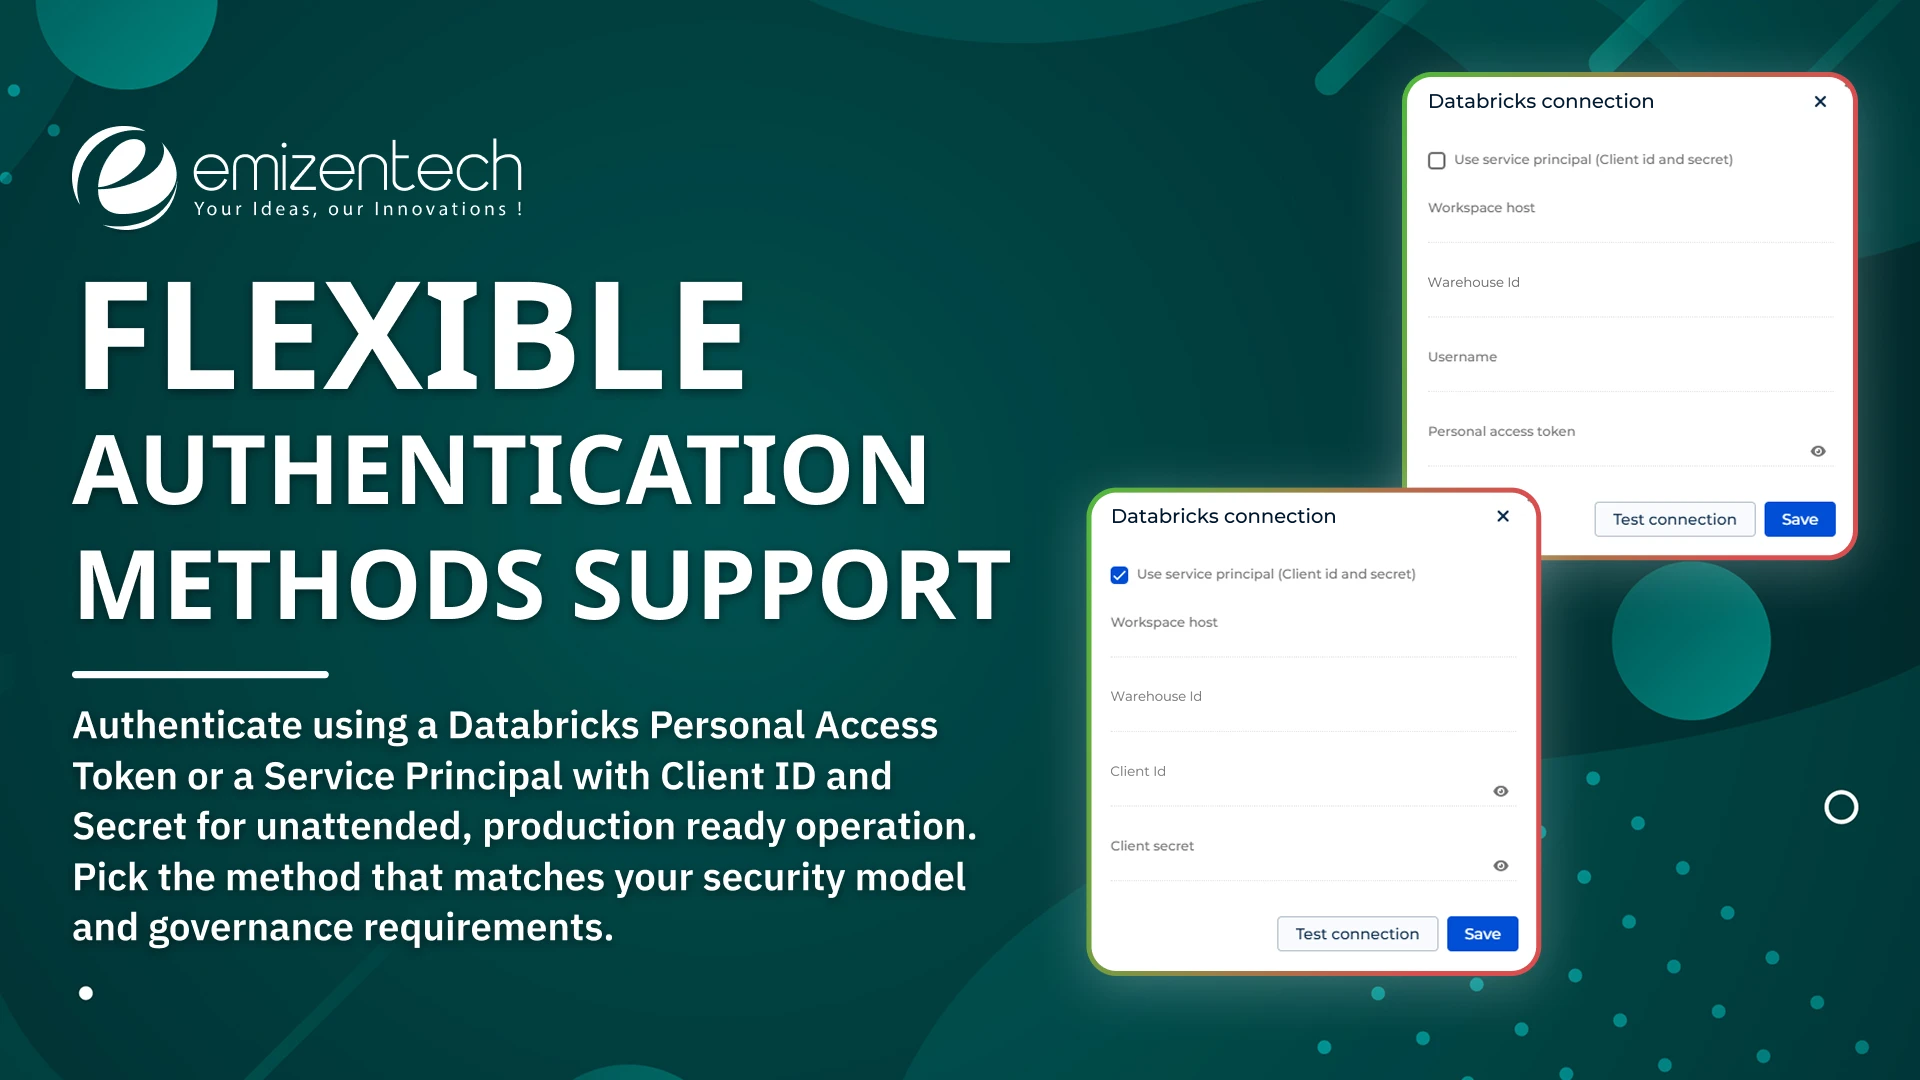
Flexible Authentication Methods Support
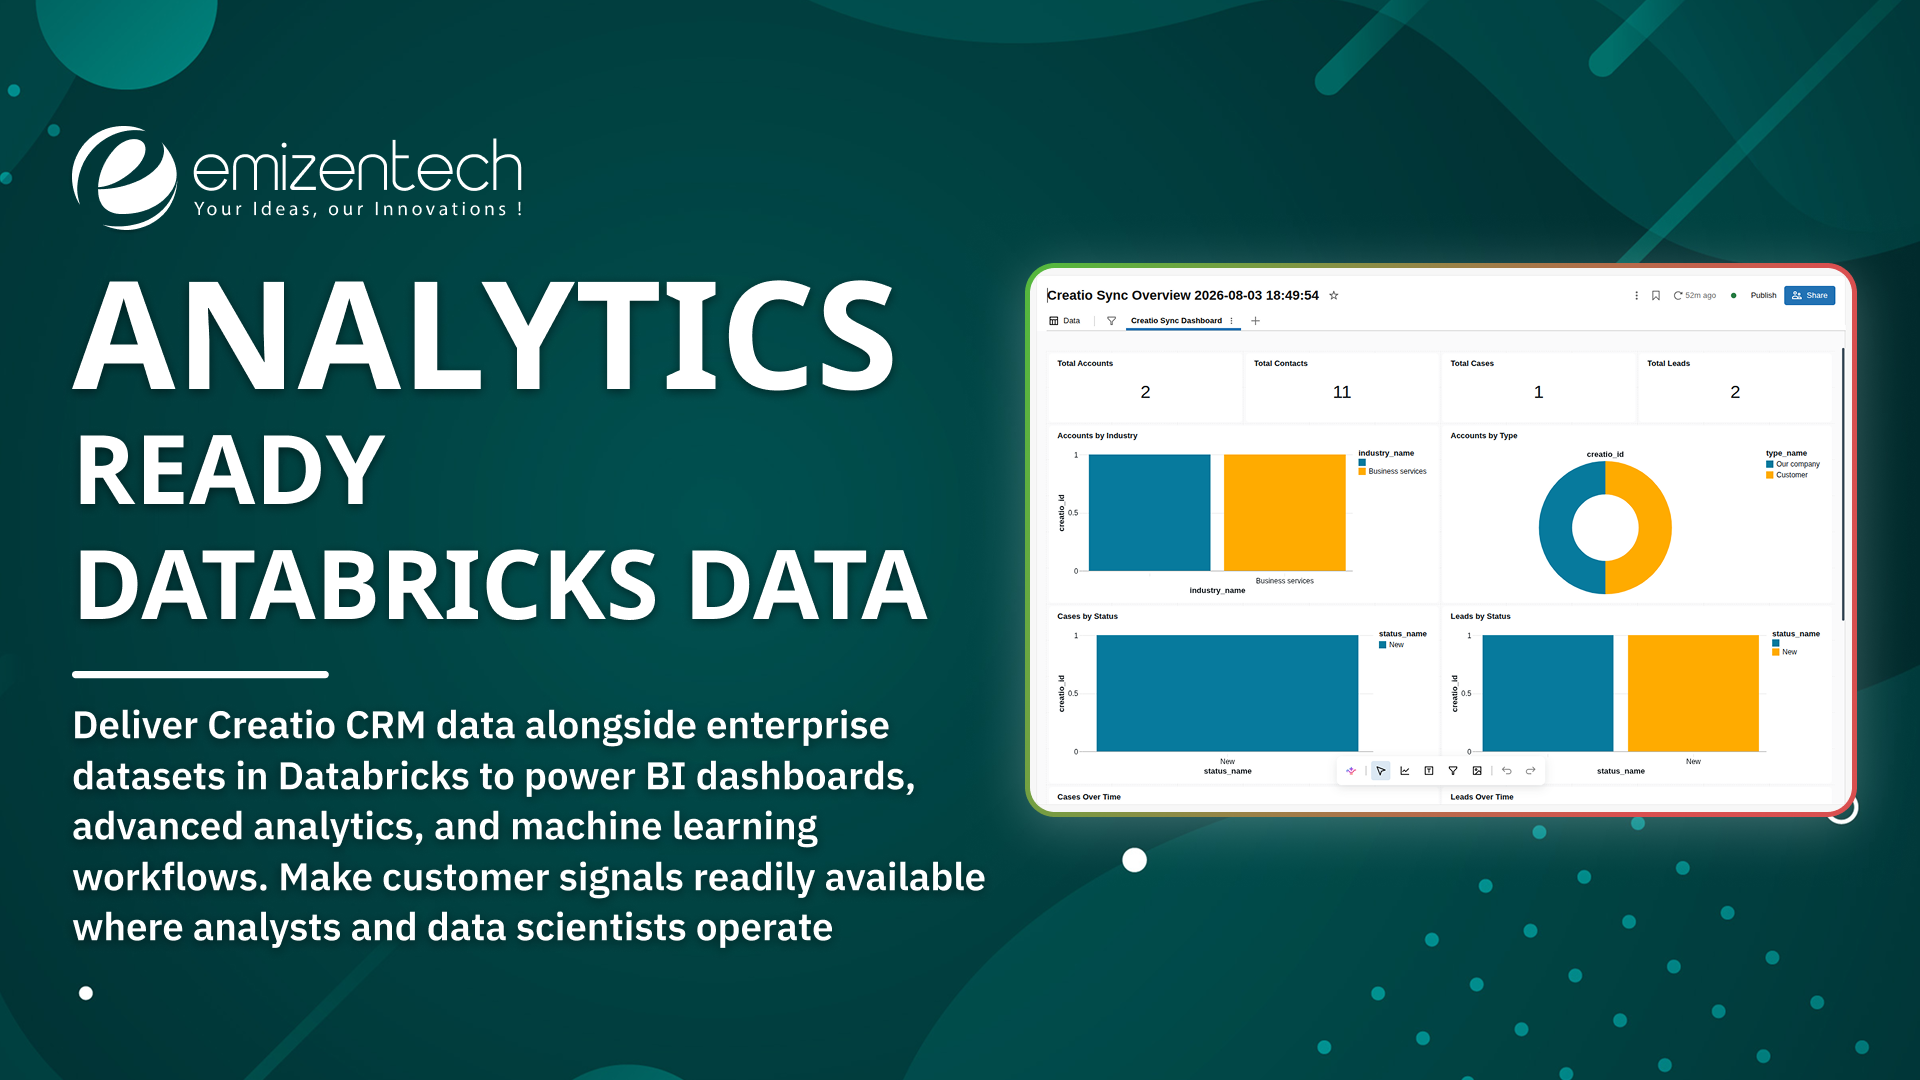
Analytics Ready Databricks Data
Pricing
Terms and Conditions
Support
Installation
Setup guide
Prerequisites
Before installing, make sure you have:
- A Databricks workspace with Unity Catalog enabled and a running SQL Warehouse.
- One authentication option: a Databricks Personal Access Token, or a Service Principal with a Client ID and Client Secret.
- A Databricks identity (the token's user, or the Service Principal) with these Unity Catalog privileges on the target catalog and schema: USE CATALOG, USE SCHEMA, and CREATE TABLE / MODIFY / SELECT — so the connector can create and populate tables. If the target catalog or schema does not already exist, the identity also needs permission to create it (CREATE SCHEMA on the catalog, or Metastore Admin to create a new catalog).
- Permission to install applications in your Creatio instance.
Step 1 — Install the application
Install the connector from the Creatio Marketplace into your environment. After installation completes, rebuild the configuration if your instance does not do so automatically.
Step 2 — Open the Databricks workplace
A new Databricks workplace appears in the workplace list, containing Databricks connections, Databricks workspace configurations, and Databricks sync configurations.
Step 3 — Connect your workspace
In Databricks connections, add a connection to open the Databricks Connection dialog. Enter your Workspace host (for example, dbc-xxxxxxx.cloud.databricks.com) and Warehouse ID, then choose your authentication method:
- Personal Access Token (default) — enter your Username and Personal access token.
- Service principal — tick "Use service principal (Client id and secret)" and enter your Client id and Client secret (recommended for production).
Click Test connection. On success, the connector verifies the workspace and confirms the target catalog and schema in Unity Catalog are ready. Click Save.
Step 4 — Select objects to sync
Open the workspace and use Select objects to sync. Choose the Creatio objects to sync — standard objects such as Accounts, Contacts, and Leads, or any custom object. To bring records from Databricks back into Creatio, enable "Sync from Databricks back to Creatio" and choose whether to create new records only, or create and update existing records. Click Apply selection to create the sync configurations.
Step 5 — Run a sync
Open Databricks sync configurations. Use Sync now (to Databricks) to push Creatio records into Databricks. If you enabled pull-back on a configuration, Sync now (from Databricks) becomes available to pull records into Creatio.
Data sharing
- By installing or downloading the App, you confirm that you agree with sharing your account data (name, email, phone, company and country) with the App Developer as their End User.
- The App Developer will process your data under their privacy policy.
Versions
Versions history
Emizentech Databricks Connector for Creatio lets you connect a Creatio instance directly to a Databricks workspace and sync data between the two systems.
- Connect & authenticate to your Databricks workspace using a Personal Access Token, or a Service Principal (Client Id and Client Secret) for production use.
- Test the connection before saving, with clear success/failure feedback.
- Select which Creatio objects to sync — click Refresh object list, then choose from all available objects, standard or custom.
- Two-way sync support — optionally allow new records created in Databricks to flow back into Creatio, with a choice between "new records only" or "new records + updates."
- Each synced object gets its own table in creatio_integration.creatio_sync on the Databricks side.
Manual app installation
- Open the needed app → the Packages tab - download the Markeplace app files.
- Click in the top right → Application Hub
- Click New application. This opens a window.
- Select Install from file and click Select in the window that opens.
- Click Select file on the page of the Marketplace App Installation Wizard and specify the app file path.