Google Sheets connector for Creatio
Overview
Product overview
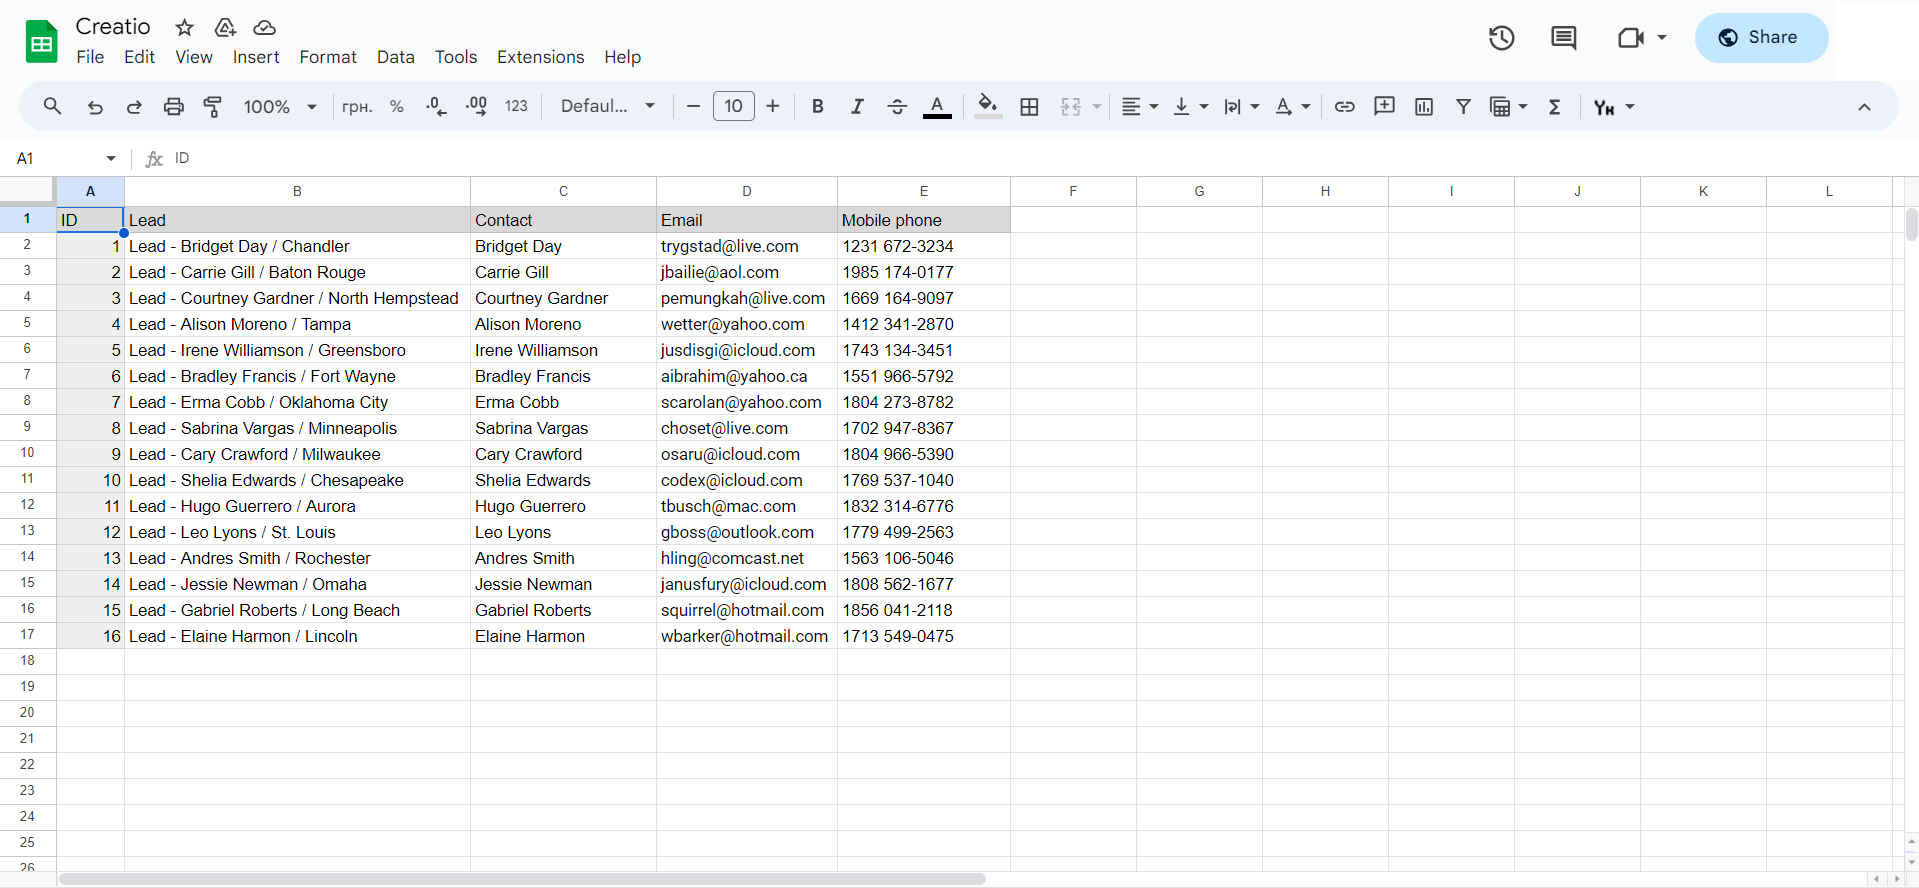
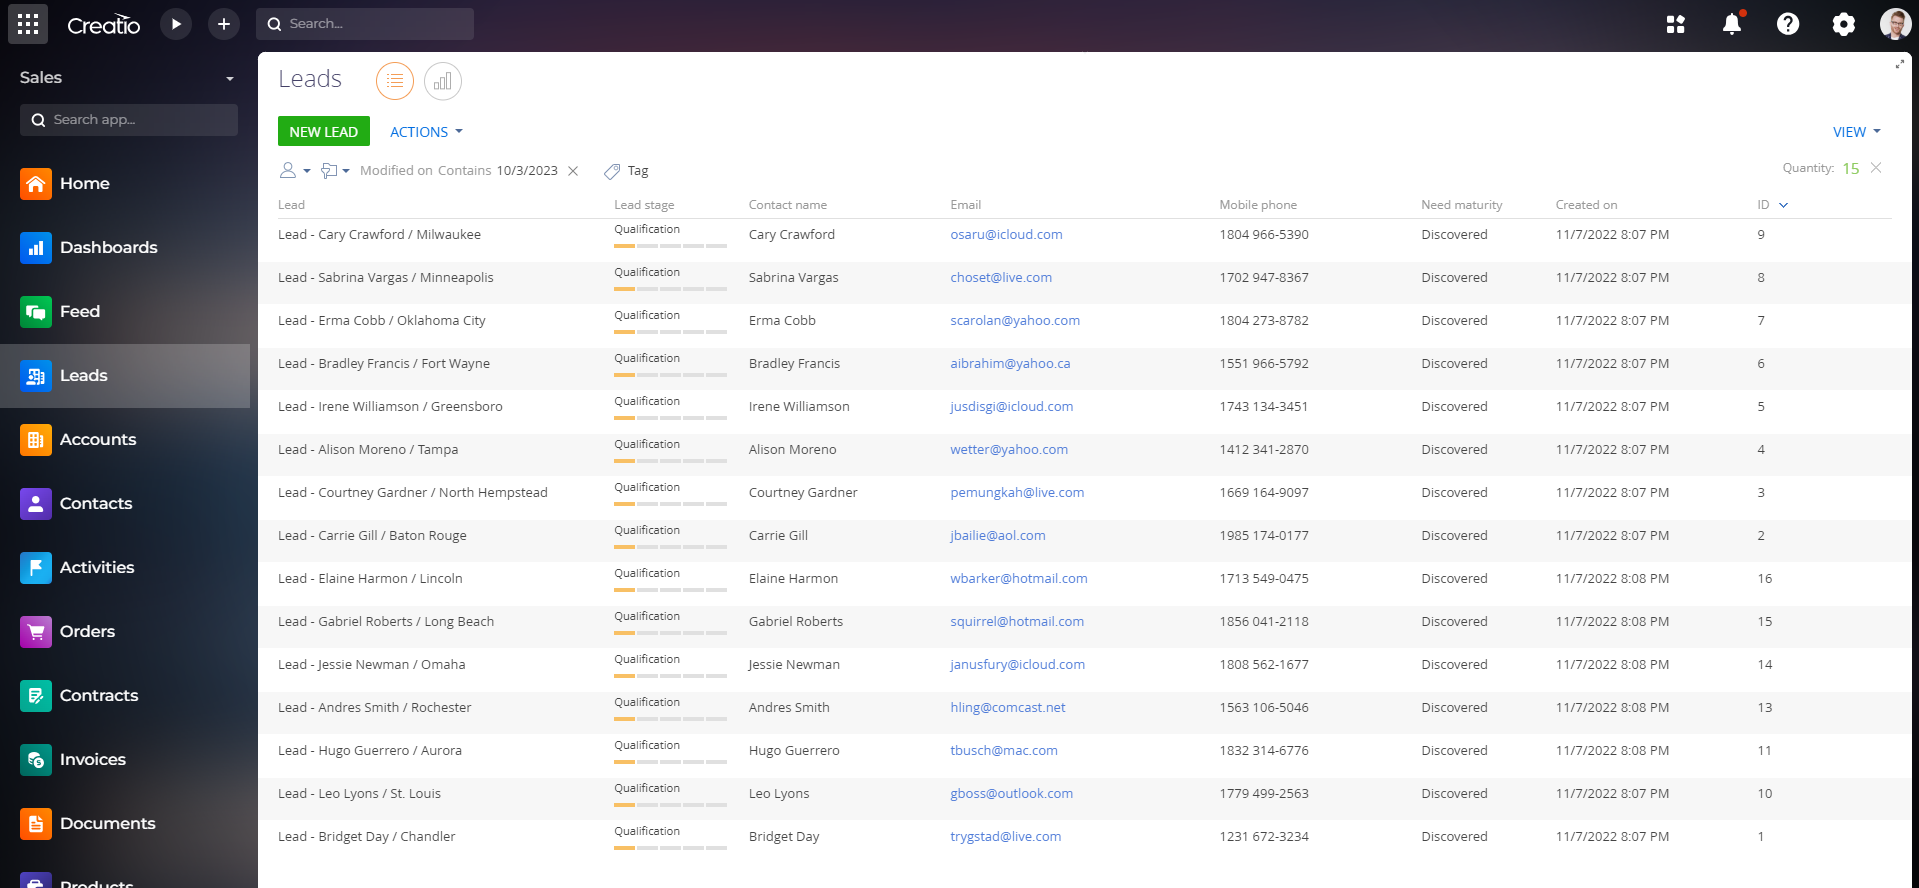
Google Sheets connector for Creatio allows you to connect your Google Sheets to your Creatio (integration is done in both directions).
The result of this integration will be the ability to transfer data from tables to your Creatio and automatic creation of such entities as:
- contacts
- leads
- orders
- and other Creatio objects.
Use cases:
- Collect data in your Creatio from Google forms;
- Set up data exchange between two systems using Google sheets as a temporary database;
- Automatically enter information into Creatio, which will be filled in by your suppliers or partners in a Google spreadsheet;
- Filling in reports in a table.
Key features:
- You can connect any google sheet to your Creatio.
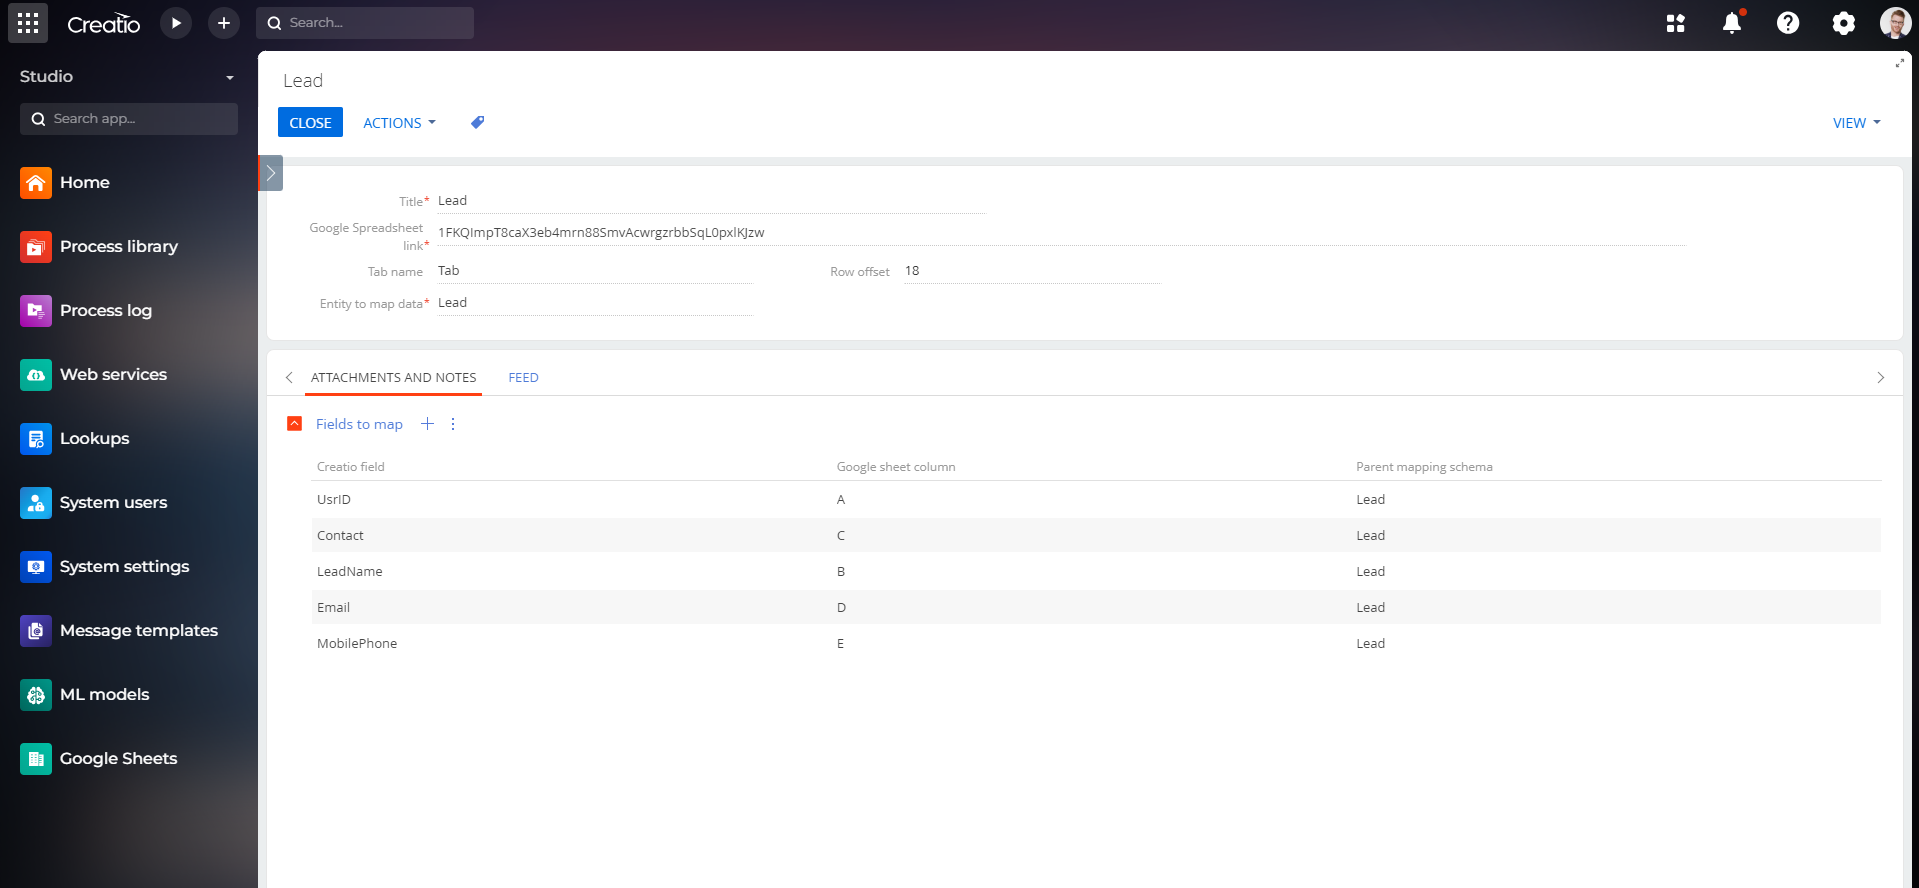
- Connector allows you to link columns from the sheet to your Creatio fields.
- Connector settings allow you to choose which objects you can create when new records appear in the sheet.
- Integration allows you to transfer data from Creatio and fill in a Google spreadsheet online.
Notes:
The connector connection manual is specially designed so that you can configure and use all the features of the connector without the involvement of a development company, which reduces your connection costs.
The connector works with the current version of Google sheets and requires an active Google Cloud account.
Pricing
Terms and Conditions
Support
Installation
Setup guide
The instruction is created in such a way that you can install the connector even if you have never configured Creatio before. The manual describes and visualizes each step of installing and configuring the connector.
Data sharing
- By installing or downloading the App, you confirm that you agree with sharing your account data (name, email, phone, company and country) with the App Developer as their End User.
- The App Developer will process your data under their privacy policy.
Versions
Versions history
1. A possibility to select the operating mode for the object (data export into a Google spreadsheet or data import).
2. When choosing the option to upload to a Google spreadsheet, it is possible to set the date from which objects should be uploaded.
3. To fill in the link to Google spreadsheet field, you can now simply insert a link from the browser.
Manual app installation
- Open the needed app → the Packages tab - download the Markeplace app files.
- Click in the top right → Application Hub
- Click New application. This opens a window.
- Select Install from file and click Select in the window that opens.
- Click Select file on the page of the Marketplace App Installation Wizard and specify the app file path.
The connector works with the current version of Google sheets and requires an active Google Cloud account.