AI Email Sentiment Analyzer for Creatio
Overview
Product overview
AI Email Sentiment Analyzer for Creatio: Analyze email tones and gain insights for data-driven decision-making. Users can select either OpenAI or Azure AI solutions for tone identification and categorization, enabling improved communication and customer engagement.
Use cases:
- The connector is designed for companies with substantial customer support email traffic, aiming to enhance customer service efficiency.
- Efficiently identifying and prioritizing urgent issues, gauging customer satisfaction, and improving overall customer support processes.
Key features:
- Sentiment Analysis Engine:
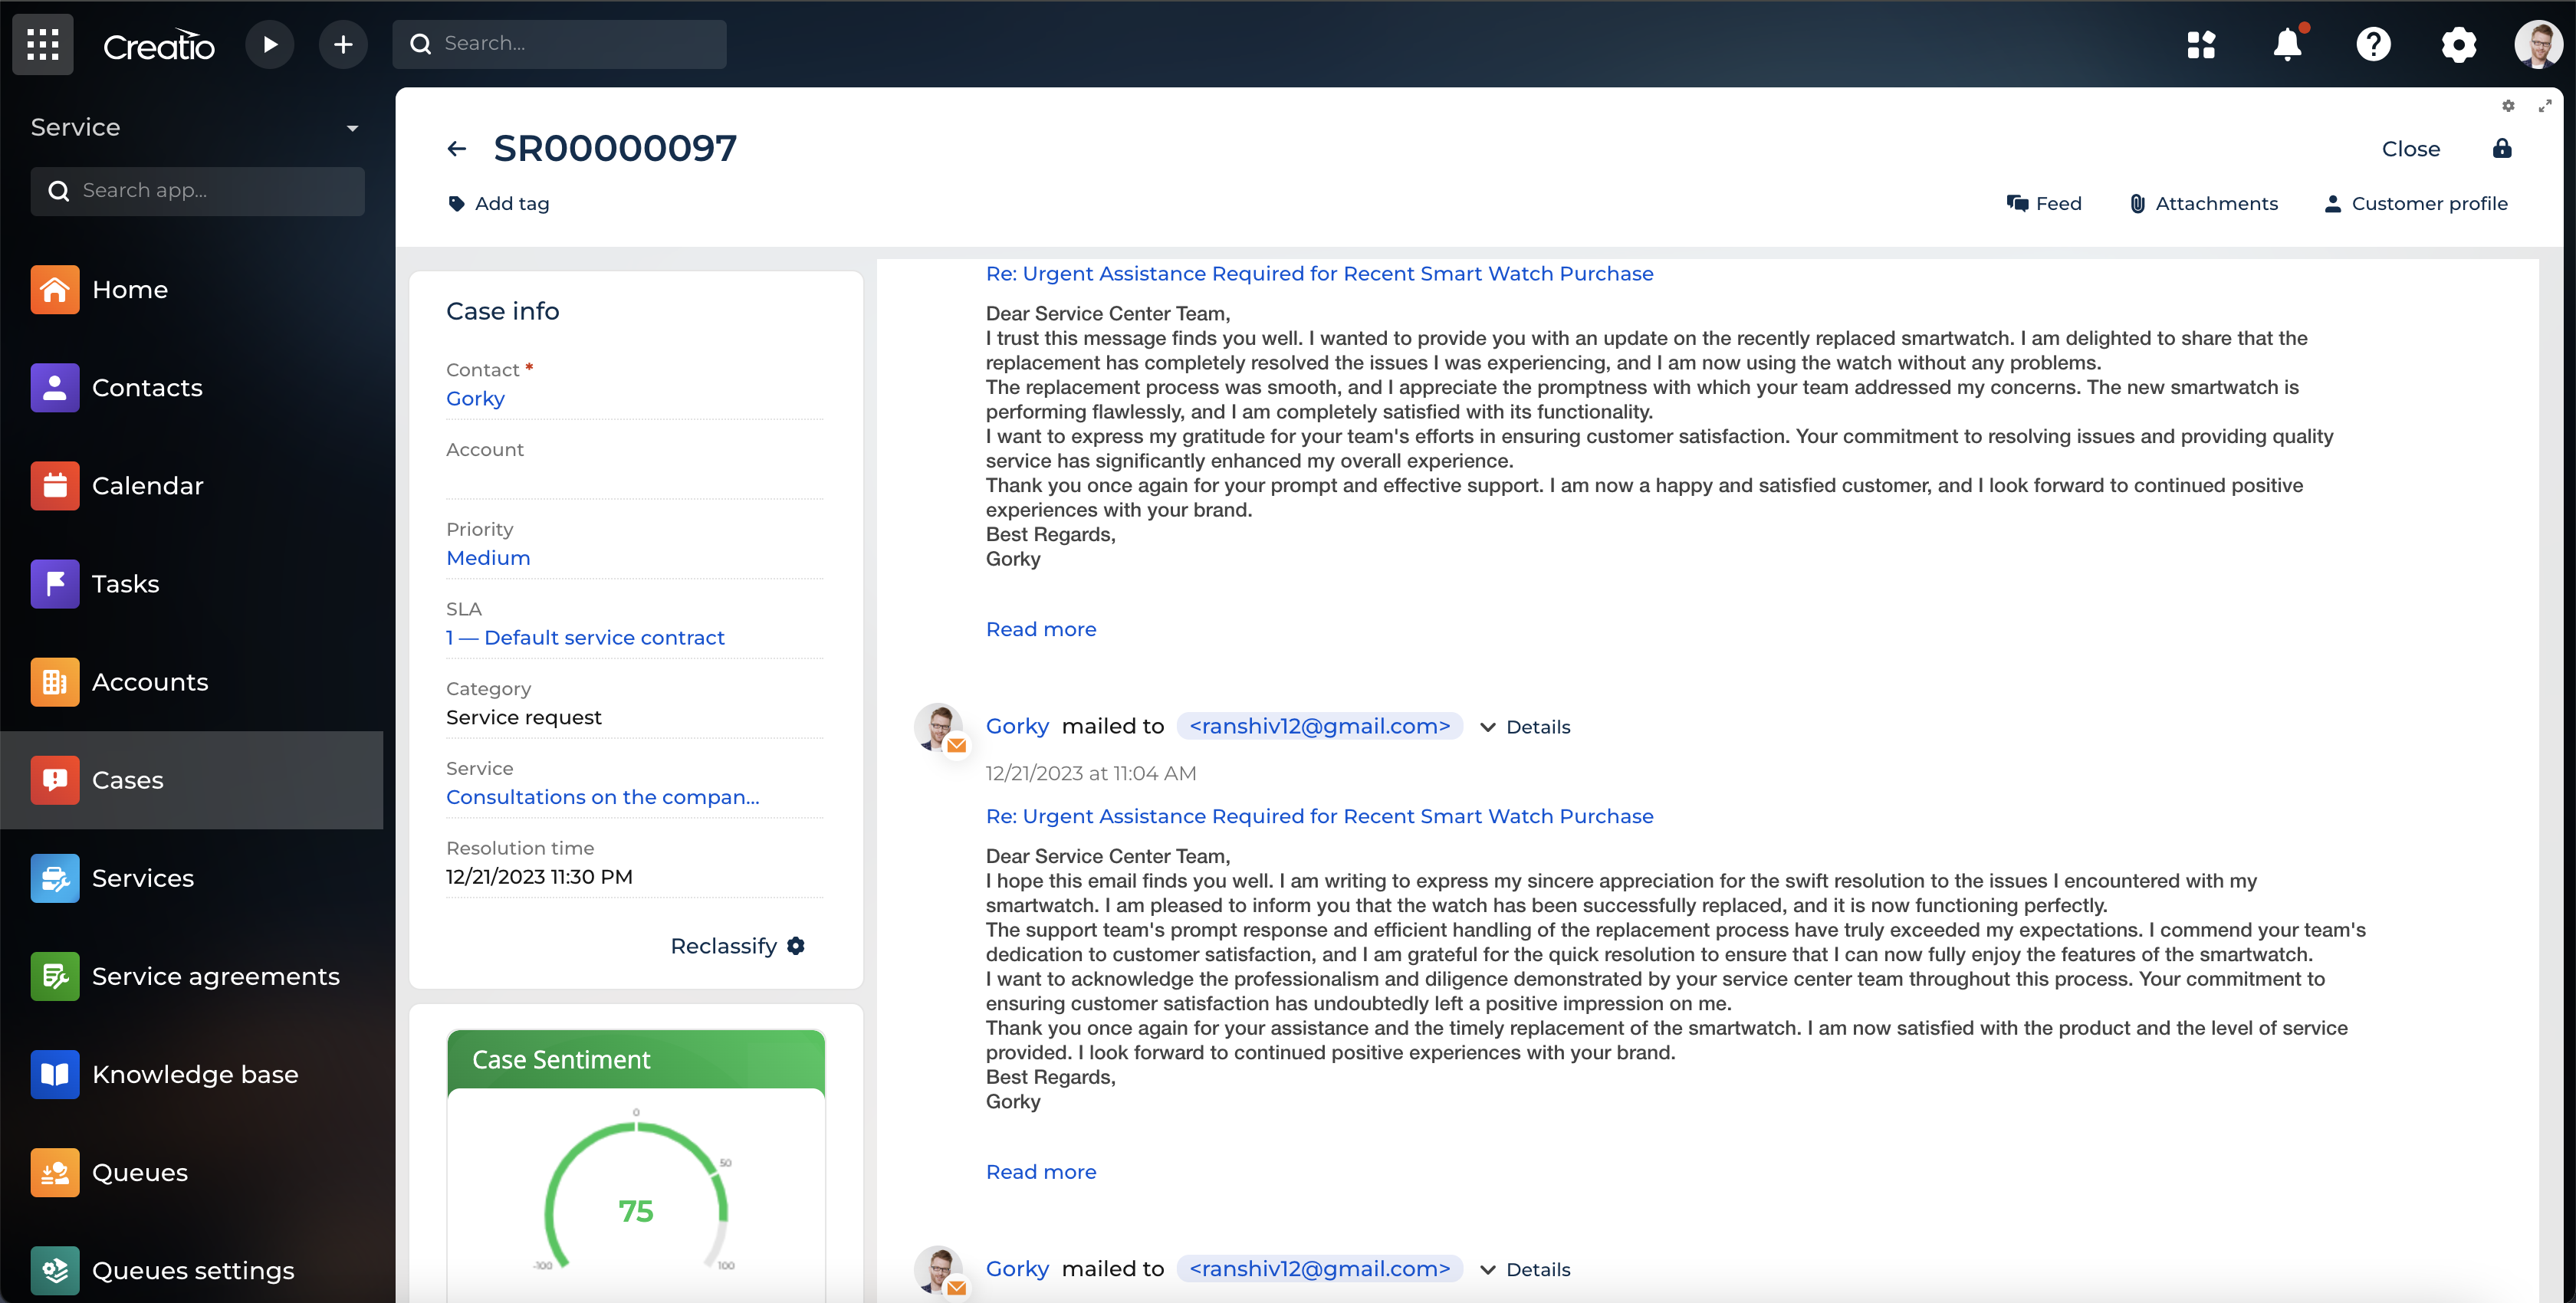
- The core feature is a robust sentiment analysis engine powered by OpenAI or Azure AI, categorizing customer support emails as positive, negative, or neutral/mixed.
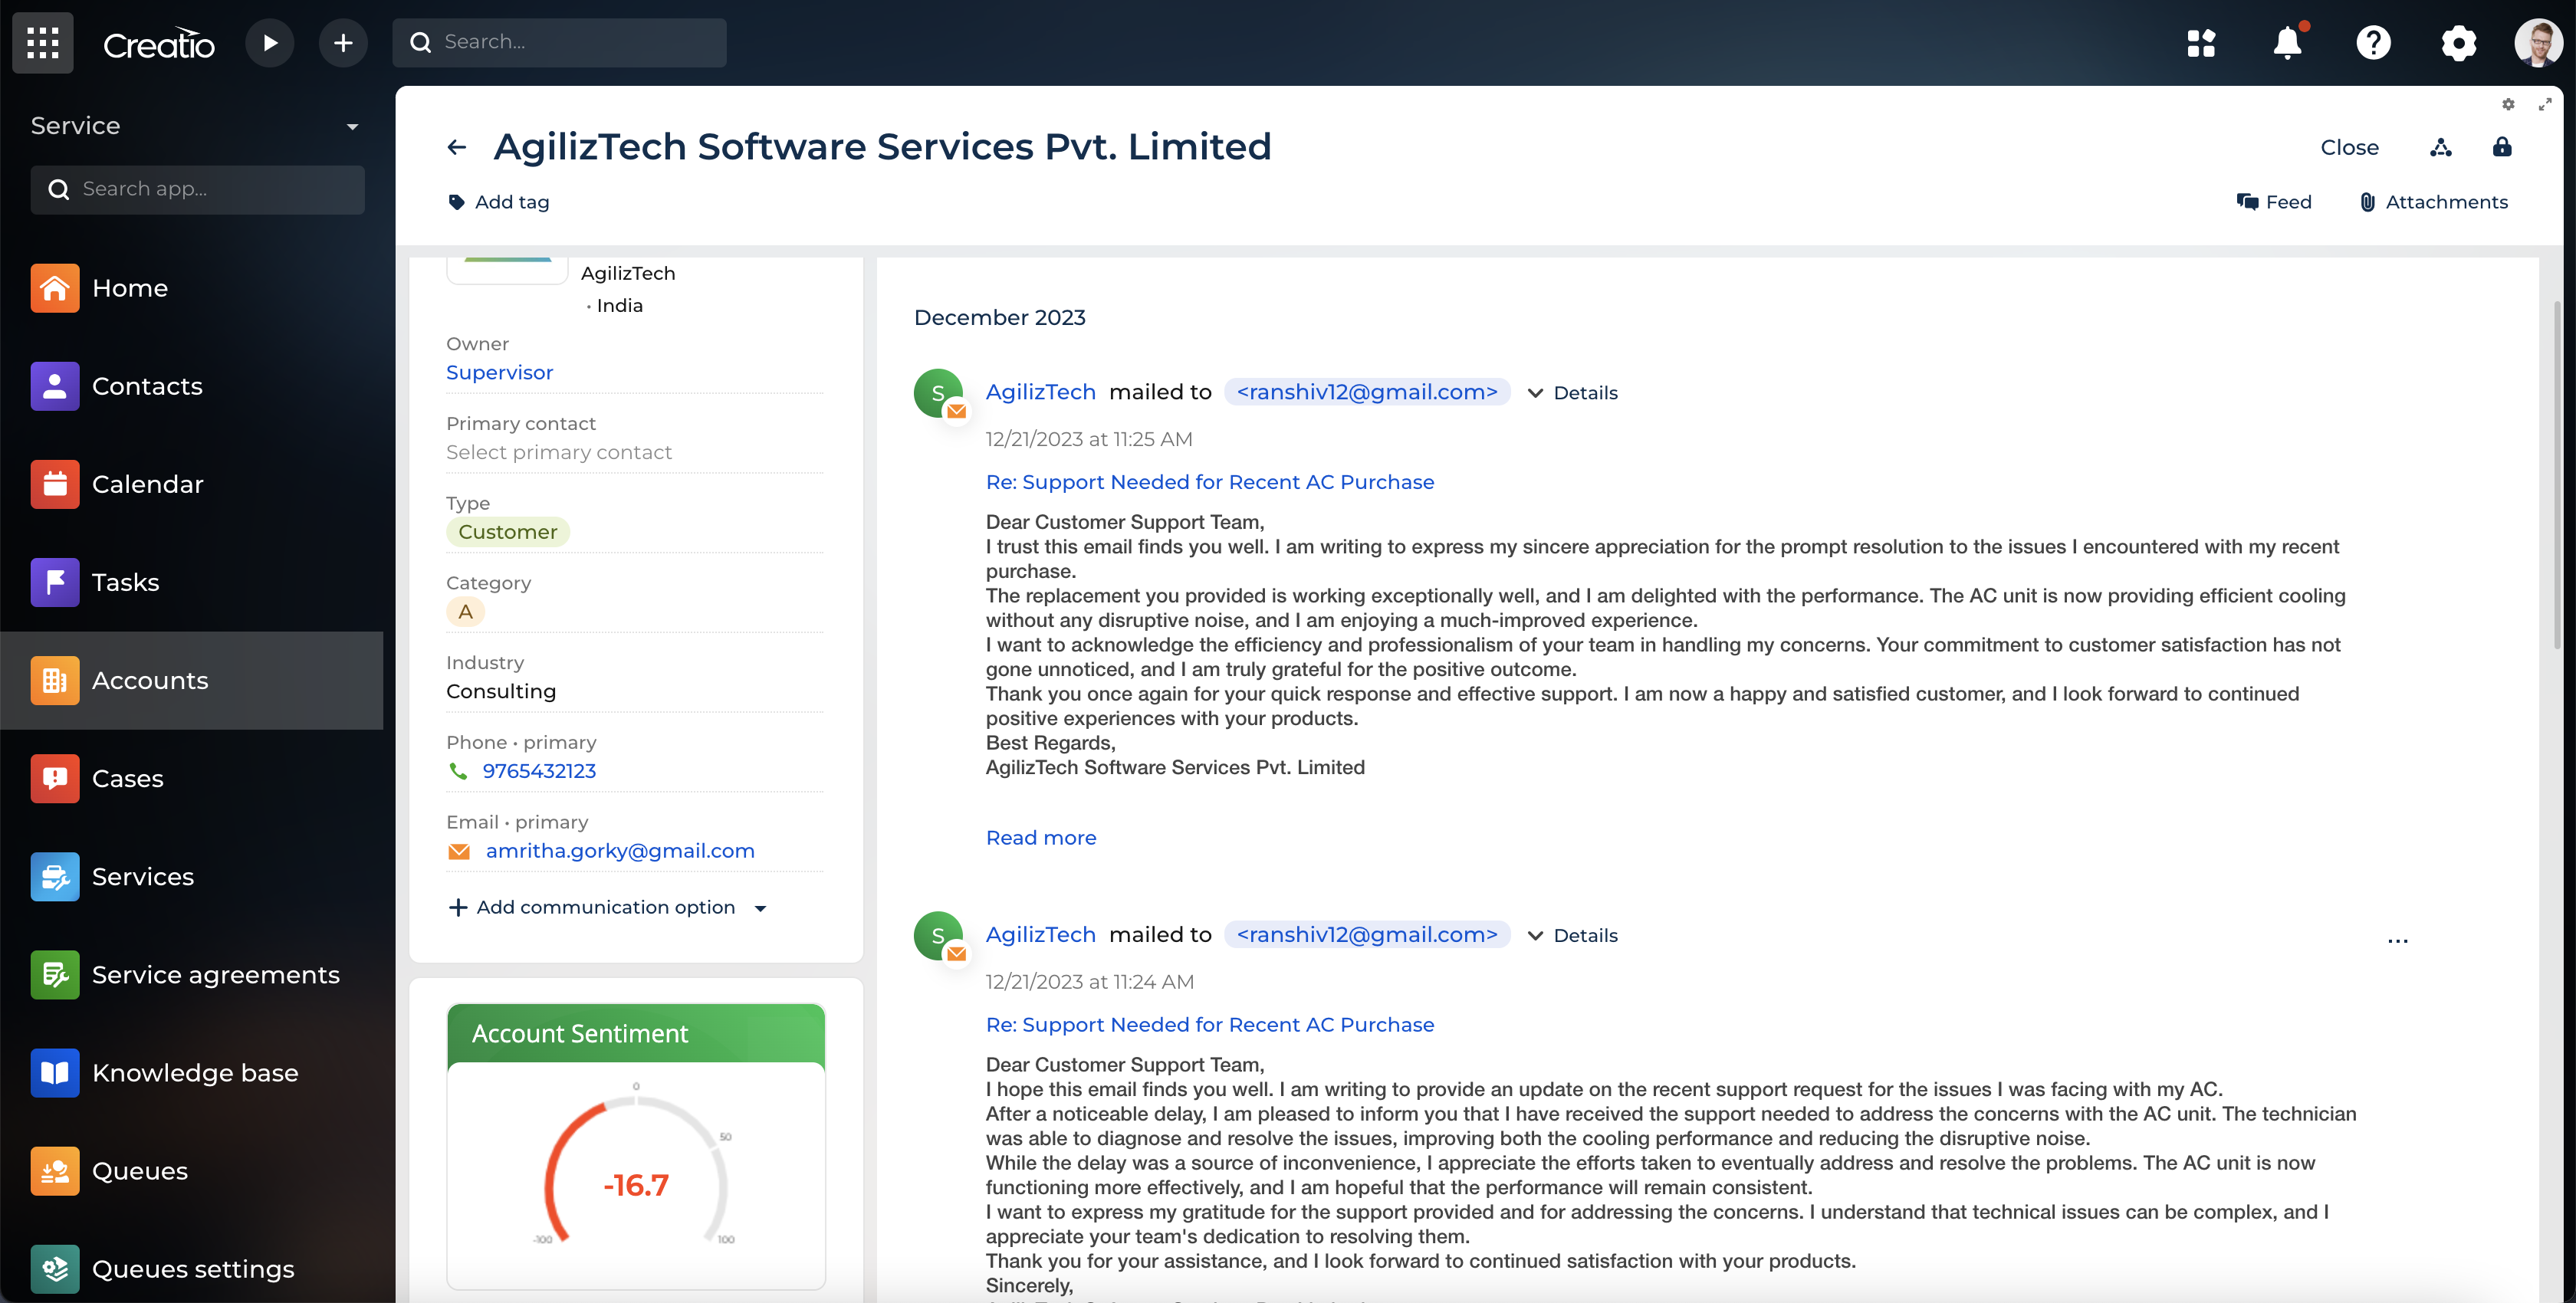
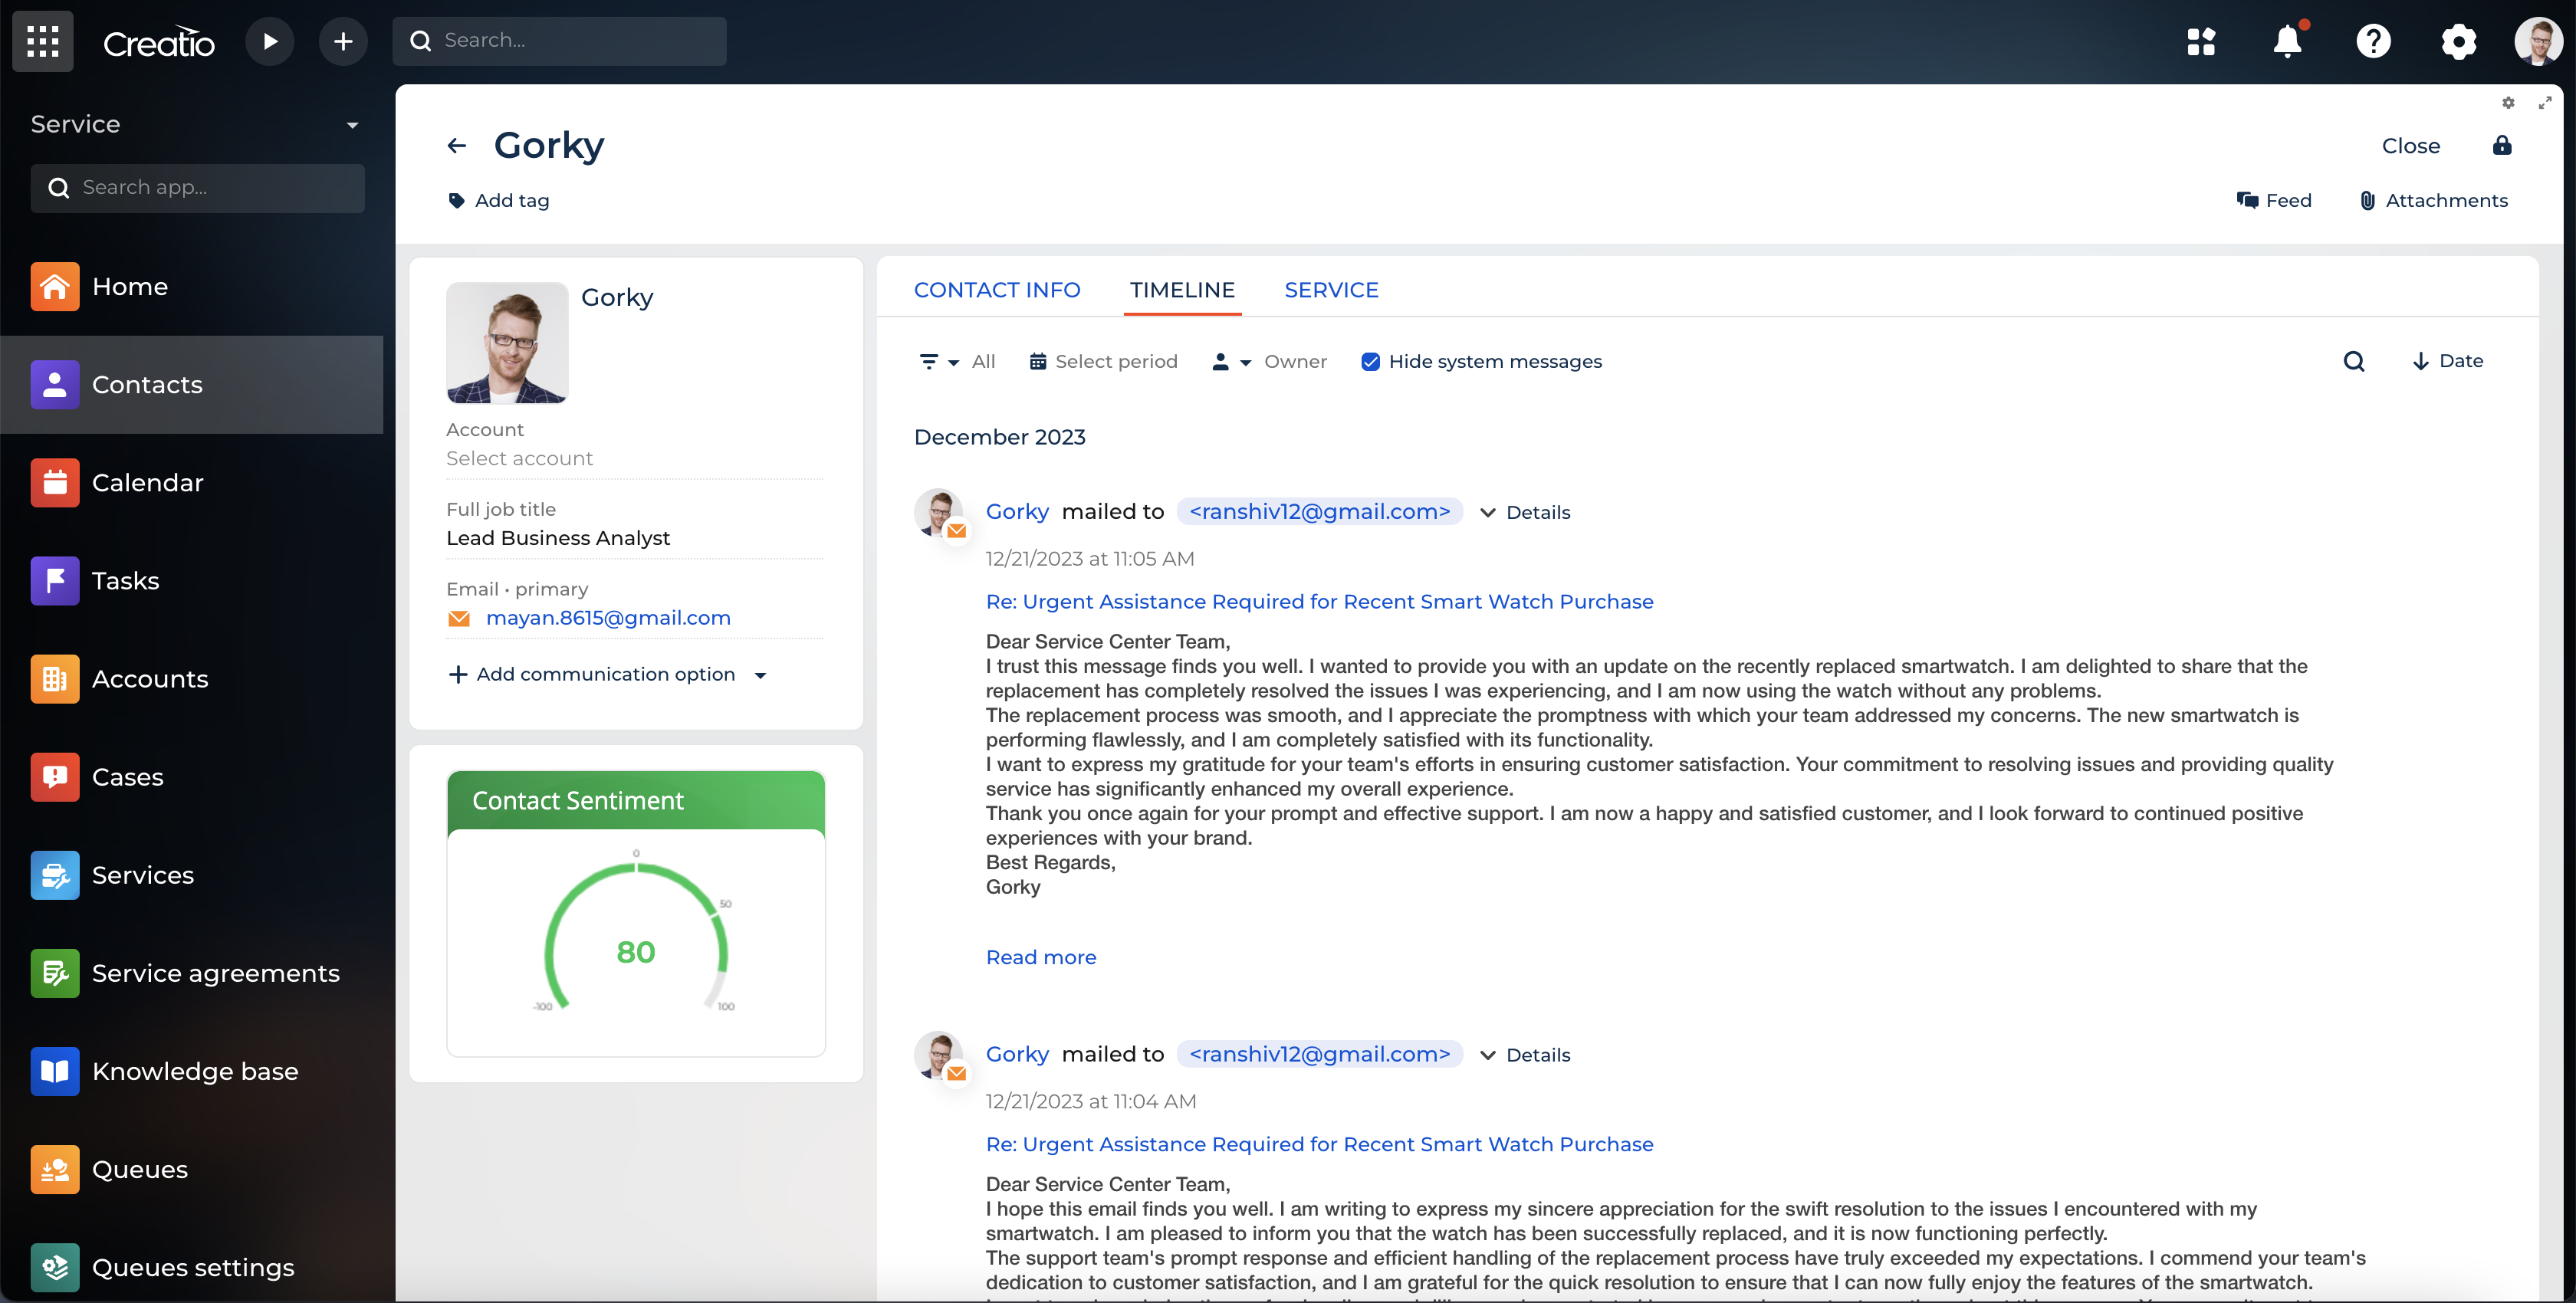
- Visual Gauge: Represents the sentiment of each email on a visual gauge ranging from -100 to 100, providing an immediate understanding of the emotional tone.
- Tracking Overall Customer Experience:
- Offers a comprehensive view of the overall customer experience by tracking sentiment, feedback, and interactions across various cases.
Notes:
To set up Open AI, you must have a valid OpenAI key, generated from the company's account at 'https://platform.openai.com/account/api-keys,' must be obtained and added in the system settings. This key is required to enable the sentiment analysis of support emails and categorize them as positive, negative, or neutral.
To set up Azure AI, you must enter the Azure AI subscription key and service endpoint. To obtain these values, ensure you have a valid subscription key and service endpoint obtained through your company's Azure Portal account "https://portal.azure.com/". To acquire them, follow these steps: navigate to Azure Portal -> "Azure AI Services" -> "Language Service" -> create a custom domain -> open the created custom domain -> select "Keys & Endpoints" to retrieve the Key, Region, and endpoint.
Pricing
Terms and Conditions
Support
Installation
Setup guide
Once the Plugin is installed, you need to perform the make the following changes in Creatio.
Select Service Provider for Sentiment Analysis in System Settings
- Go to the "System settings" > "Service Provider for Sentiment Analysis ", In the Default value box, select Azure/Open AI
- Update System Settings for OpenAI Key
- Add case registration mailbox for automatic case creation
Update OpenAI Key in System Settings:
- Go to the "System settings" > "OpenAI Key", In the Default value box, enter key, obtained from your OpenAI account
- "System Settings" > OpenAI Edit Model, , check if the Default value box is set to 'text-davinci-edit-001'; if not, please enter this value in the default value box.
- "System Settings" > OpenAI Embedding Model , check if the Default value box is set to 'text-embedding-ada-002'; if not, please enter this value in the default value box.
- "System Settings" > OpenAI Chat Model , check if the Default value box is set to 'gpt-3.5-turbo'; if not, please enter this value in the default value box.
- "System Settings" > OpenAIMaxToken , check if the Default value box is set to ‘7’; if not, please enter this value in the default value box.
- "System Settings" > OpenAI Create Model , check if the Default value box is set to ‘text-davinci-003’; if not, please enter this value in the default value box.
- "System Settings" > OpenAI Chat Completion Prompt , check if the Default value box is set to ‘You are an email parsing bot. When provided with either a single email content or with a complete email chain. You will perform a single step. Step 1. You will parse to retrieve the latest email content in the input provided’; if not, please enter this value in the default value box.
Add case registration mailbox for automatic case creation
- Navigate to the Lookups section -> List of mailboxes for case registration, Create a new record specifying the mailbox to which the email is sent, and a case will be created automatically.
On selecting Azure, perform these below changes in Creatio:
- Update System Settings for Subscription Key & Region
- Update the Web service with the new Endpoint
- Add case registration mailbox for automatic case creation
Update Subscription Key in System Settings:
- Go to the "System settings" > "Ocp-Apim-Subscription-Key", In the Default value box, enter subscription key, obtained from your Azure AI account
- "System Settings" > “Subscription-Region”, In the Default value box, enter region, obtained from your Azure AI account. For example, if the region is "region-east-US," then add the region in the system settings as "eastus."
Update endpoint in web service:
- Go to the “web” service” > "Azure AI Cognitive Services", In the Web service URI box, enter the endpoint, obtained from your Azure AI account
- If you are unable to change the Web service URI, create a copy of the "Azure AI Cognitive Services" webservice. Paste the endpoint generated from Azure AI service into the Web service URI, and verify whether the “sentiment analysis” method reflects the new endpoint.
- Post creating the copy of the webservice, Check the package, if it is a OOTB “custom” package/Custom created package, ensure that the "AZTAzureEmailSentiment" package is added as a dependency in advance settings -> Configurations.
- If a new web service was created because the endpoint was not added to "Azure AI Cognitive Services," navigate to the process library. Search for "Call Sentiment Analysis Process," click on the web service element, and replace it with the newly created webservice that has the Azure endpoint.
Add case registration mailbox for automatic case creation
- Navigate to the Lookups section -> List of mailboxes for case registration, Create a new record specifying the mailbox to which the email is sent, and a case will be created automatically.
Resources
Data sharing
- By installing or downloading the App, you confirm that you agree with sharing your account data (name, email, phone, company and country) with the App Developer as their End User.
- The App Developer will process your data under their privacy policy.
Versions
Versions history
Manual app installation
- Open the needed app → the Packages tab - download the Markeplace app files.
- Click in the top right → Application Hub
- Click New application. This opens a window.
- Select Install from file and click Select in the window that opens.
- Click Select file on the page of the Marketplace App Installation Wizard and specify the app file path.
To set up Open AI, A valid OpenAI key, generated from the company's account at 'https://platform.openai.com/account/api-keys,' must be obtained and added in the system settings. This key is required to enable the sentiment analysis of support emails and categorize them as positive, negative, or neutral.
To set up Azure AI, Ensure you have a valid subscription key and service endpoint obtained through your company's Azure Portal account "https://portal.azure.com/". To acquire them, follow these steps: navigate to Azure Portal -> "Azure AI Services" -> "Language Service" -> create a custom domain -> open the created custom domain -> select "Keys & Endpoints" to retrieve the Key, Region, and endpoint.