Implemify Sales Analytics
Overview
Product overview
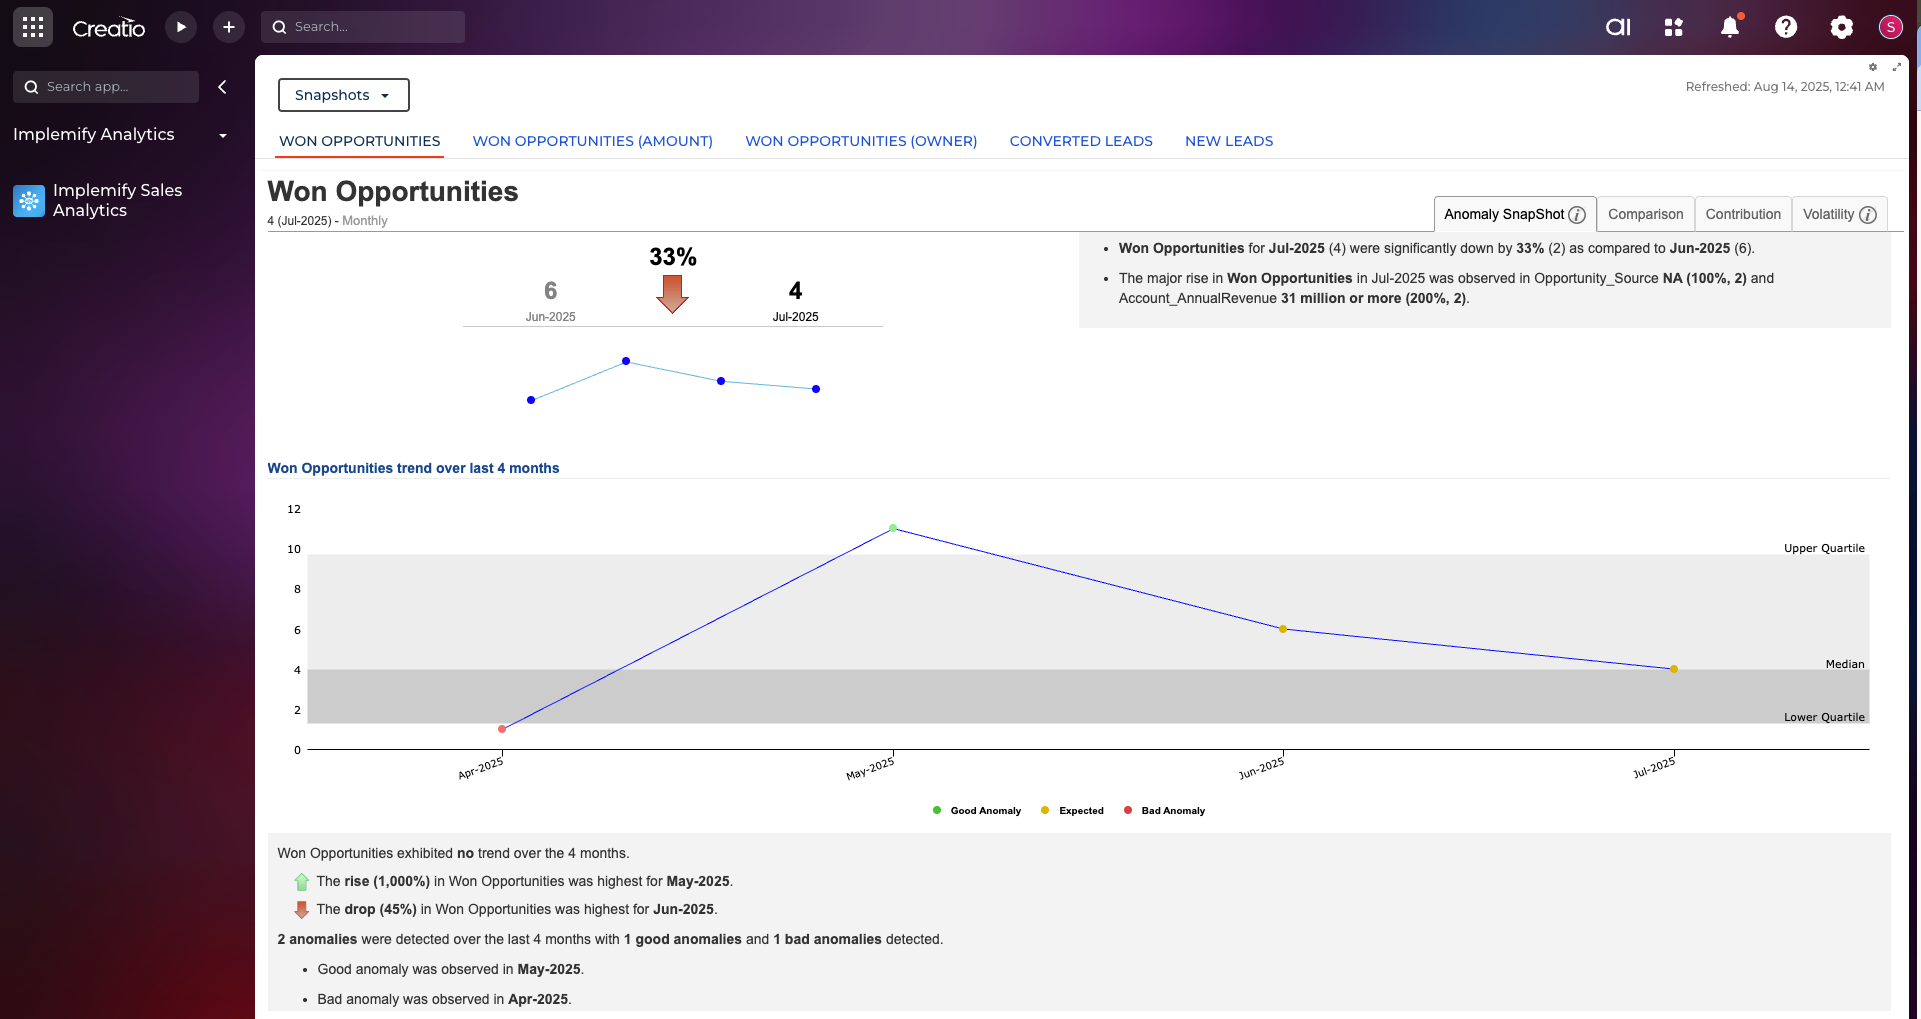
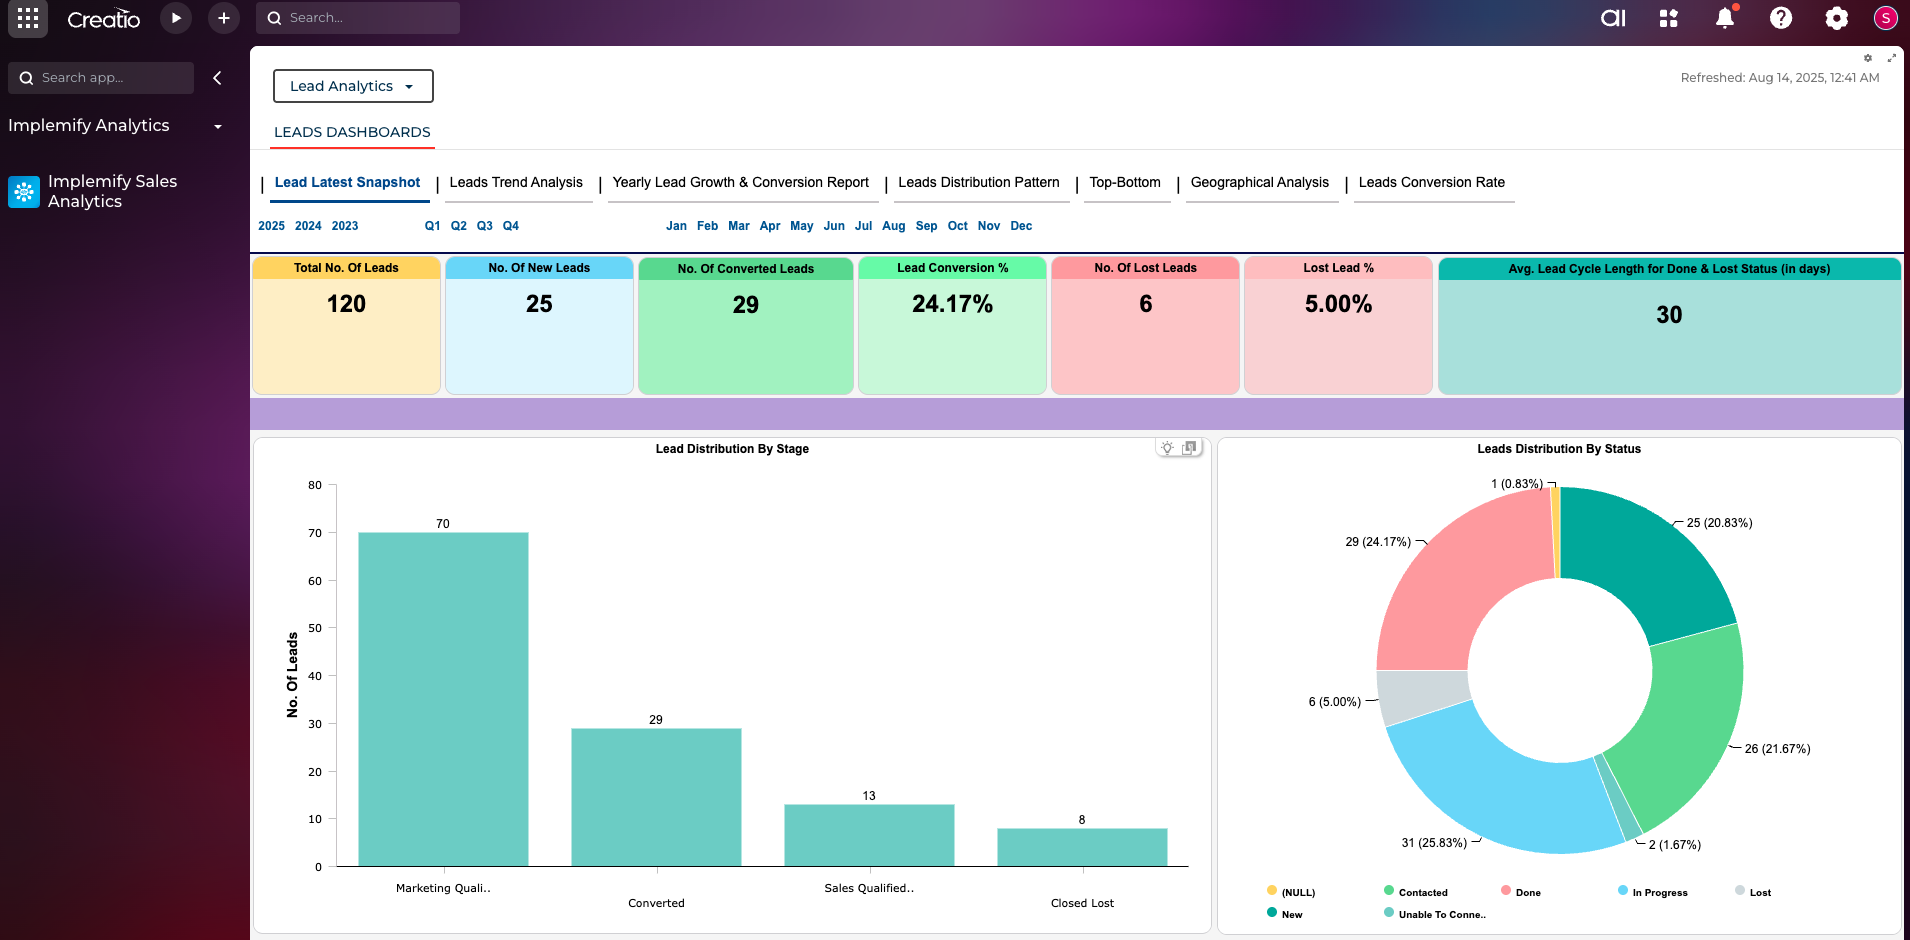
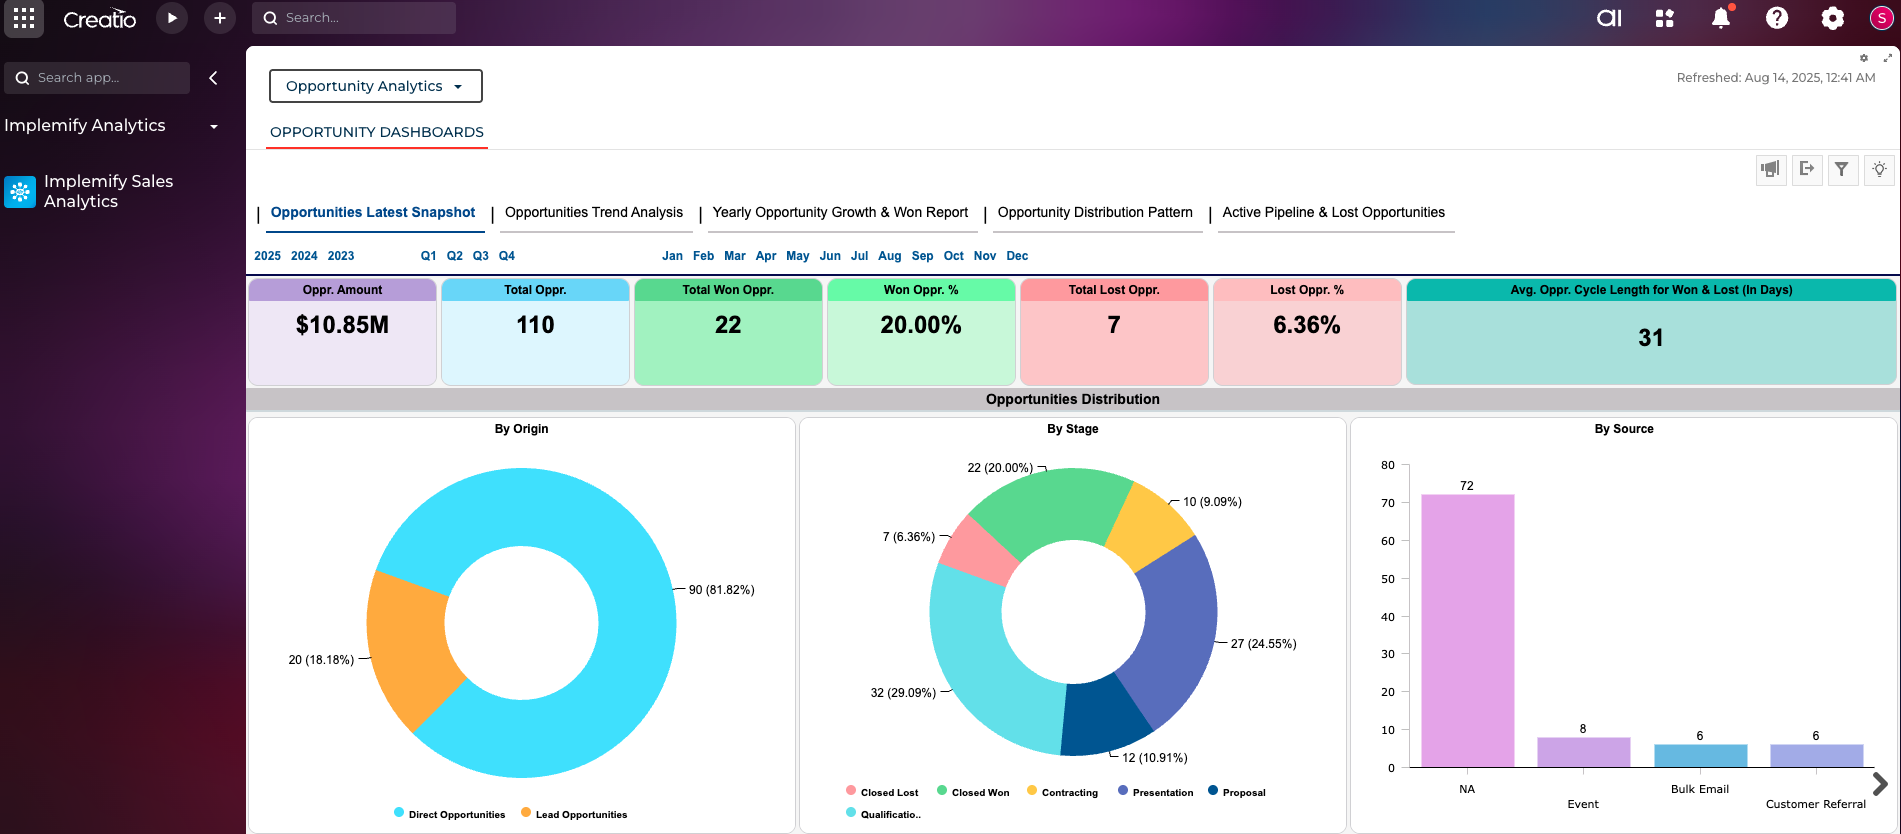
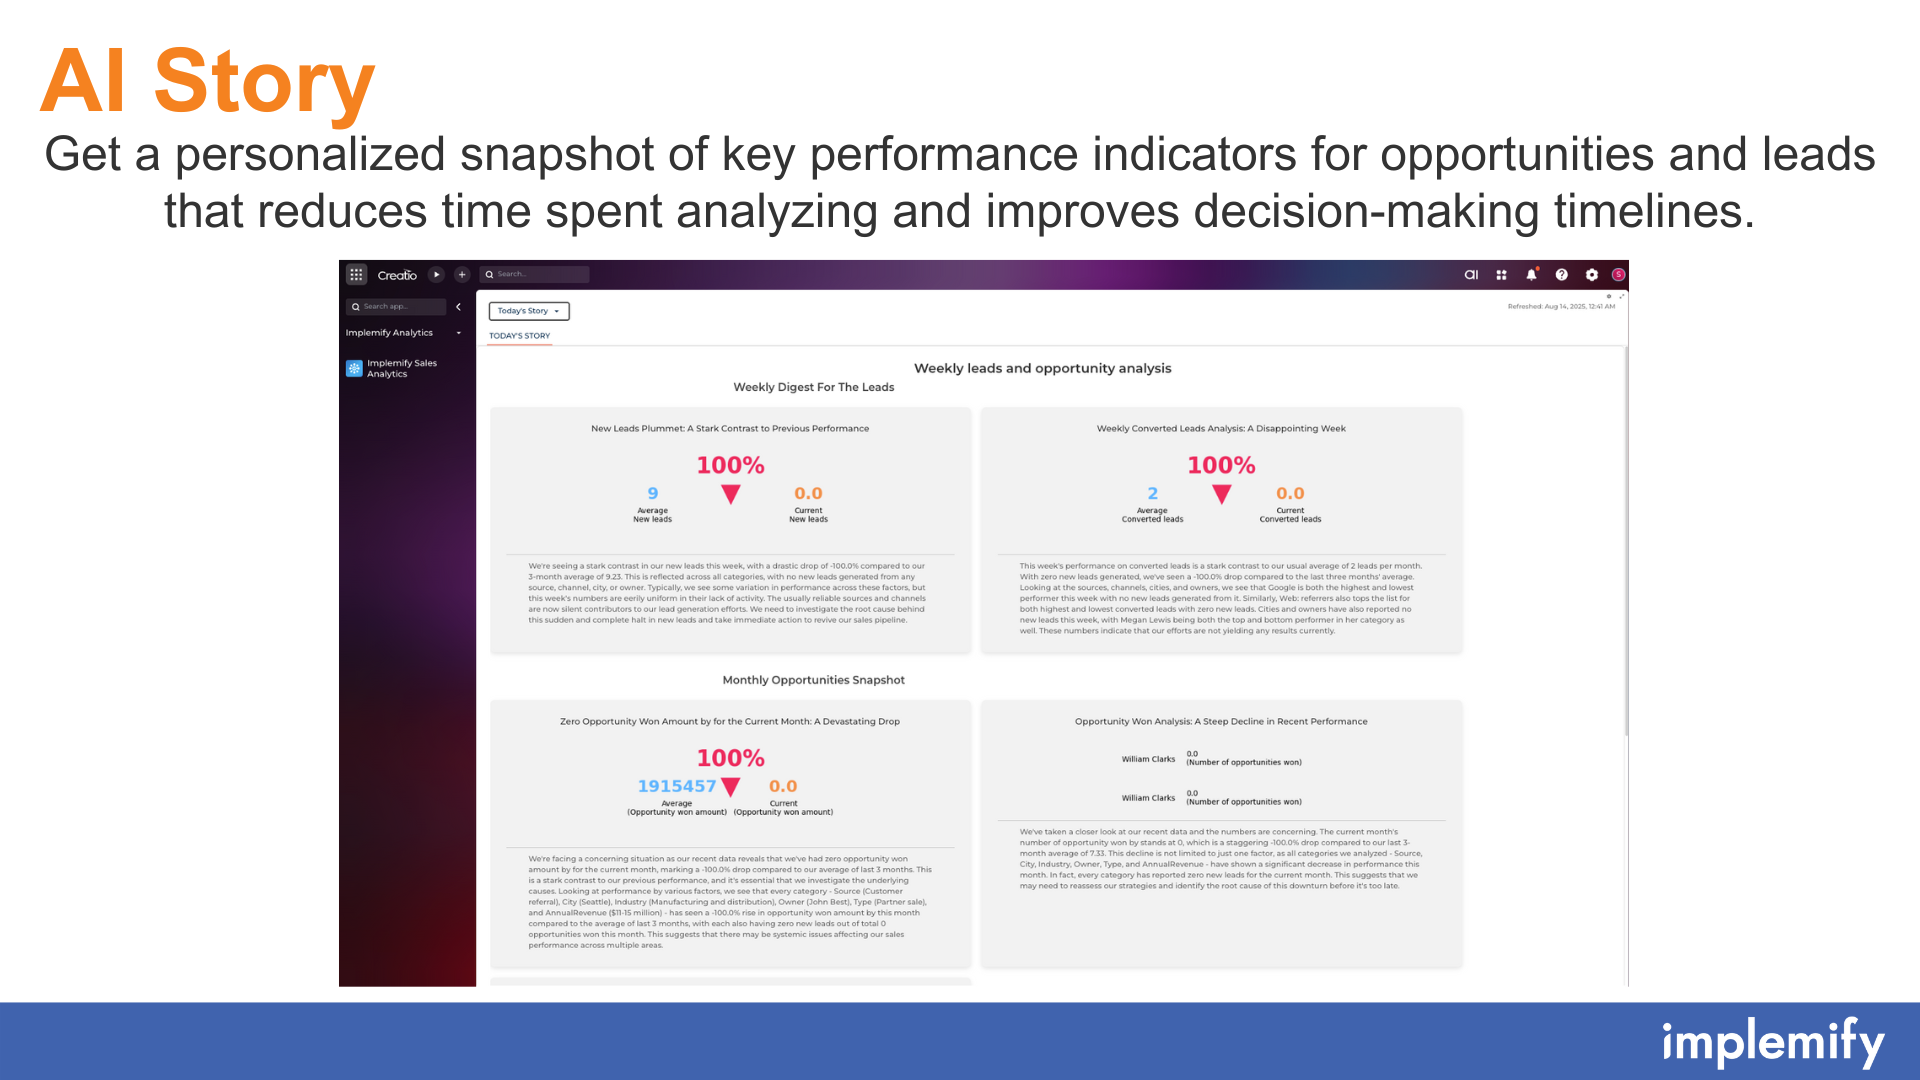
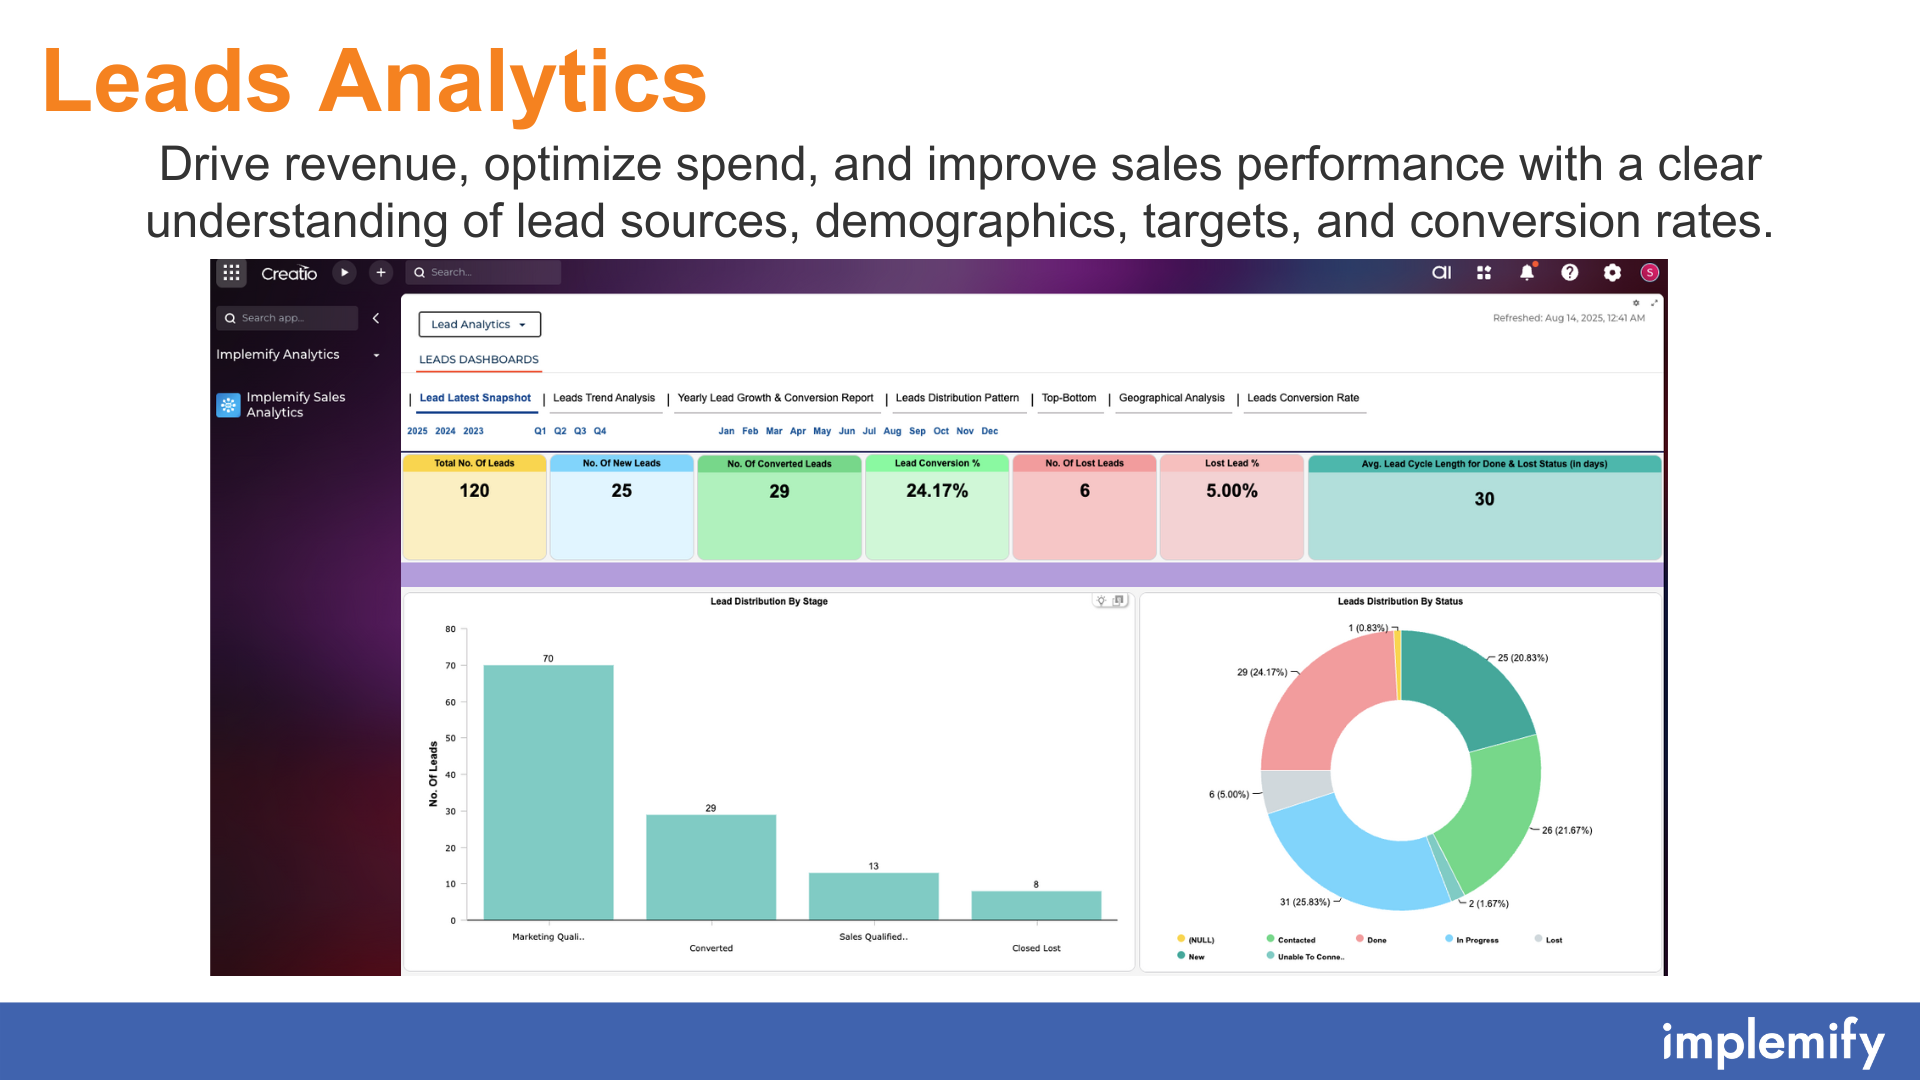
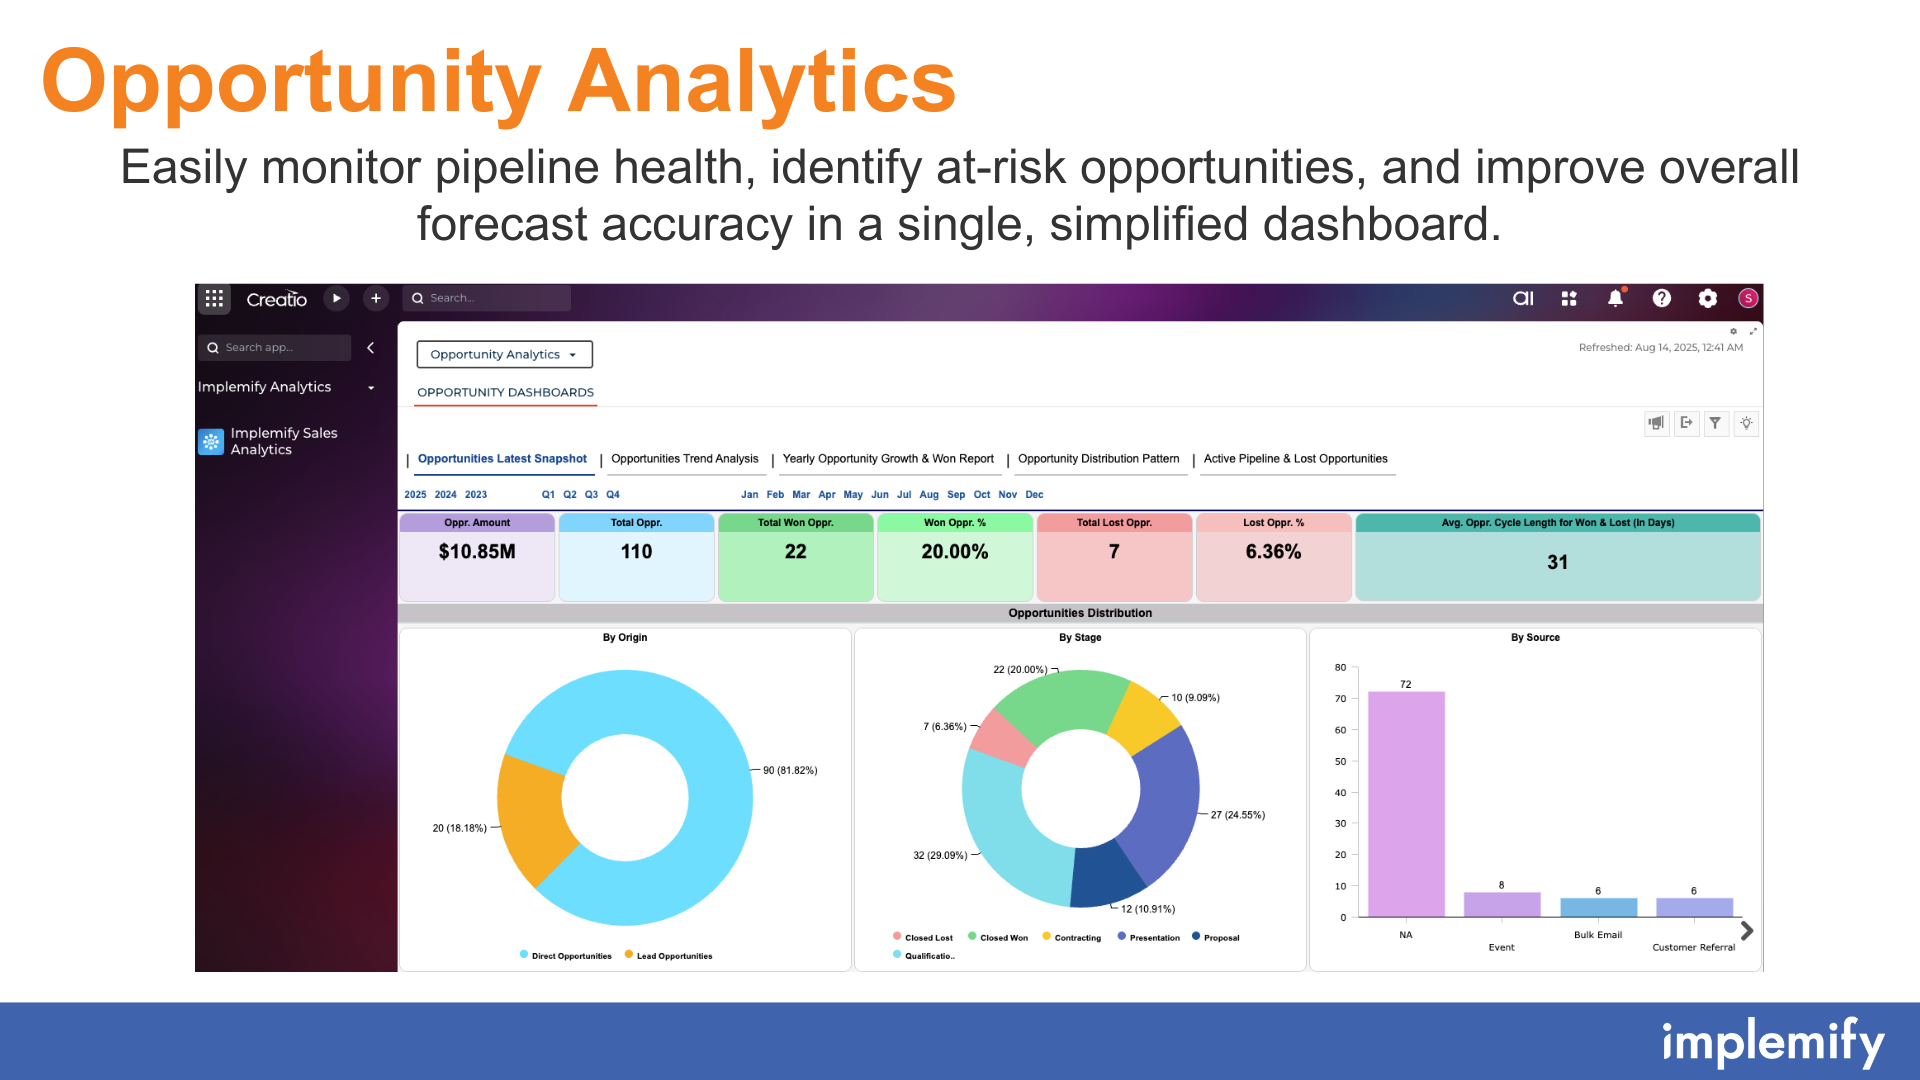
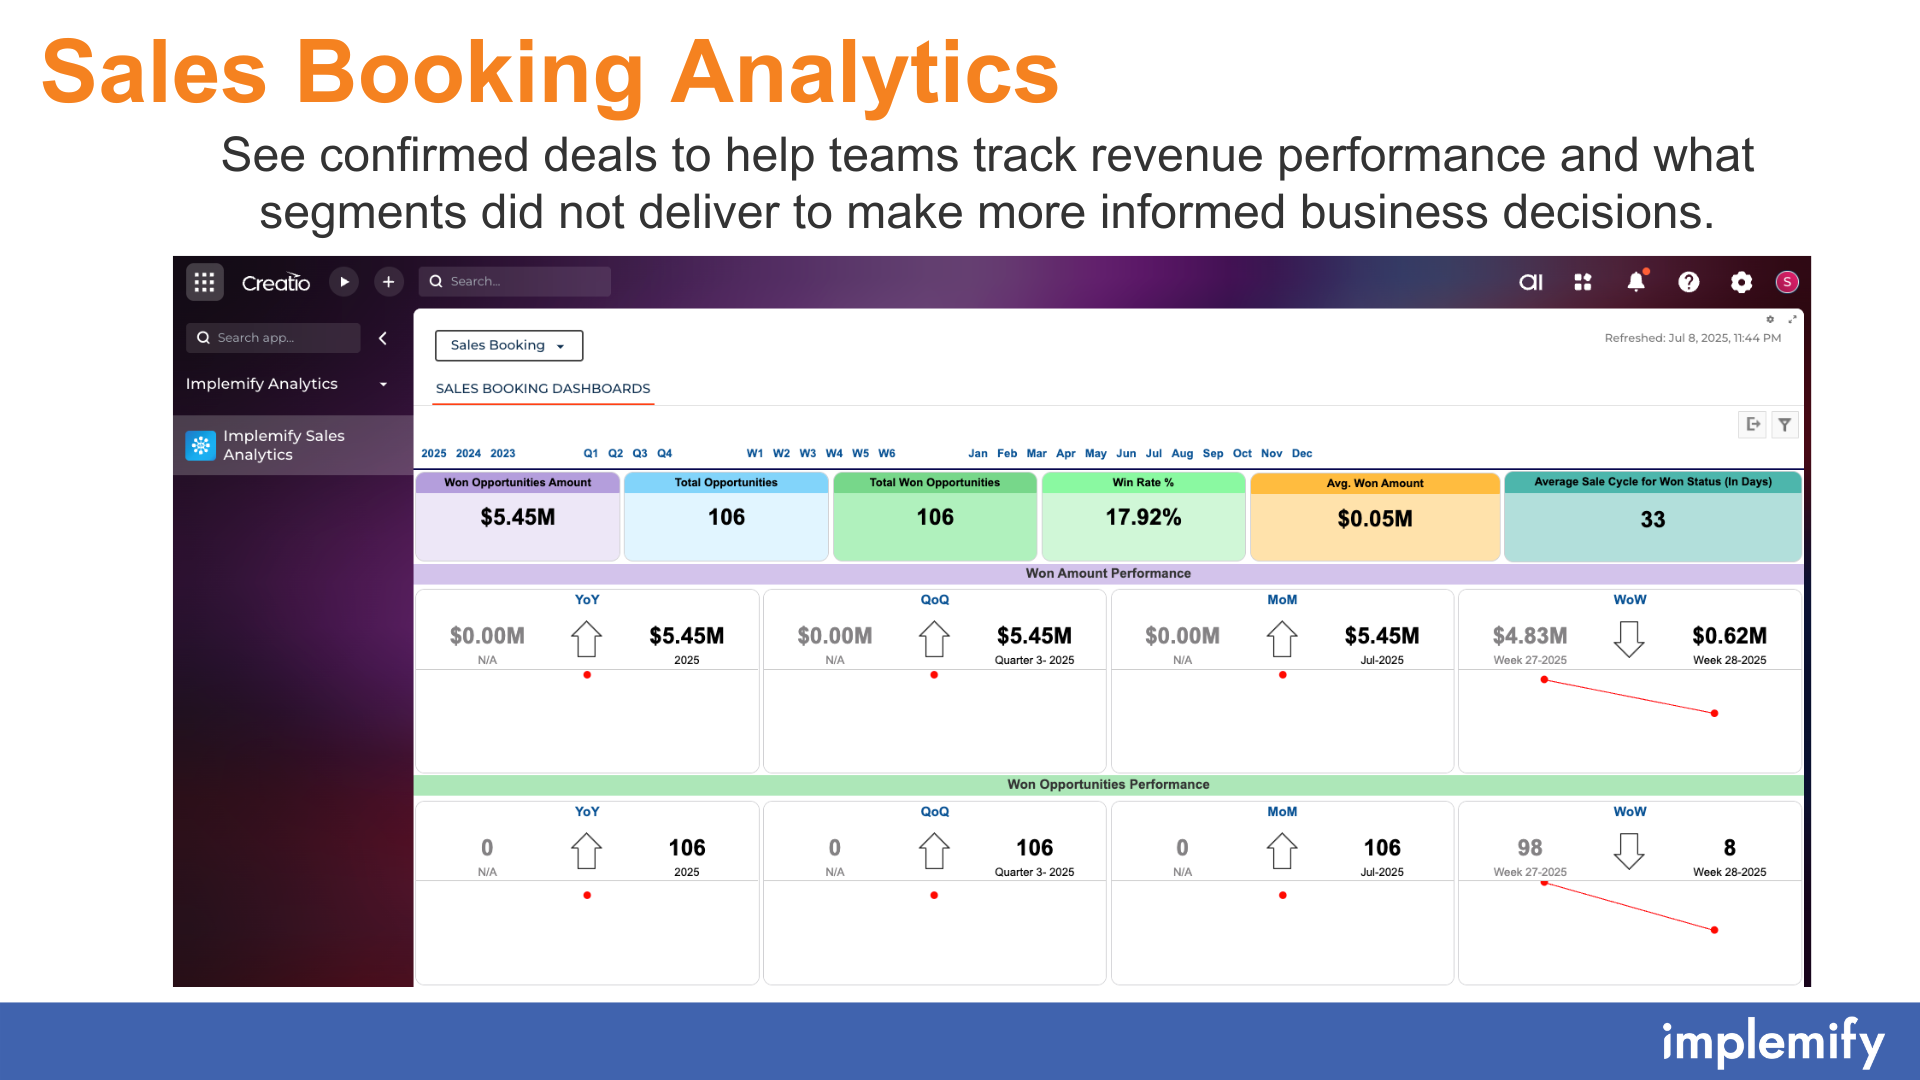
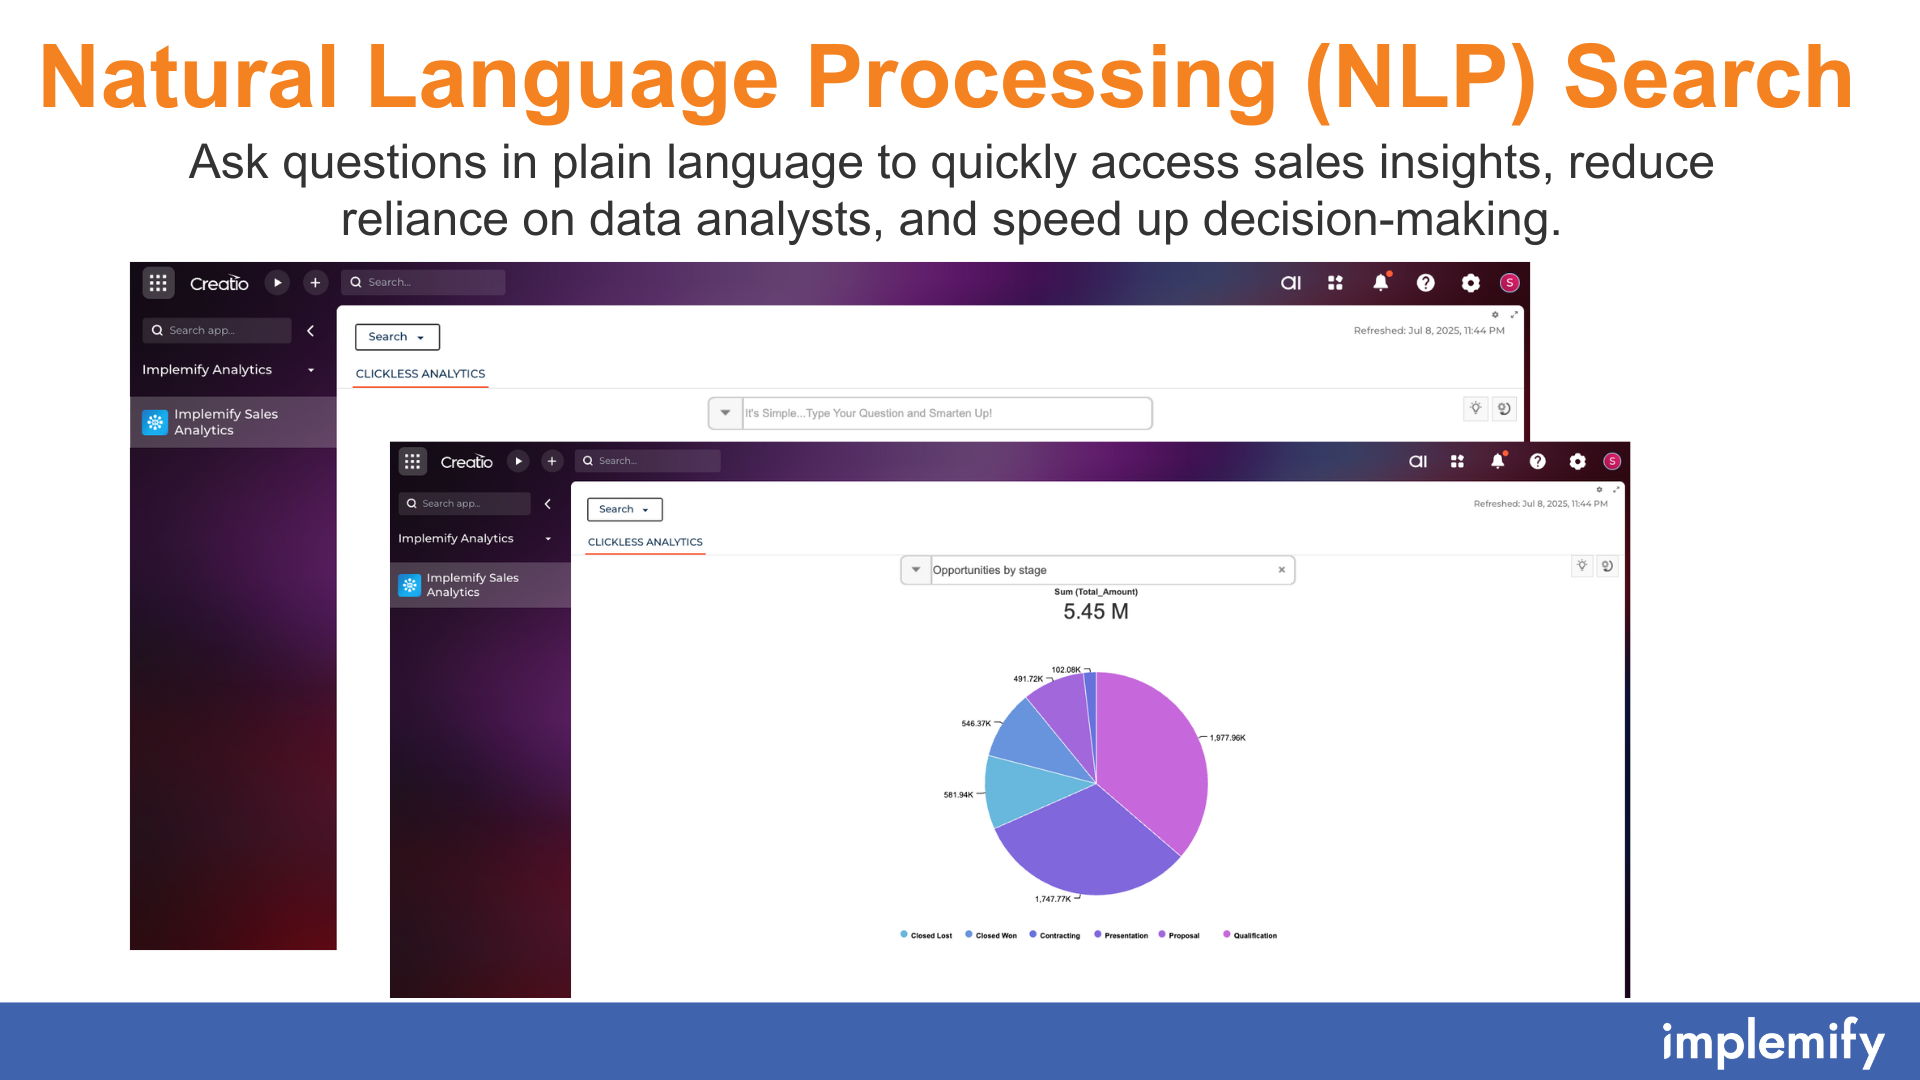
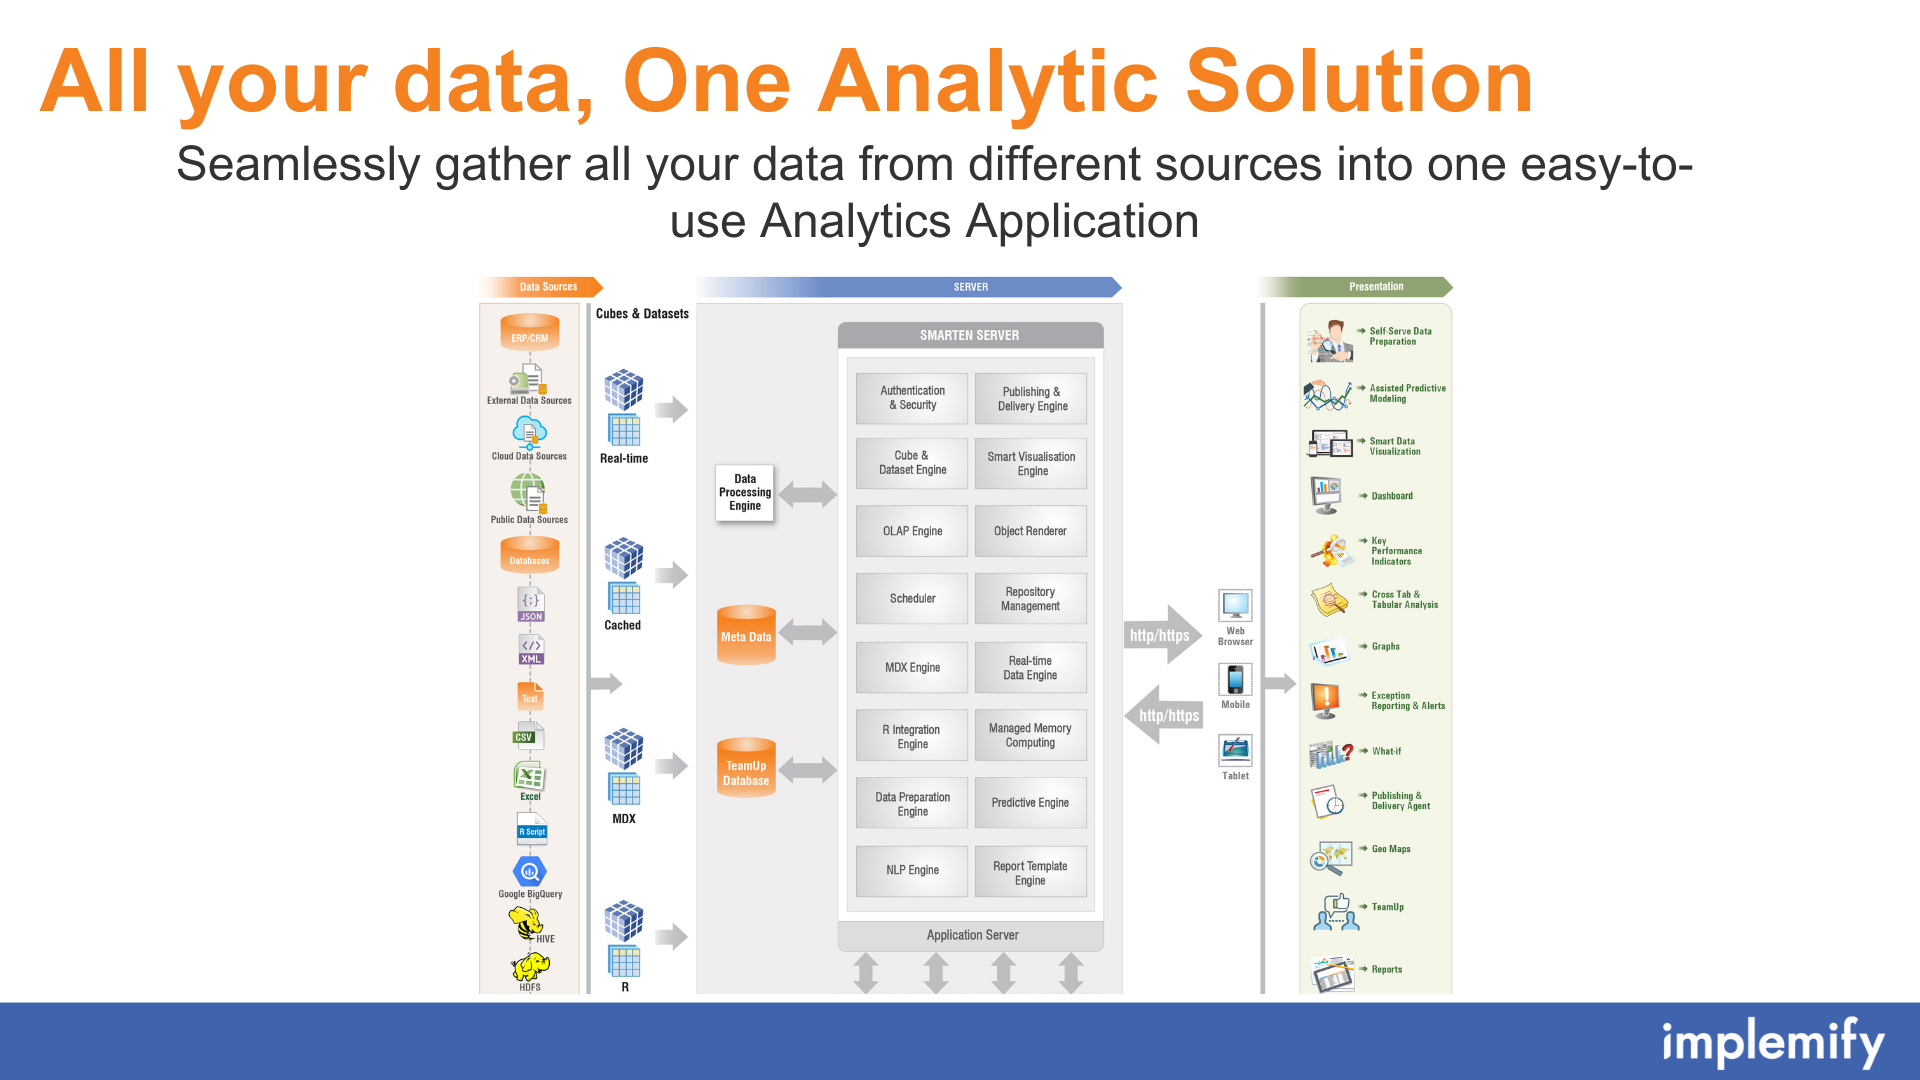
Implemify Sales Analytics transforms raw data into actionable business intelligence by consolidating and interpreting metrics like conversion rates, sales pipelines, and trends to better understand what's working, identify untapped opportunities, and forecast future outcomes with confidence.
Use Case:
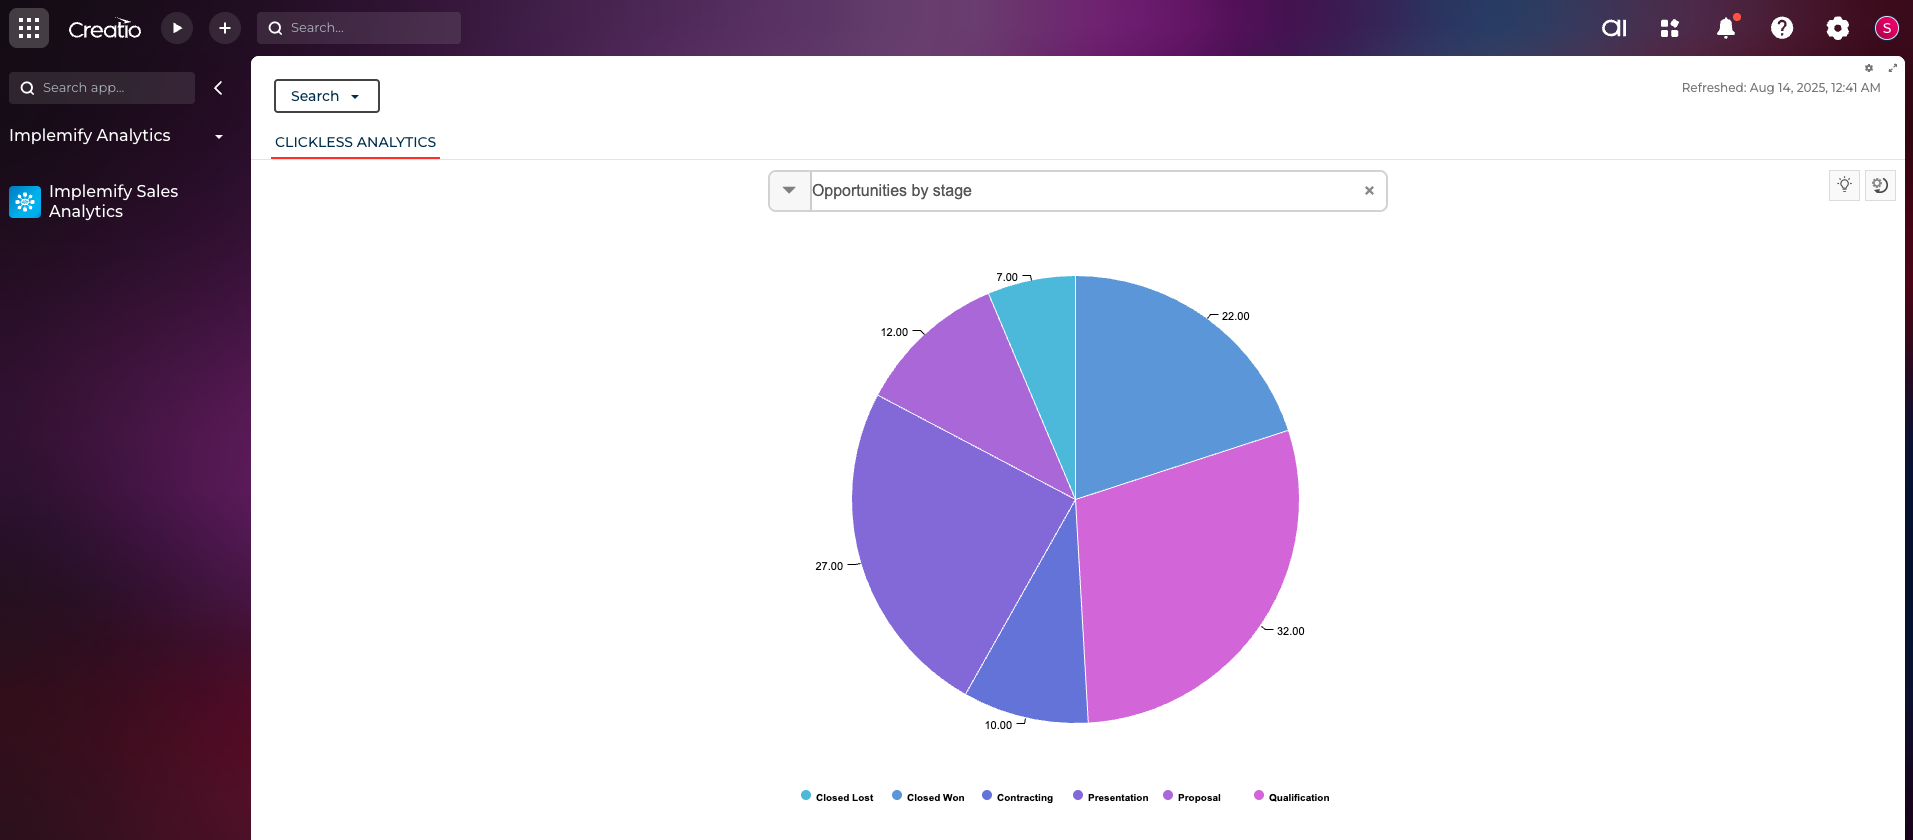
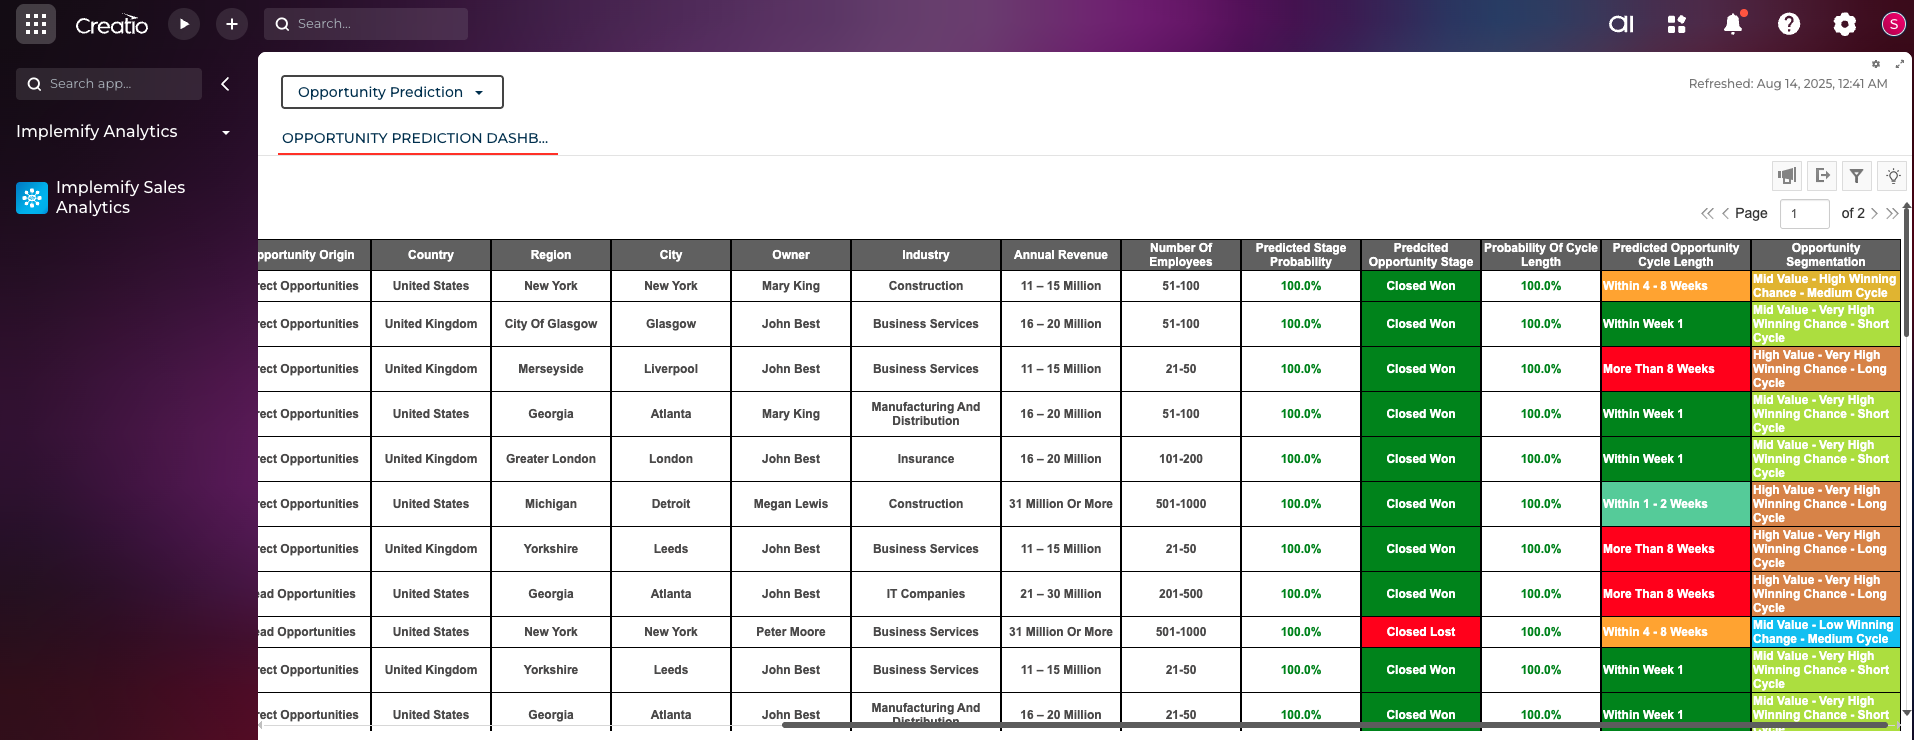
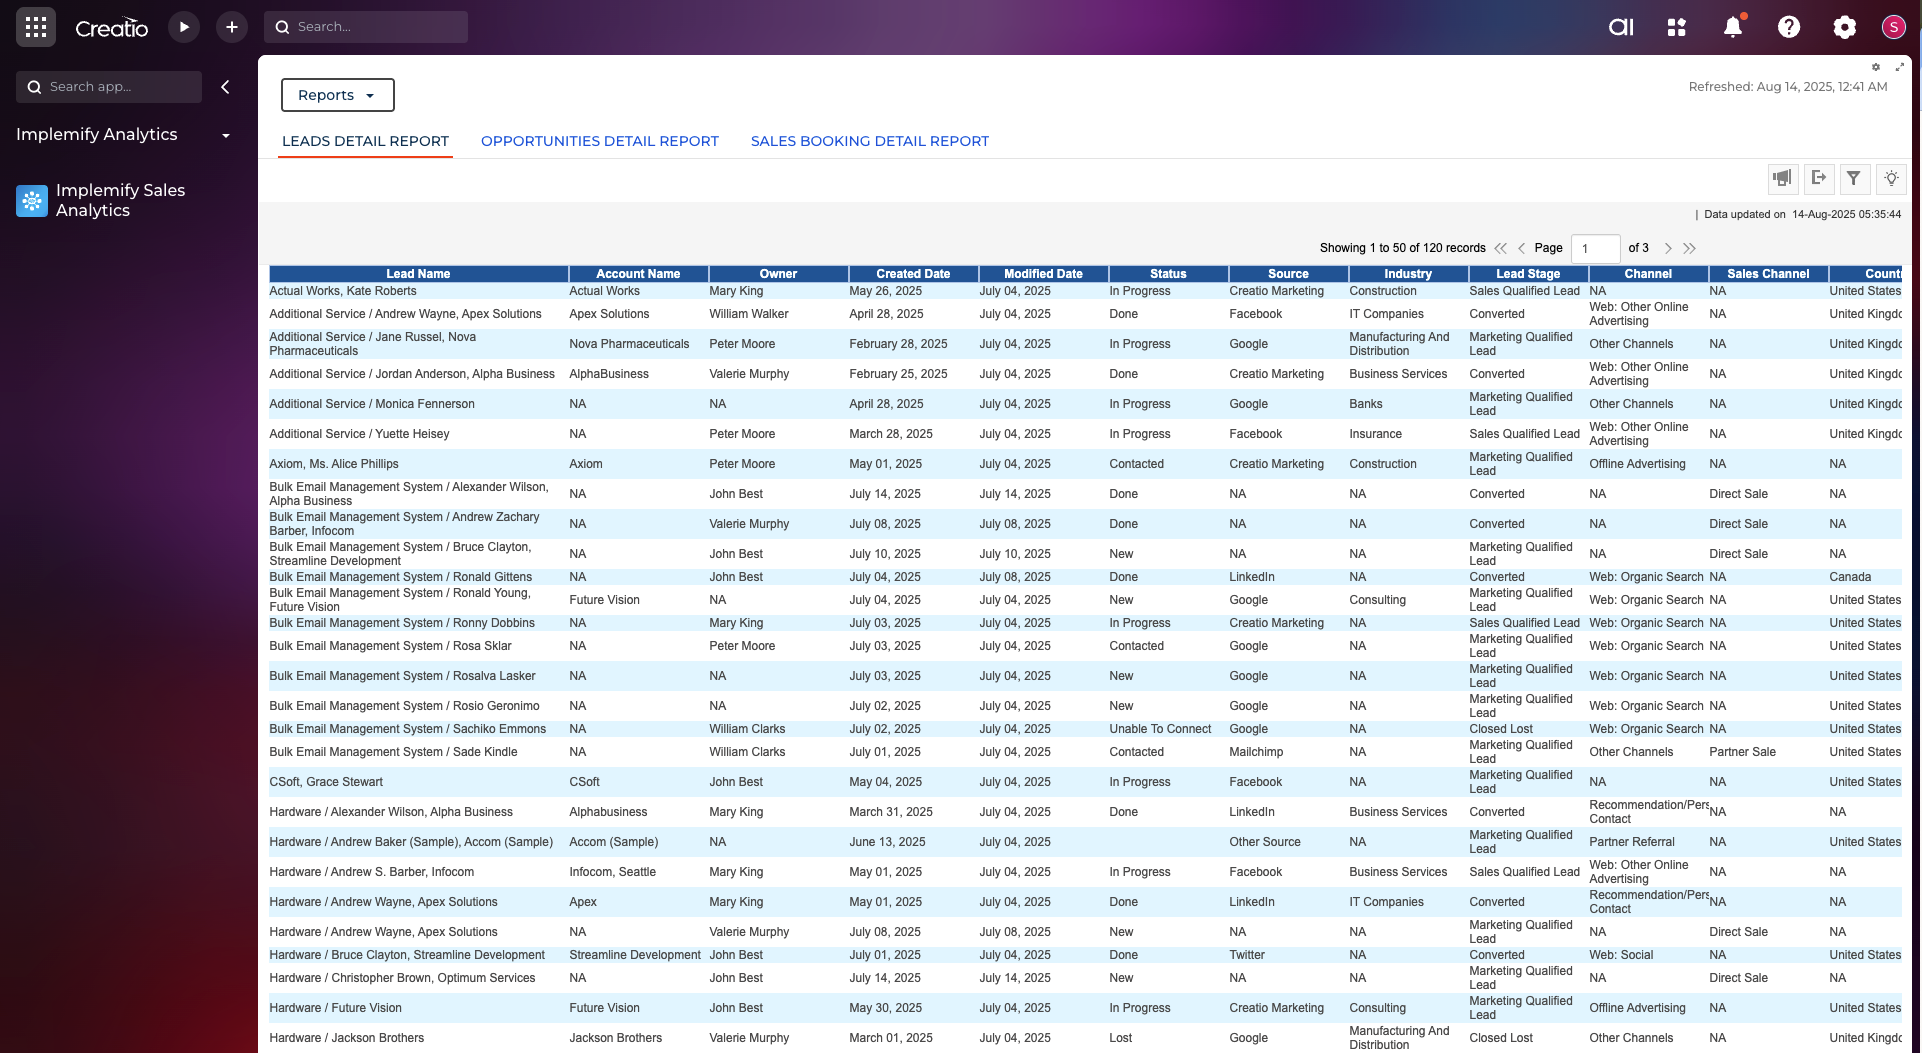
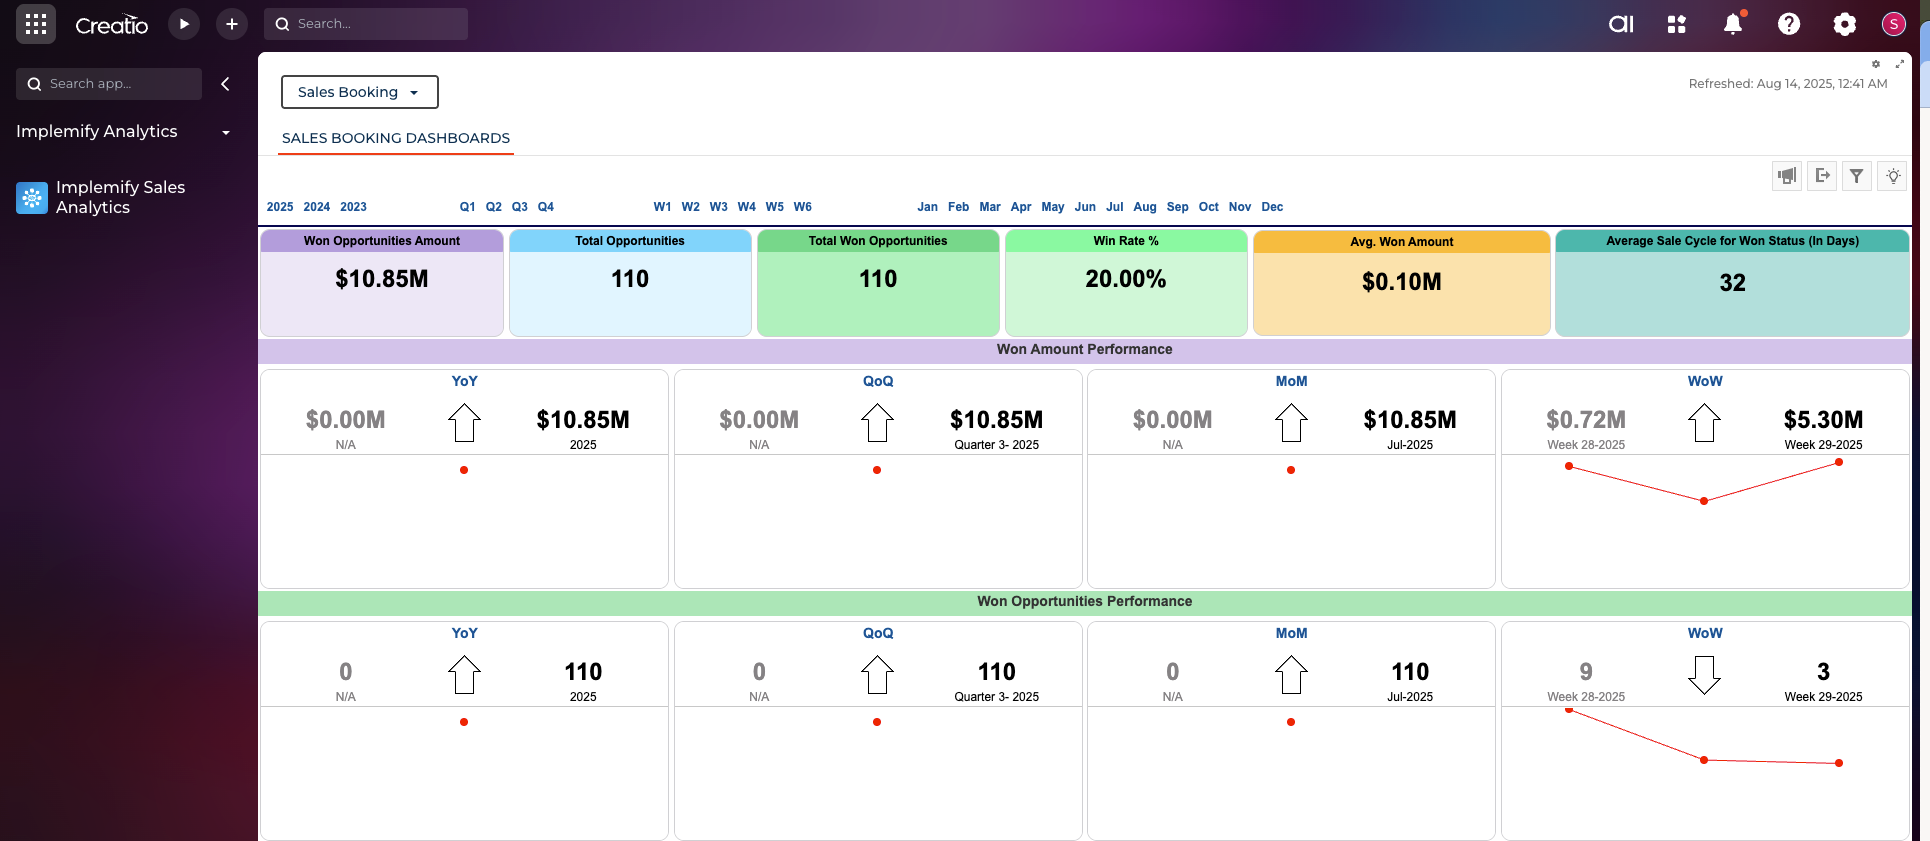
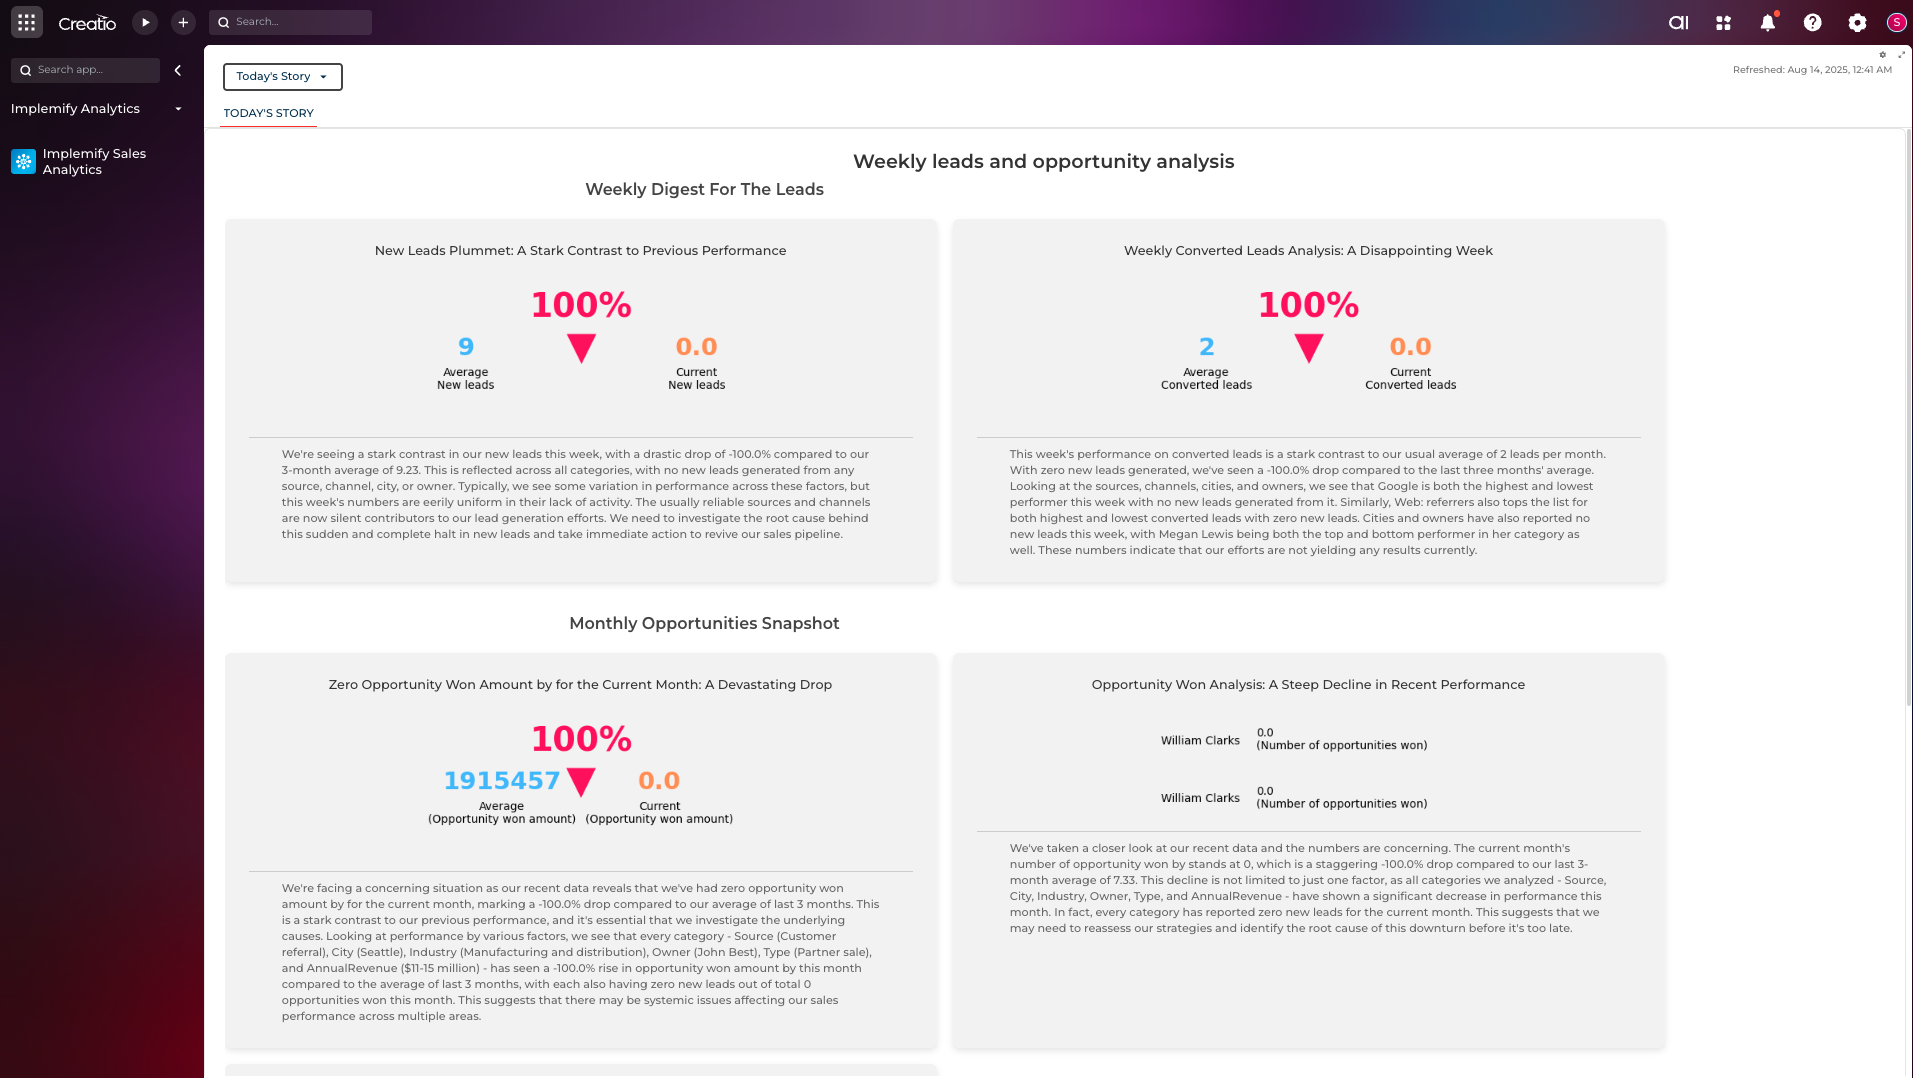
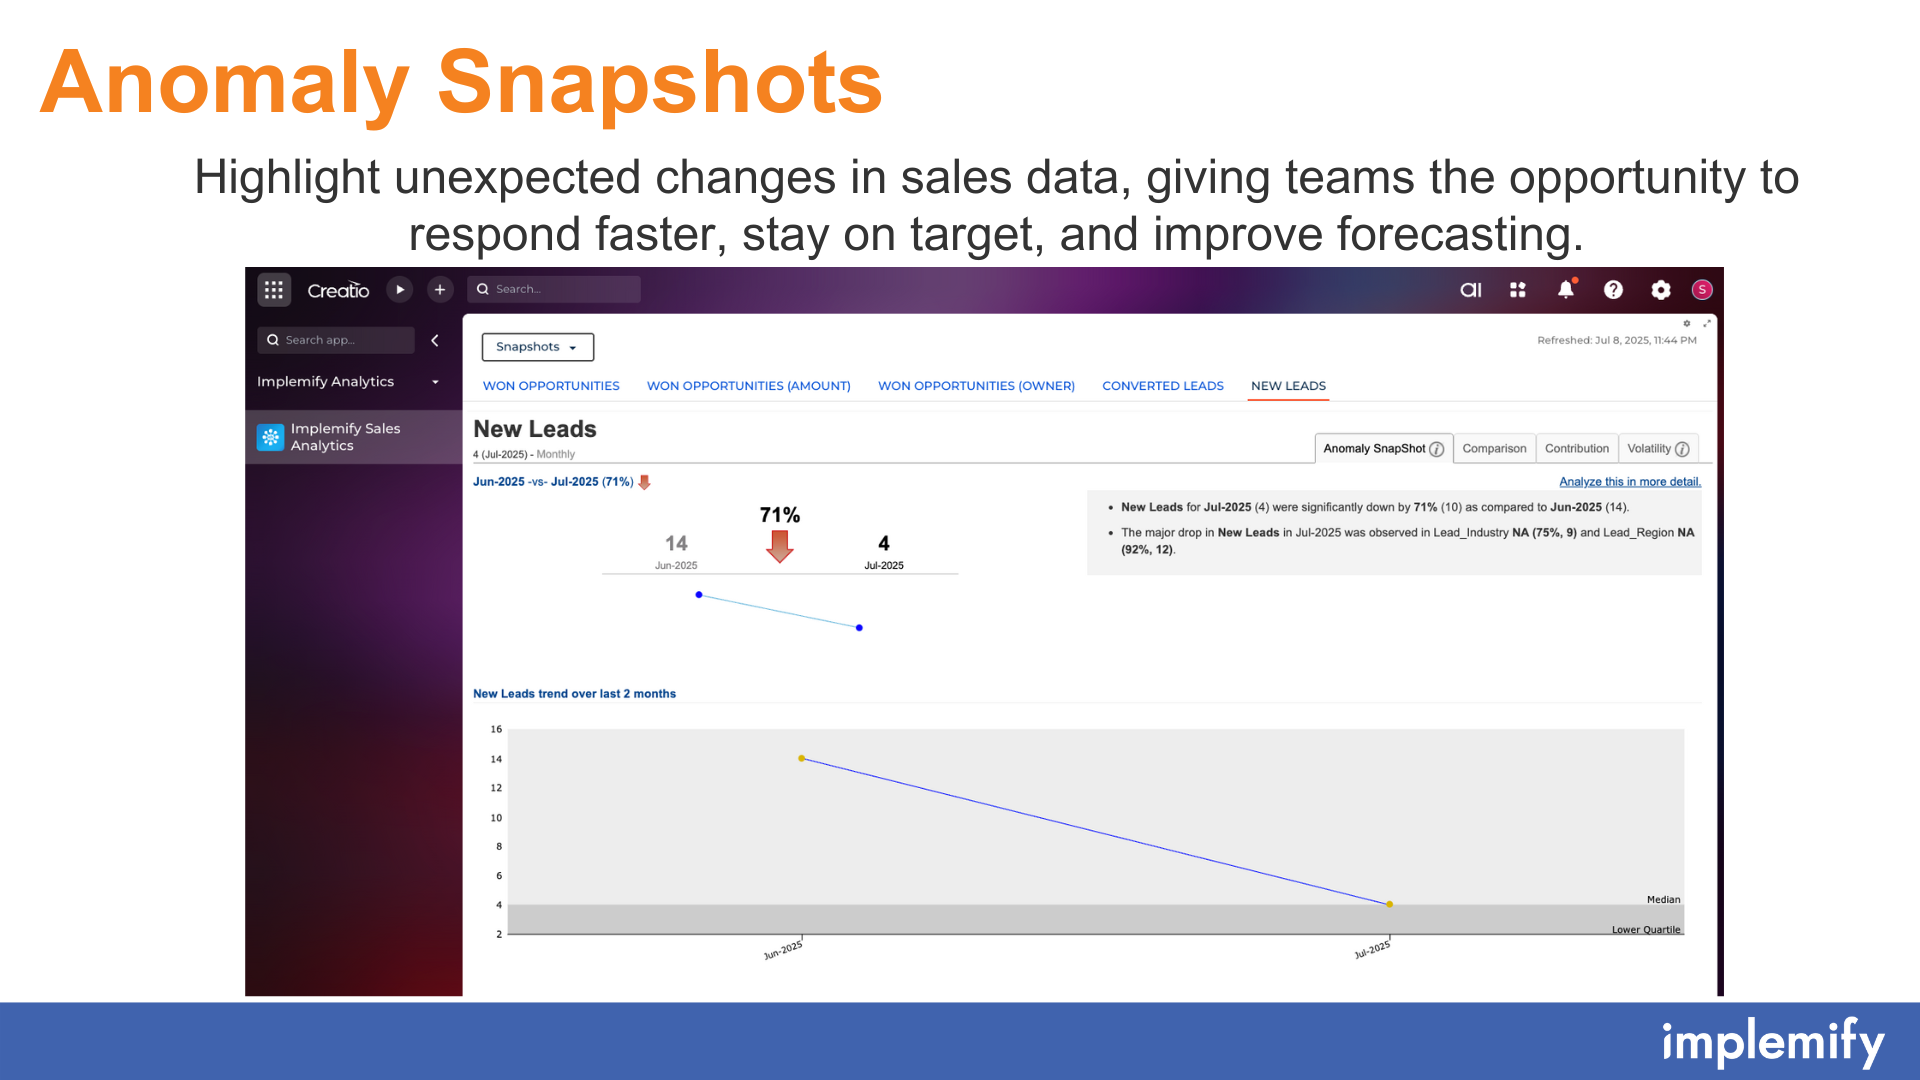
Unlock powerful insights into your leads, opportunities, and sales performance with visually stunning dashboards designed for exploration—filter, drill down, slice and dice your data effortlessly. Instantly spot anomalies and uncover what’s driving results. Harness the power of machine learning to predict outcomes based on your historical data. Segment opportunities by time to close, win probability, and deal value to prioritize what matters most and close faster.
Key Features
Pricing
Terms and Conditions
Pricing FAQ
Support
Response Acknowledgement time to requests - Within 1 working day (During working hours) Resolution Time - Based on Severity.
Installation
Setup guide
Step 1: Create an Account
- Open the Implemify Sales Analytics section.
- A mini page titled "Create Account" will appear.
- Click on the Create button to create your account.
Step 2: Configure OAuth Application
Step 2.1: Create OAuth Application
- On the mini page titled "Configure OAuth Application", follow the instructions to create an OAuth application record.
- Use the following details to create OAuth application Client ID and Client Secret.
- Grant Type: Server-to-server (client credentials)
- Name: Implemify Sales Analytics
- Application URL: https://creatio-sales.smarten.com
- System User: Select ‘Supervisor’ as User.
- To create the Client ID, click on the provided link. Or open OAuth 2.0 Integrated Applications option from Configuration.
Step 2.2: Save Client Credentials
- On the mini page titled "Before you run the integration", copy the generated Client ID and Client Secret.
Step 2.3: Submit Client Credentials
- Return to the Implemify setup mini page titled "Configure OAuth Application".
- Paste the copied Client ID and Client Secret into the respective fields and click on the Submit button.
Step 3: Sync Data
Step 3.1: Start Data Sync
- On the mini page titled "Sync Data", click on the Start Sync button.
Step 3.2: Confirm Data Sync
- A pop-up will appear confirming that the data sync has started.
- Click on the OK button.
Step 3.3: Wait for Data Sync Completion
- The Implemify Sales Analytics page will display a message: "Dataset sync in progress."
- Depending on your data volume, this process may take 8-10 minutes or more.
- Once the sync is complete, your setup is finished.
Resources
Data sharing
- By installing or downloading the App, you confirm that you agree with sharing your account data (name, email, phone, company and country) with the App Developer as their End User.
- The App Developer will process your data under their privacy policy.
Versions
Versions history
Manual app installation
- Open the needed app → the Packages tab - download the Markeplace app files.
- Click in the top right → Application Hub
- Click New application. This opens a window.
- Select Install from file and click Select in the window that opens.
- Click Select file on the page of the Marketplace App Installation Wizard and specify the app file path.
